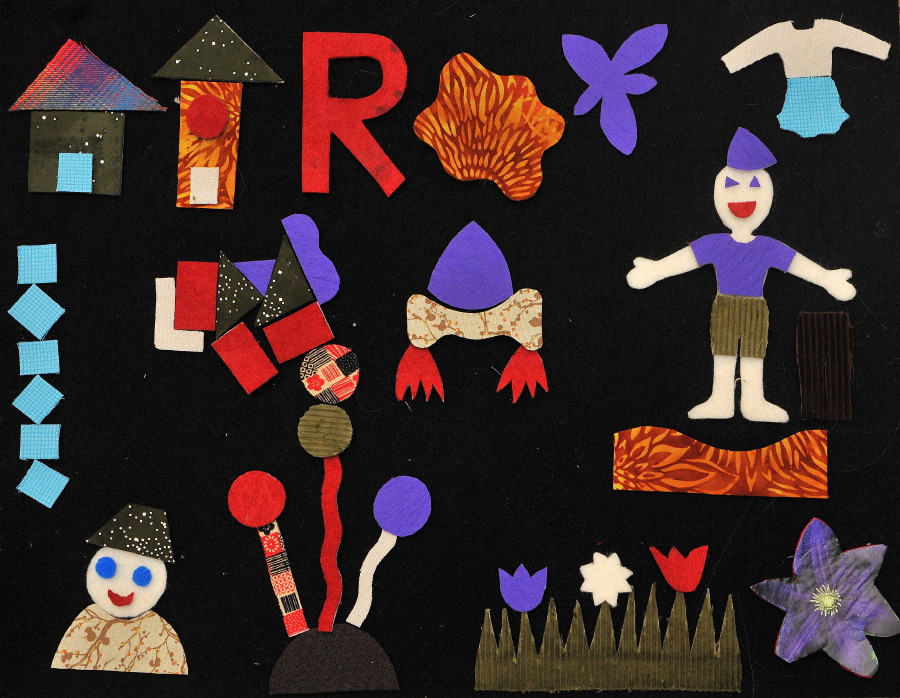
Scrappy Shapes for Felt Boards Post date October 15, 2009 Posted in Crafty Tagged with Crafty, doll, fabric, felt, toy, tutorial Comments 8
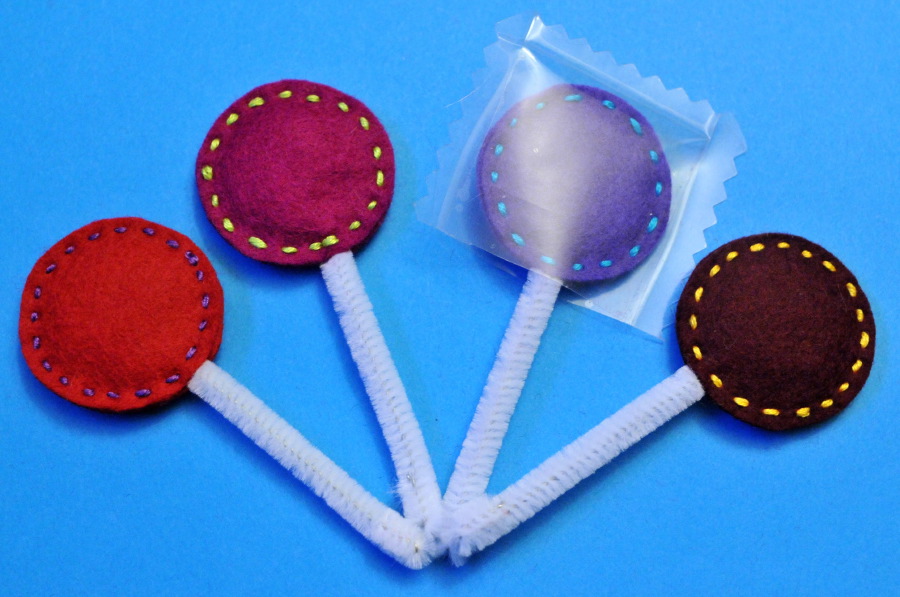
Lollipop Tutorial Post date October 13, 2009 Posted in Crafty Tagged with Crafty, felt, food, sewing, toy, tutorial Comments 12
Woo! Finally. Post date October 10, 2009 Posted in Crafty, Life Tagged with etsy, felt, halloween, holiday, monster, pattern, sewing, toy Comments 1
Spray Watercolors – Art Playgroup Friday Post date October 10, 2009 Posted in Art Activities Tagged with kid fun, paint, sensory exploration Comments 1