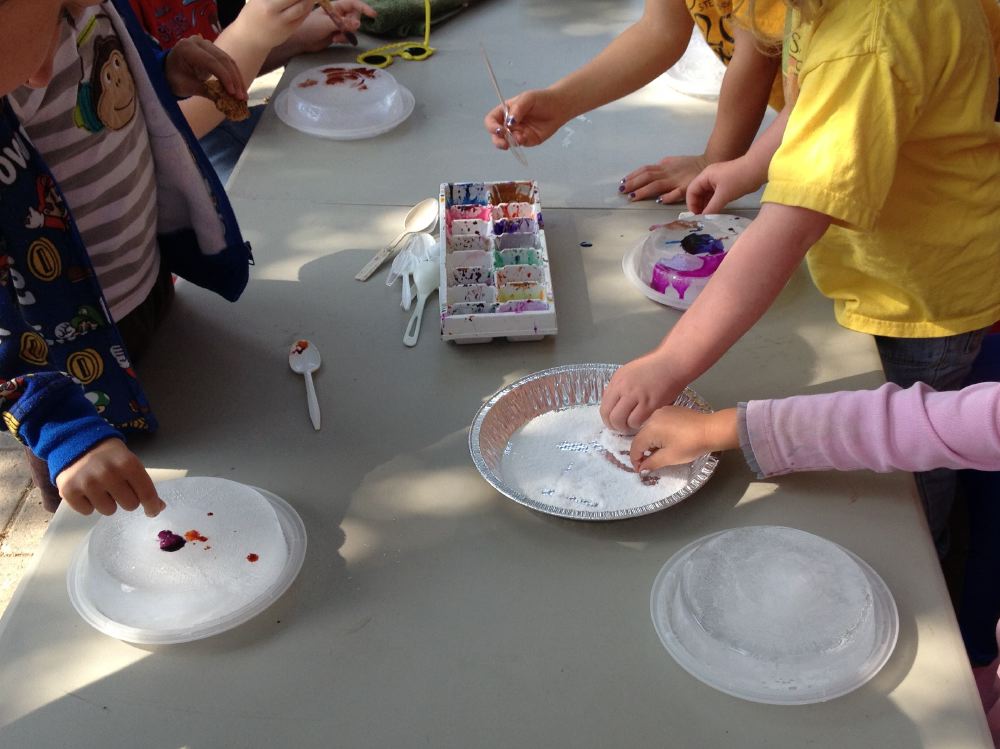
We started with a clean table, some cakes of ice, kosher flake salt, some liquid watercolors, spoons, medicine syringes and Melting Ice Science Experiment with Salt & Liquid Watercolors from The Artful Parent.
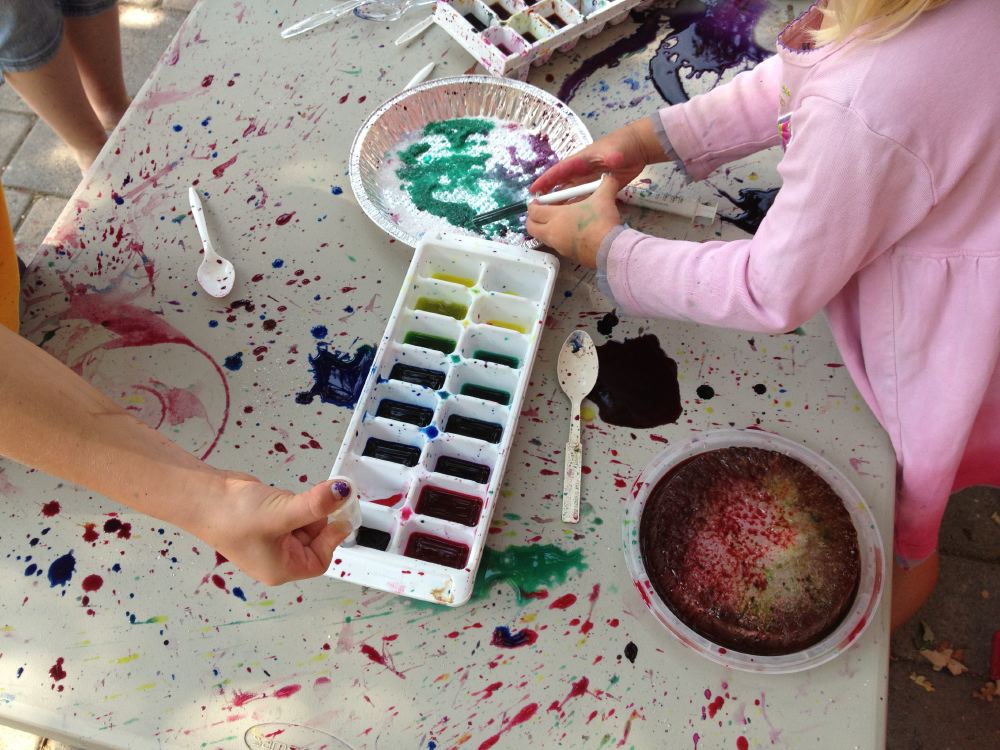
We ended up with a delightful mess. We didn’t have the patience to wait for any melting from the salt, we just added the watercolors right away. And we kept adding them and adding them, and the whole thing turned into a bit of a syringe fest. We ended up giving each of the little kids a second container to pour off their melted overflow and then had them use that for further syringing, so their projects generally ended up a solid muddy brown color, but all they cared about was they could keep sucking up and squirting as much as they wanted.
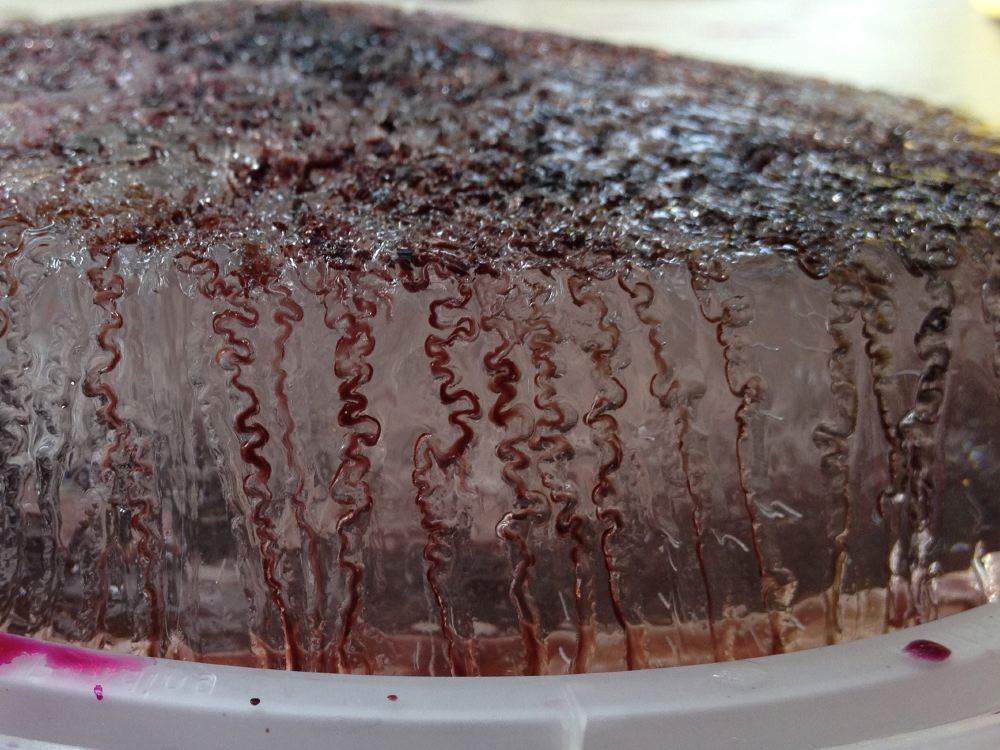
And I didn’t care if it was brown, the oxbow-ing down the side was still super cool. Even when I did get hit by the back splash.
We also gave them a clean bucket of water, and they periodically washed their block of ice off, so they could squirt it again. Woo syringes! So much squirting! After a bit of it the older kids voluntarily moved further away, and we gave the younger kids their own tables or buffer space!
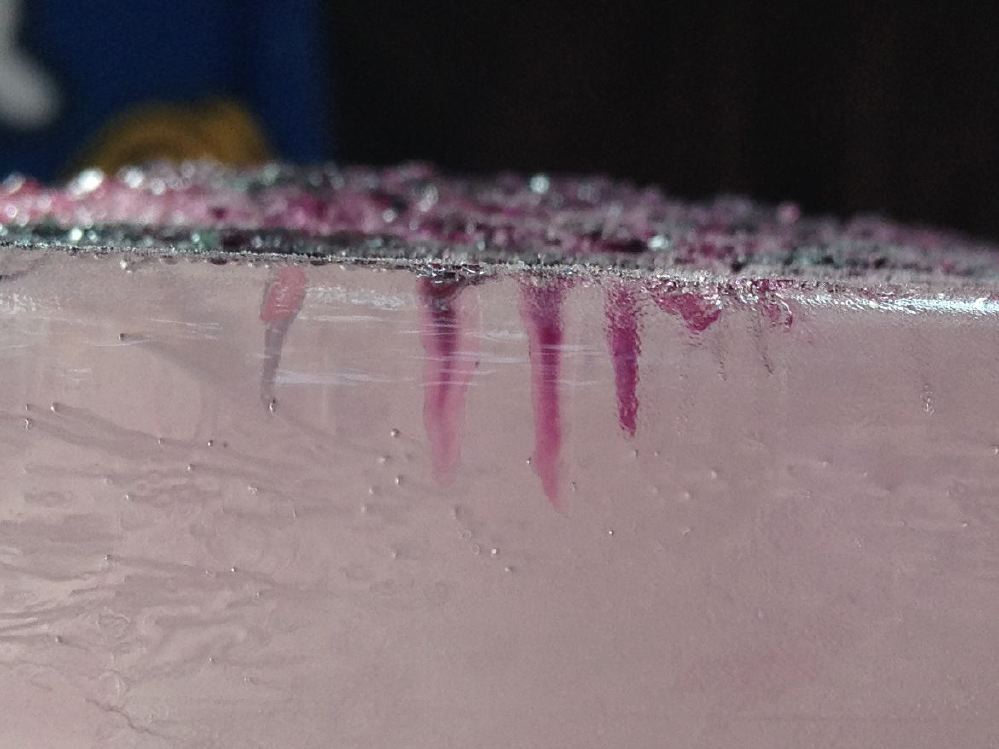
It was also fascinating to watch the pits developing down into the centers of the blocks of ice from the salt.

The older girls, who were a bit more moderate, kept their colors separated, and also decided to make some prints, which I thought were pretty cool.
I was amazed at how long our blocks of ice lasted in the shade, they were still there several hours later, even after being salted, rinsed, squirted, rinsed, squirted over and over, and then finally abandoned! It was quite a cool day for August in California, but still, I was surprised.

1 Comment
Add Yours →What a cool art activity!