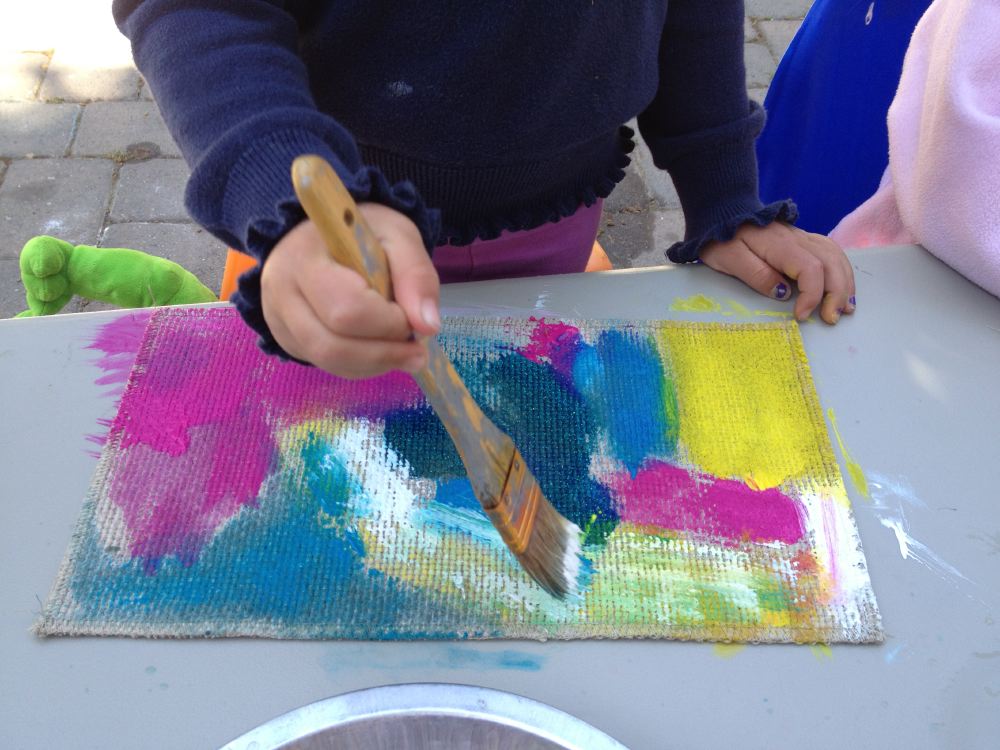
Painting on Linen Post date June 3, 2013 Posted in Art Activities Tagged with fabric, paint, sensory exploration Comments 2
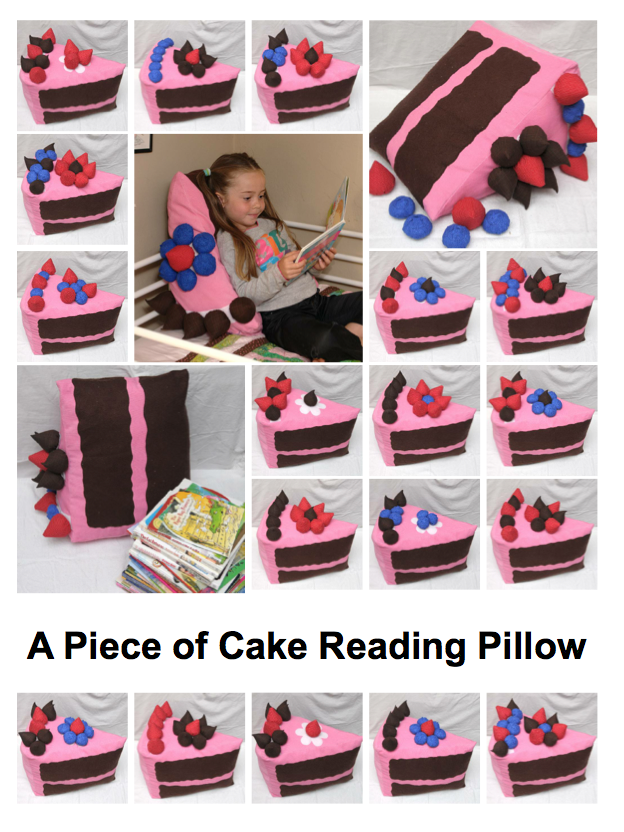
A Piece of Cake Reading Pillow Post date July 8, 2012 Posted in Crafty Tagged with fabric, food, One Yard Wonders, pattern Comments 8
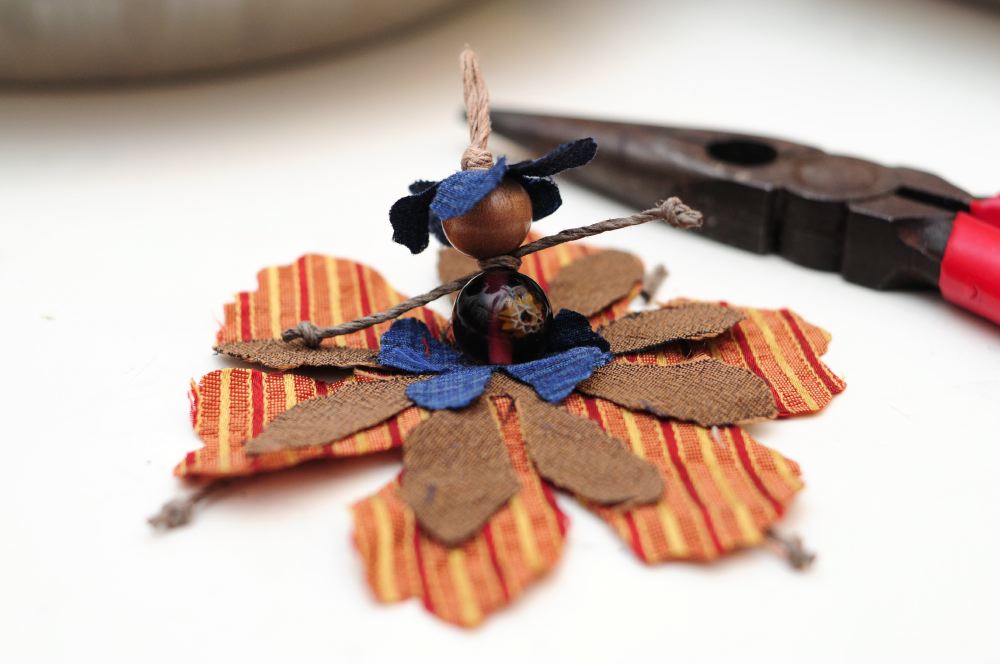
Spring Flower Fairies Tutorial (Friday Art Group) Post date March 24, 2012 Posted in Art Activities, Crafty Tagged with beads, doll, fabric, fairy, flower, holiday, spring, tutorial Comments 3
One Yard Wonders Fabric-By-Fabric (Rambling & Giveaway) *CLOSED* Post date December 27, 2011 Posted in Crafty Tagged with fabric, giveaway, sewing Comments 100
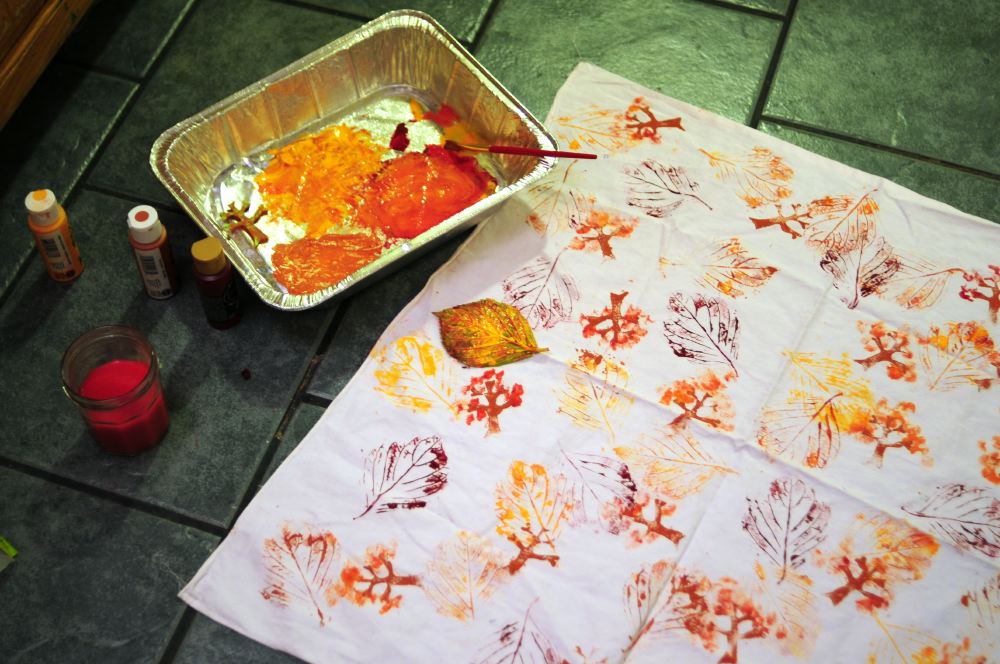
Acrylic Stamping on Fabric Post date December 20, 2011 Posted in Art Activities Tagged with fabric, paint, stamps Comments 2
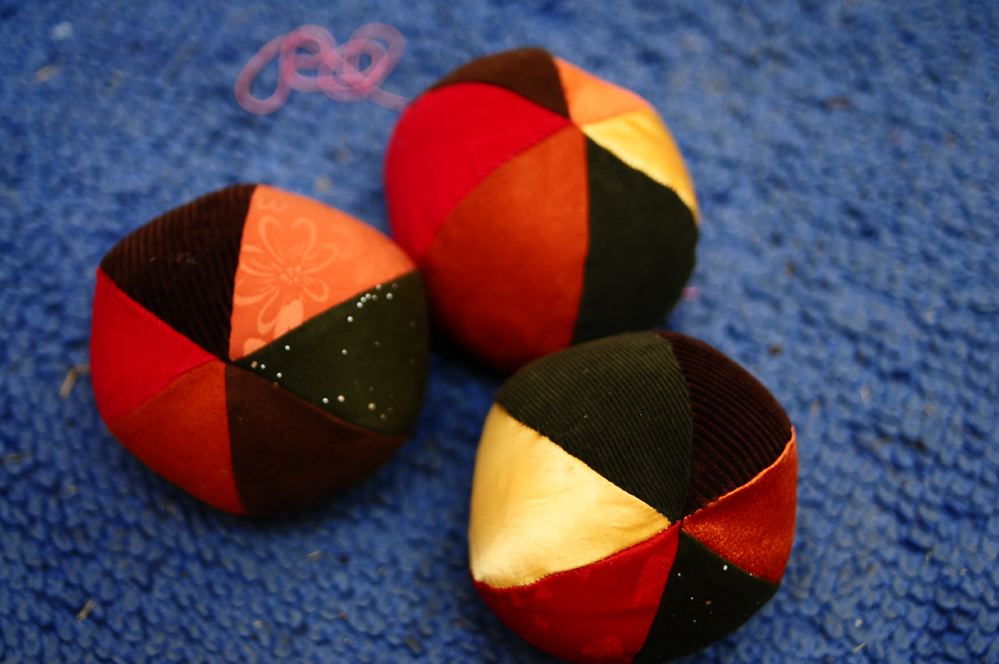
Texture Balls Post date November 11, 2011 Posted in Art Activities, Crafty Tagged with fabric, sensory exploration, sewing, toy Comments 3