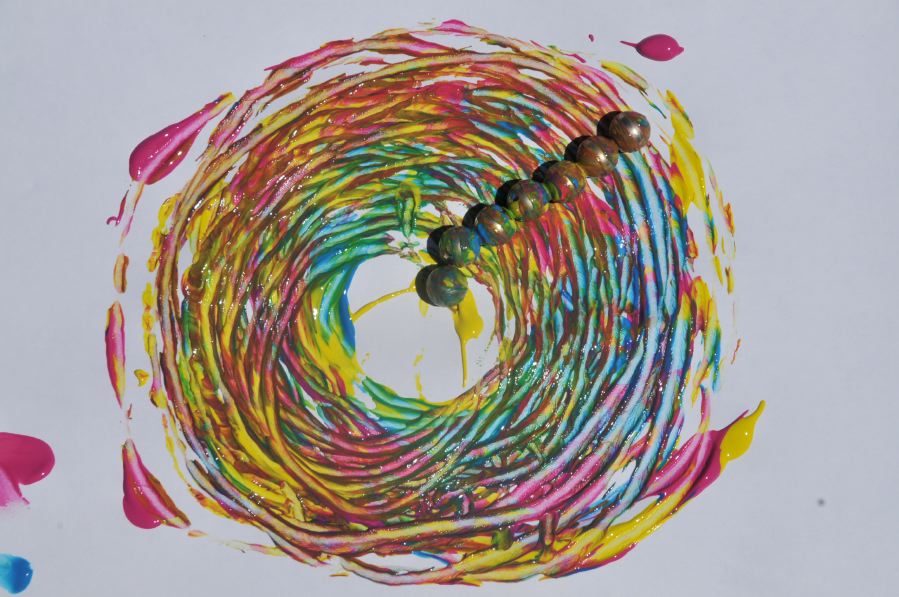
Painting with Magnets Post date August 30, 2013 Posted in Art Activities Tagged with magnets, paint, science Comments 1
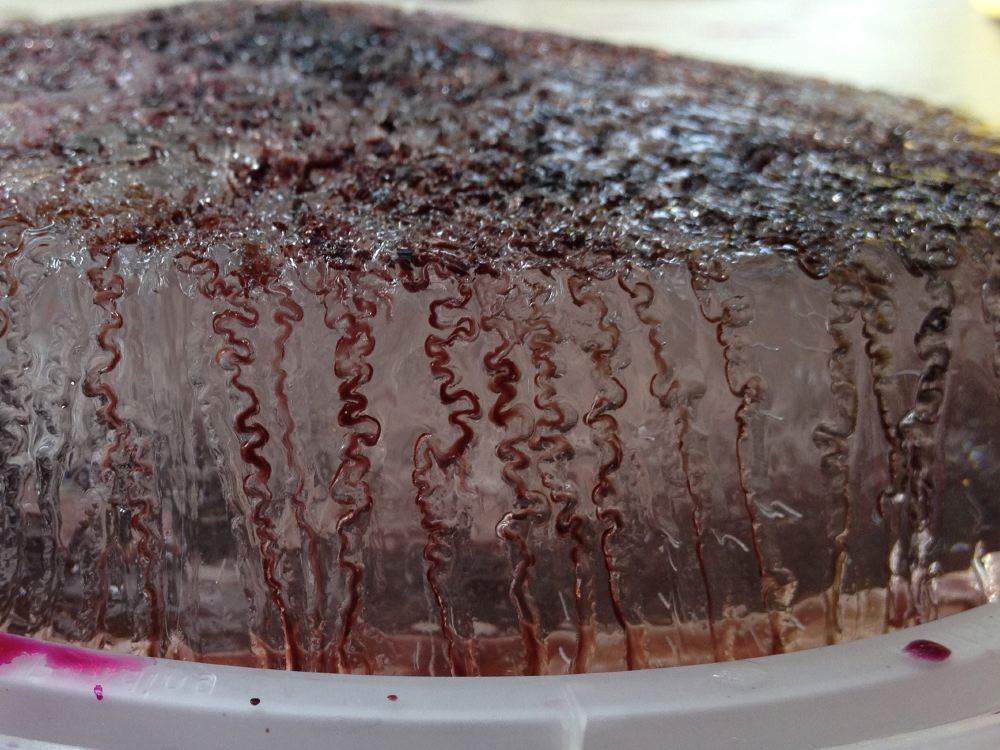
Ice, Salt & Watercolors Post date August 17, 2013 Posted in Art Activities Tagged with ice, liquid watercolors, printing, salt, science Comments 1
Acid Dye Part 2: Science! Post date March 18, 2013 Posted in Homeschool Tagged with dye, experiments, science, wool, yarn Comments 2
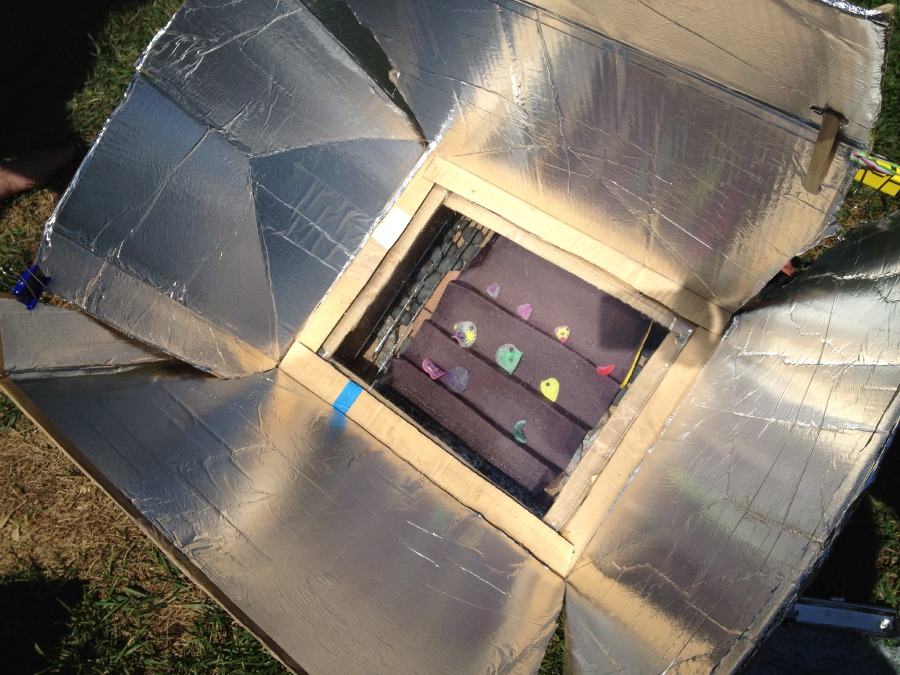
Shrinky Dinks in a Solar Oven Post date August 17, 2012 Posted in Art Activities, Crafty Tagged with pencils, plastic, science, sun Comments 1
Pendulum Painting Post date August 5, 2011 Posted in Art Activities Tagged with paint, science Comments 20