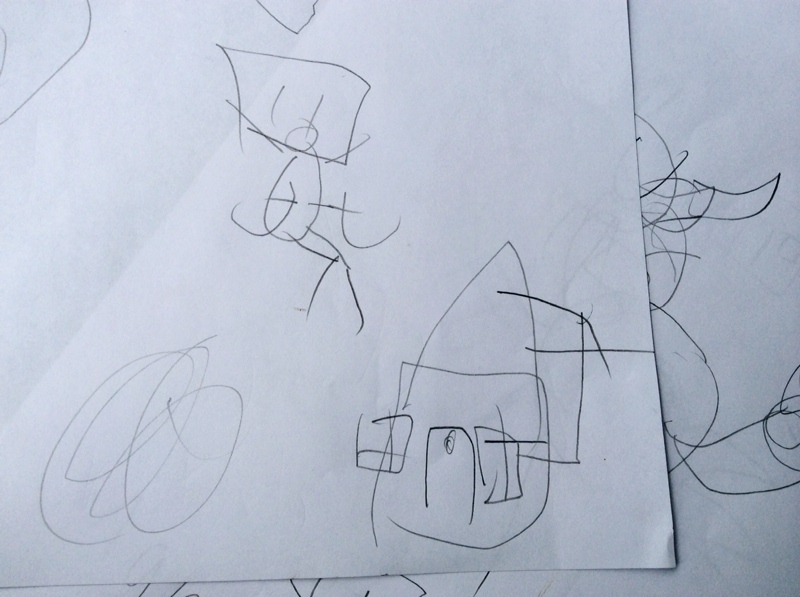
Blind Drawing Post date August 2, 2014 Posted in Art Activities Tagged with drawing, paper, pencils, sensory exploration Comments 1
Tea Canister Lanterns Post date October 8, 2013 Posted in Art Activities Tagged with hammers, nails Comments 2
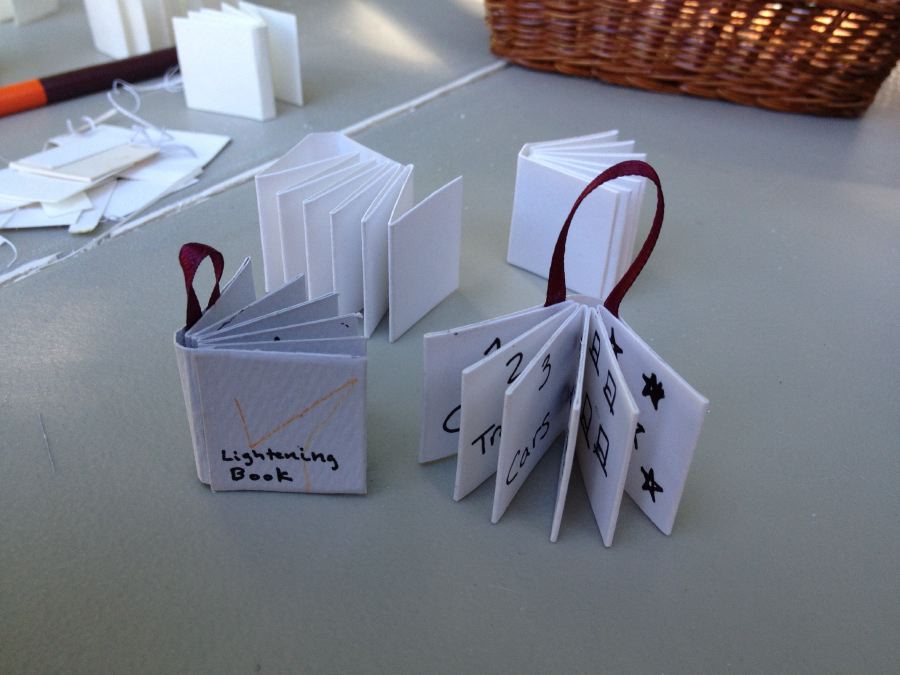
Drawing Tiny Post date September 15, 2013 Posted in Art Activities Tagged with book, paper, pens Comments 0
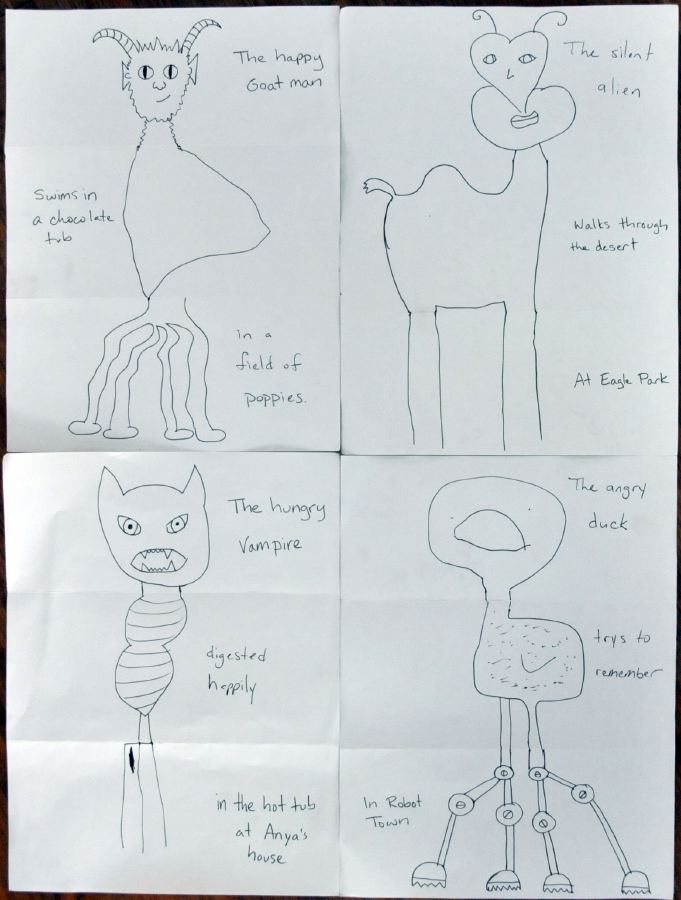
Head, Body, Tail Post date September 8, 2013 Posted in Art Activities Tagged with game, paper, pens Comments 1
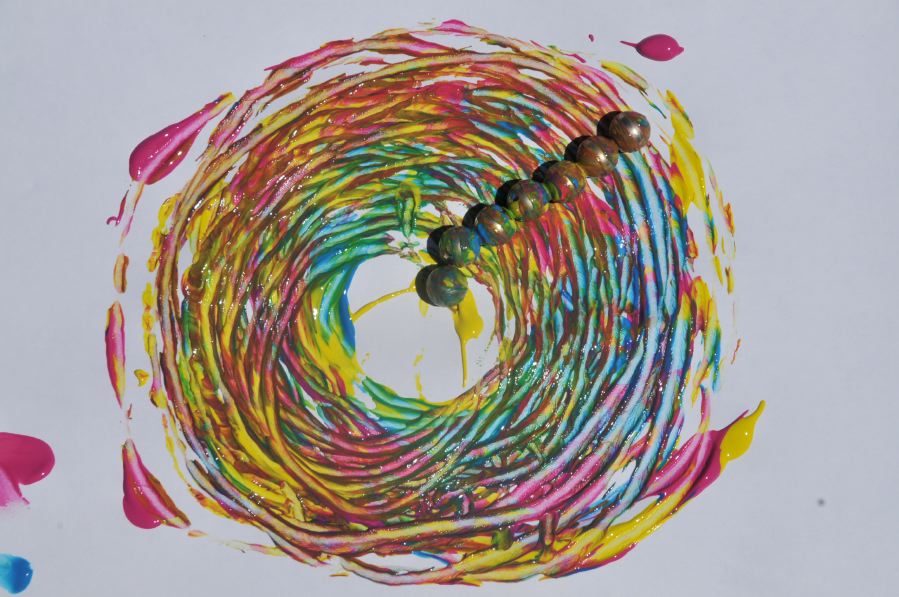
Painting with Magnets Post date August 30, 2013 Posted in Art Activities Tagged with magnets, paint, science Comments 1
Beaded Bubble Wands Post date August 23, 2013 Posted in Art Activities Tagged with beads, bubbles, pipe cleaners, sticks Comments 0