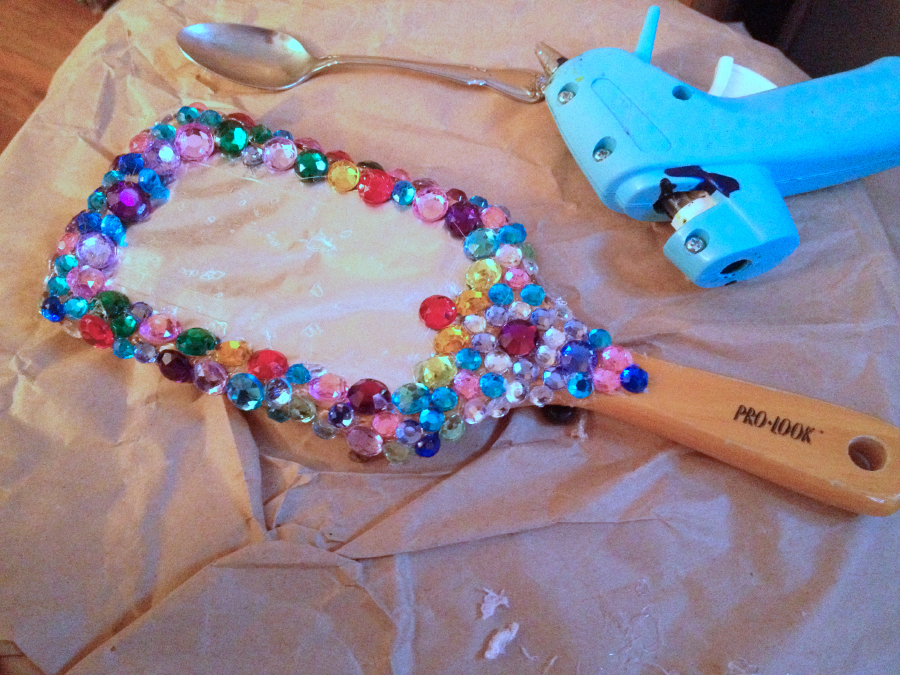
Magic Mirror Post date February 26, 2013 Posted in Art Activities, Crafty Tagged with dress up, jewels, toy, tutorial Comments 1
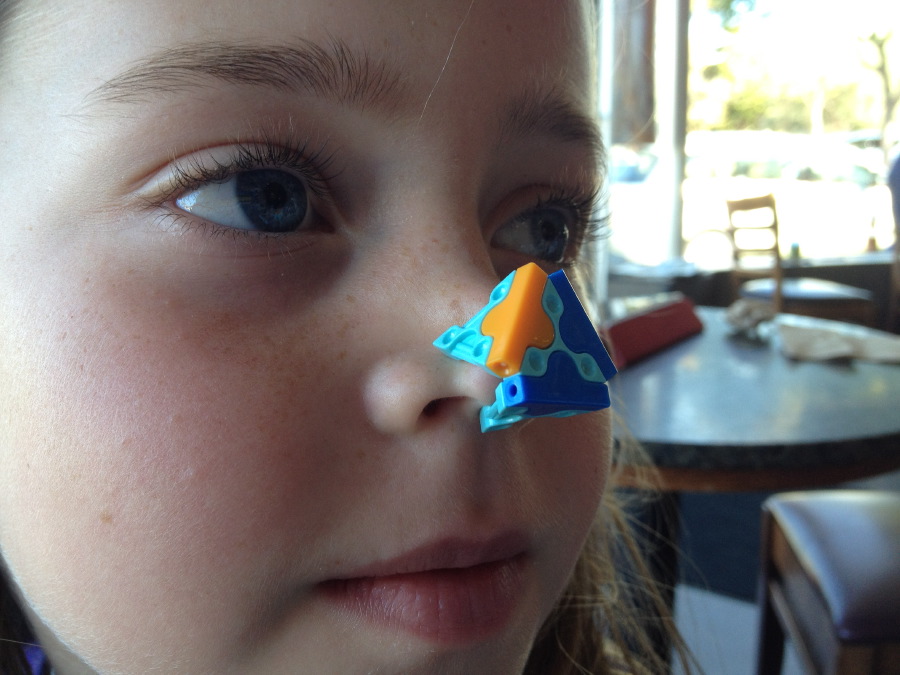
The Oc-Toy-Put Revealed Post date May 14, 2012 Posted in Crafty Tagged with doll, monster, One Yard Wonders, plushie, sewing, toy Comments 16
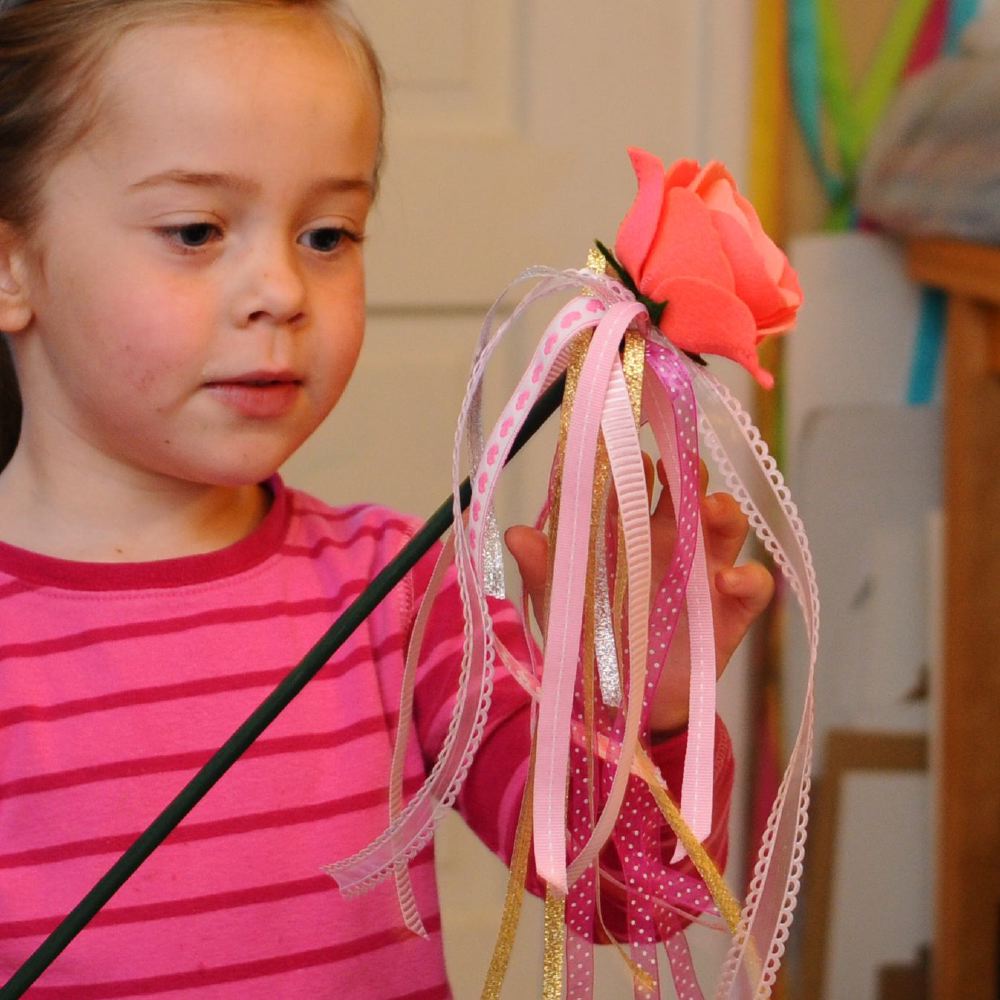
Rose Wand Tutorial Post date January 22, 2012 Posted in Crafty Tagged with felt, flowers, toy, tutorial, wand Comments 5
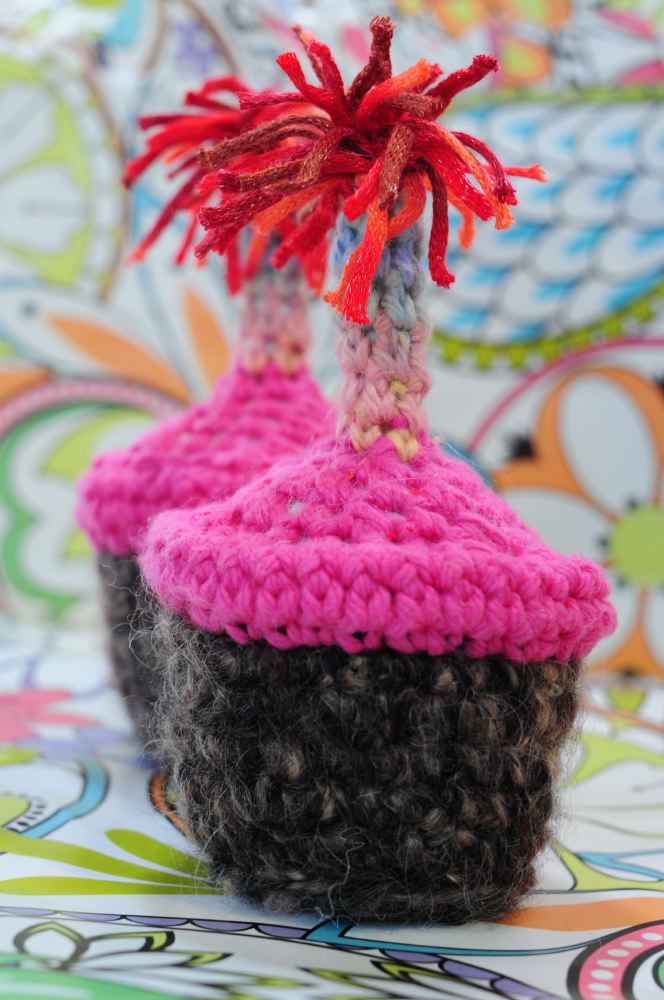
Crochet Cupcakes Post date December 29, 2011 Posted in Crafty Tagged with crochet, food, toy, yarn Comments 2
Stellated Dodecahedron Post date December 12, 2011 Posted in Crafty Tagged with crochet, toy, yarn Comments 2