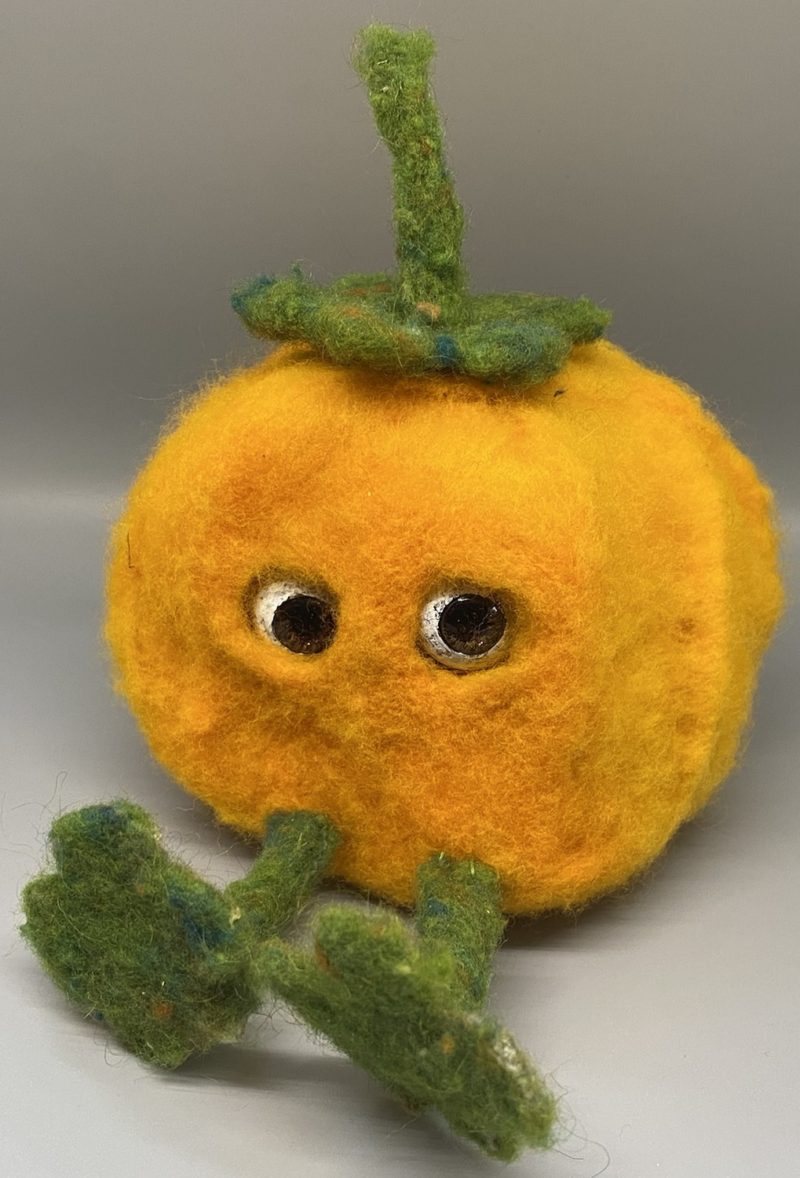
Pumpkin Boy Post date April 17, 2022 Posted in Kinetic Art Tagged with CrappyHappyRobots, felt, mechanism, micro:bit, needle felting Comments 0
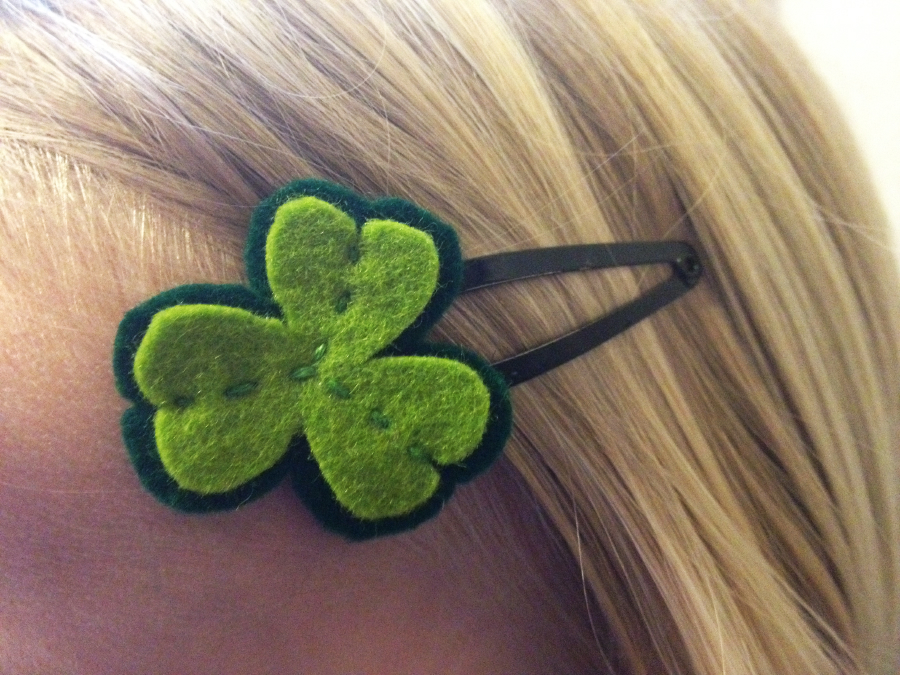
Shamrock Barrettes Post date March 16, 2013 Posted in Crafty Tagged with barrette, embroidery, felt, holiday, St. Patrick's Day, wool Comments 2
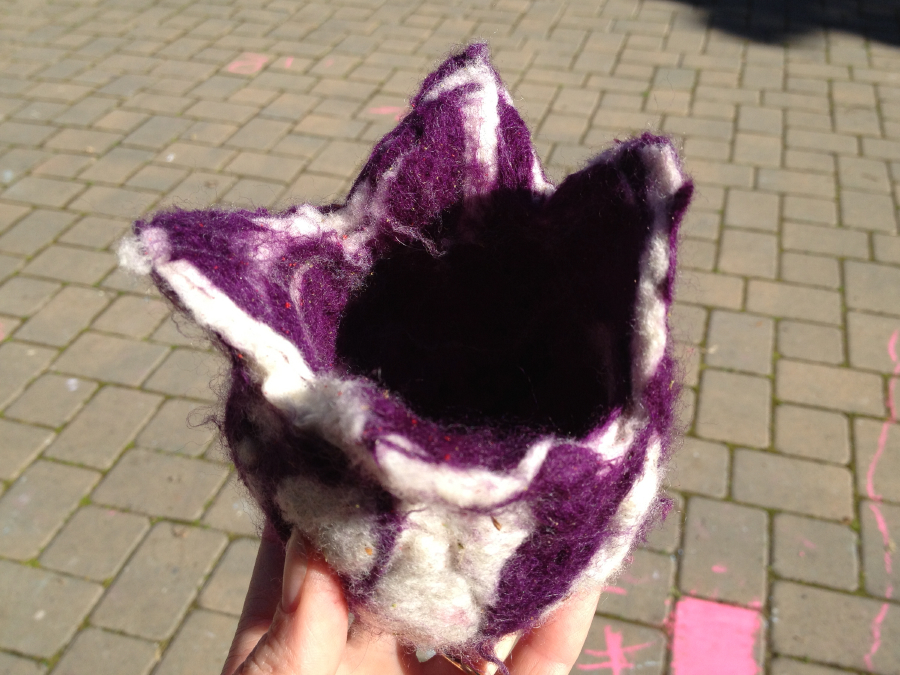
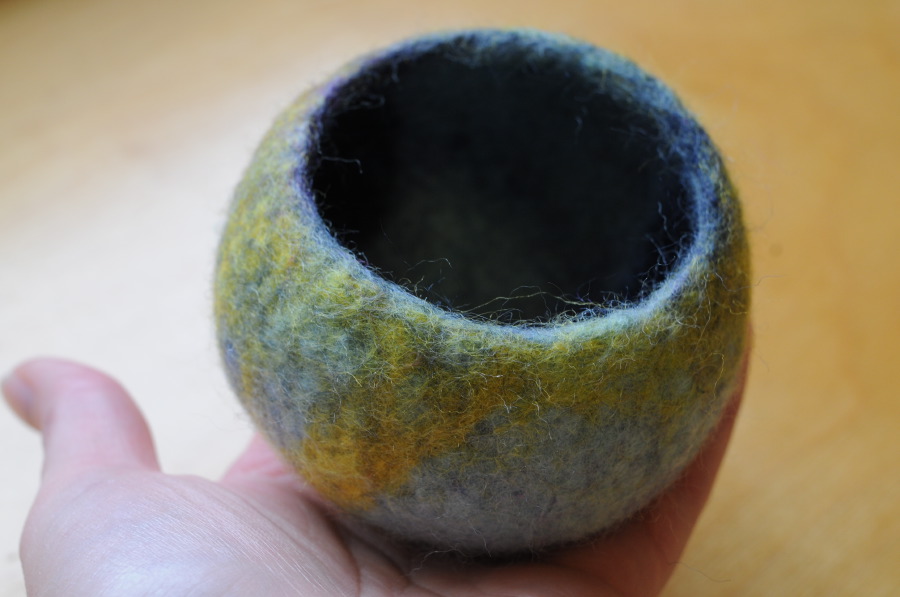
Felt Bowl Project for Kids Post date March 1, 2013 Posted in Art Activities Tagged with big art, felt, large motor, sensory exploration, wet felting Comments 3
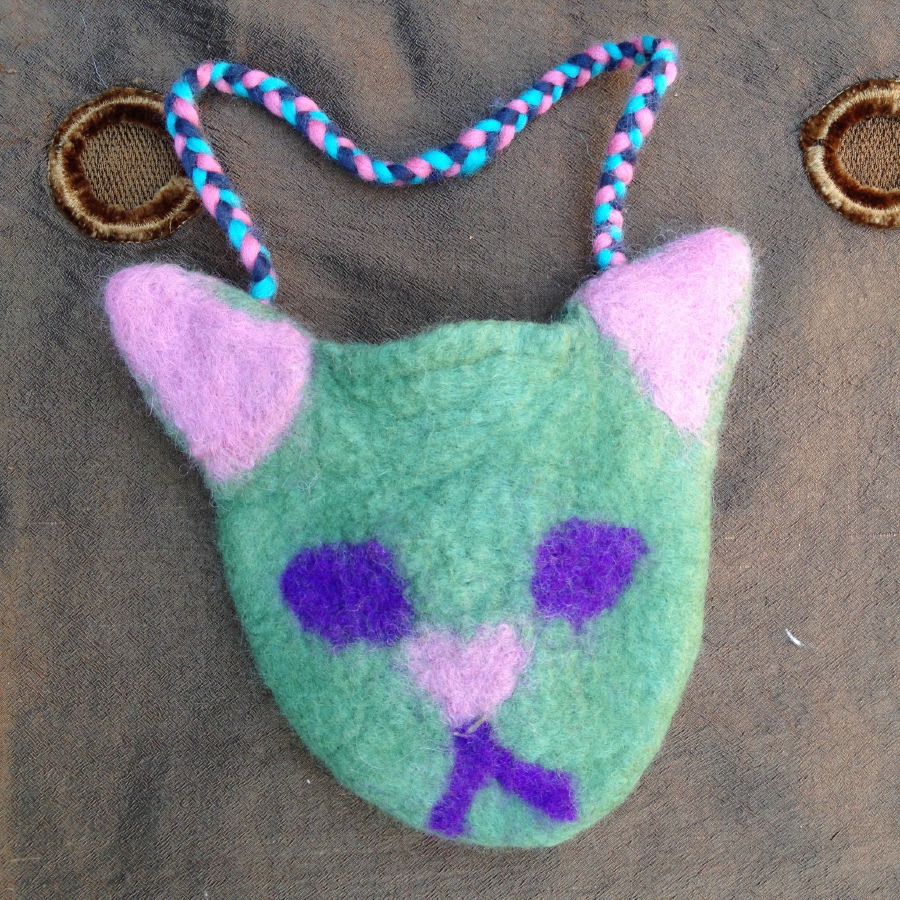
Zombie Cat Purse Post date October 8, 2012 Posted in Crafty Tagged with felt, wet felting, wool Comments 2
Felted Rock Doll Post date August 6, 2012 Posted in Crafty Tagged with doll, felt, rocks, wet felting Comments 2