Fairy Gardens Post date August 27, 2011 Posted in Art Activities Tagged with dirt, fairy, glue gun, plants, rocks, wood Comments 17
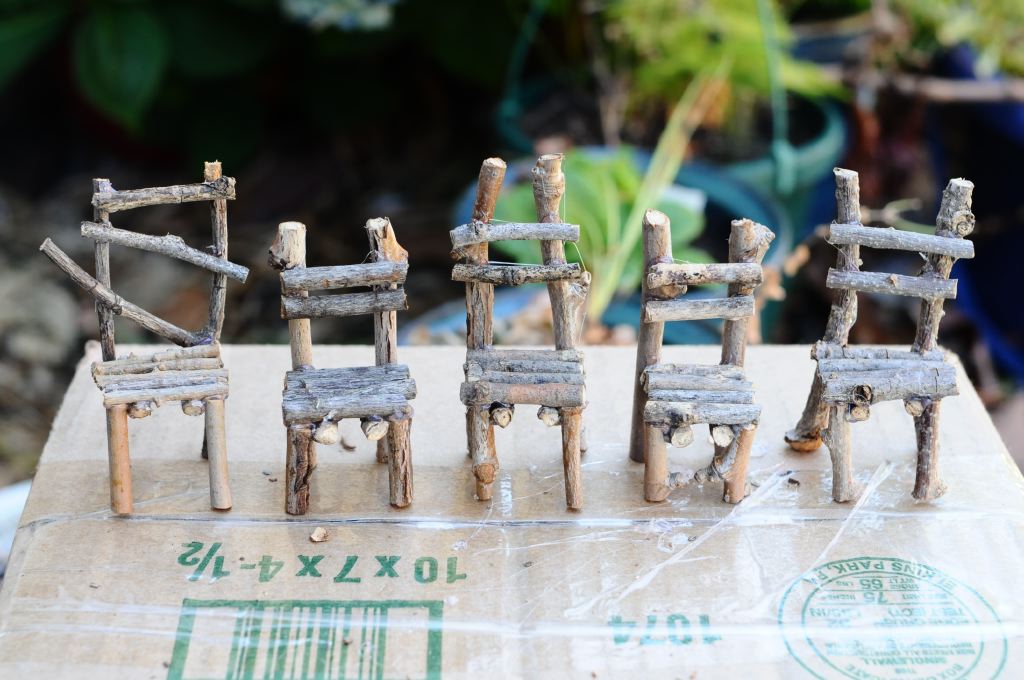
Twig Chair Tutorial Post date August 22, 2011 Posted in Crafty Tagged with glue, tutorial, wood Comments 65
Texture Blocks Post date July 25, 2011 Posted in Crafty Tagged with Crafty, leather, sensory exploration, toy, wood Comments 3
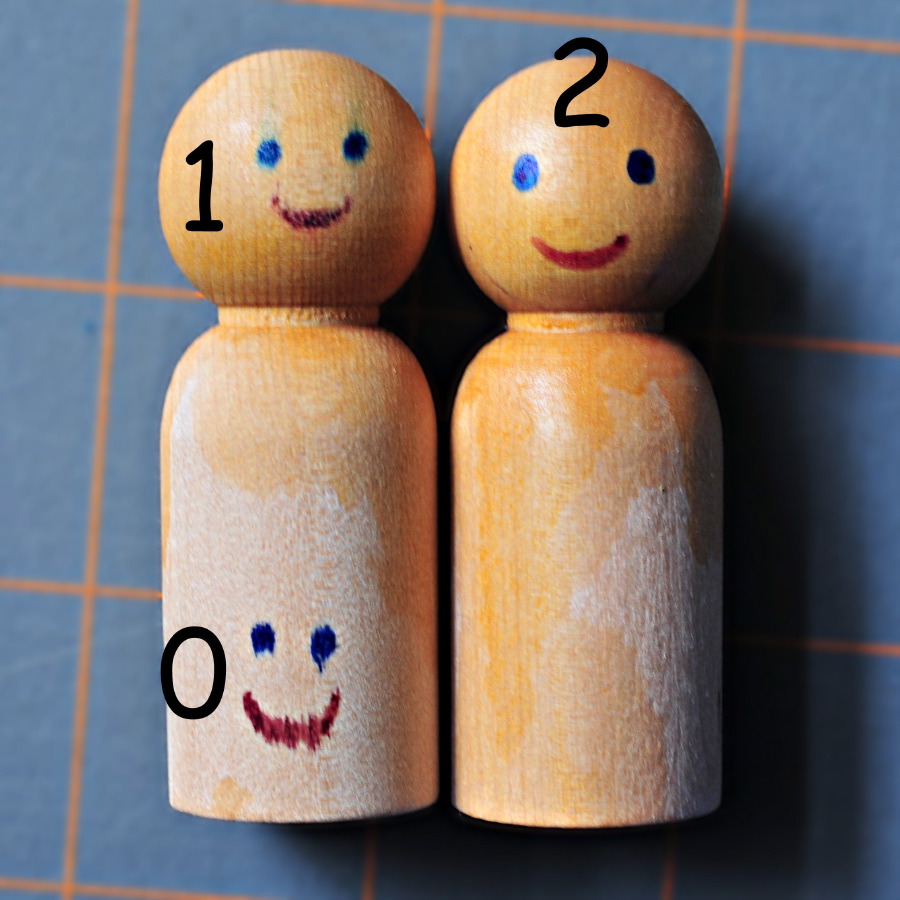
How to Keep Markers From Bleeding on Wood Post date May 20, 2011 Posted in Crafty Tagged with doll, marker, technique, tutorial, wood Comments 10
Peg Dolls & SF Cherry Blossom Festival Post date April 22, 2011 Posted in Art Activities Tagged with fabric, holiday, wood Comments 4
Wood Shavings & Contact Paper Post date March 25, 2011 Posted in Art Activities Tagged with art, fine motor, wood Comments 2