When it takes years to start a 1hr project Post date August 23, 2022 Posted in Crafty Tagged with clothes, sewing Comments 0
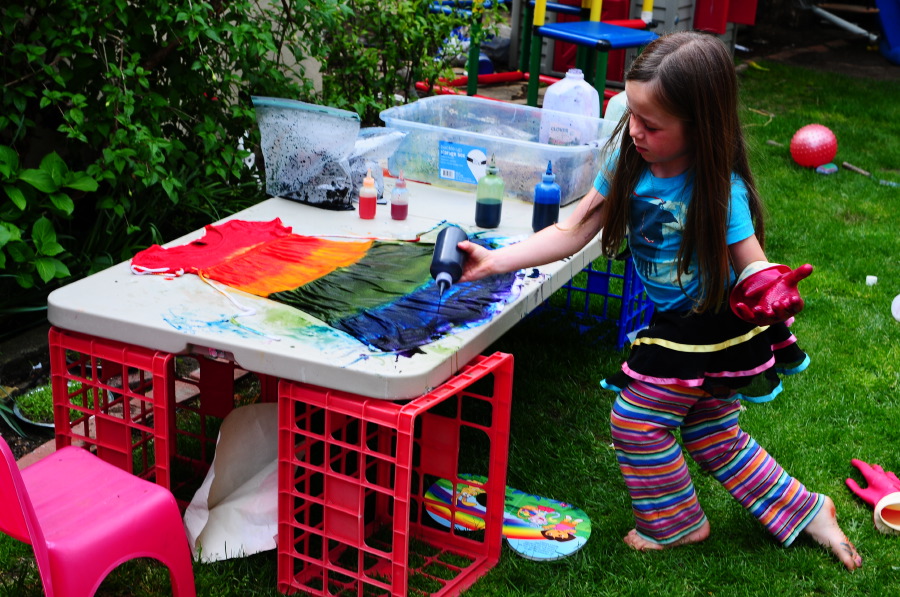
Dyeing Clothes Post date August 10, 2012 Posted in Art Activities Tagged with clothes, dye Comments 2
Dolling Up Robot Post date September 5, 2011 Posted in Crafty Tagged with clothes, robot, sewing, toy Comments 2
Morning Glory Skirt Post date August 1, 2011 Posted in Crafty Tagged with clothes, Crafty, sewing, skirt Comments 2