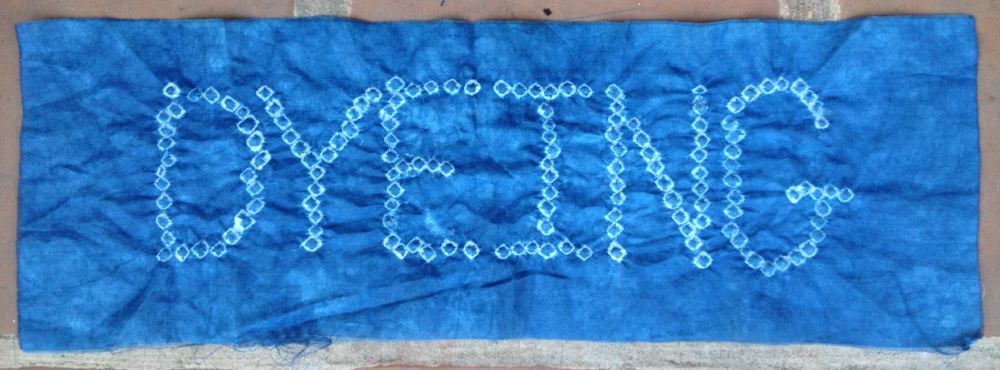
When it takes years to start a 1hr project Post date August 23, 2022 Posted in Crafty Tagged with clothes, sewing Comments 0
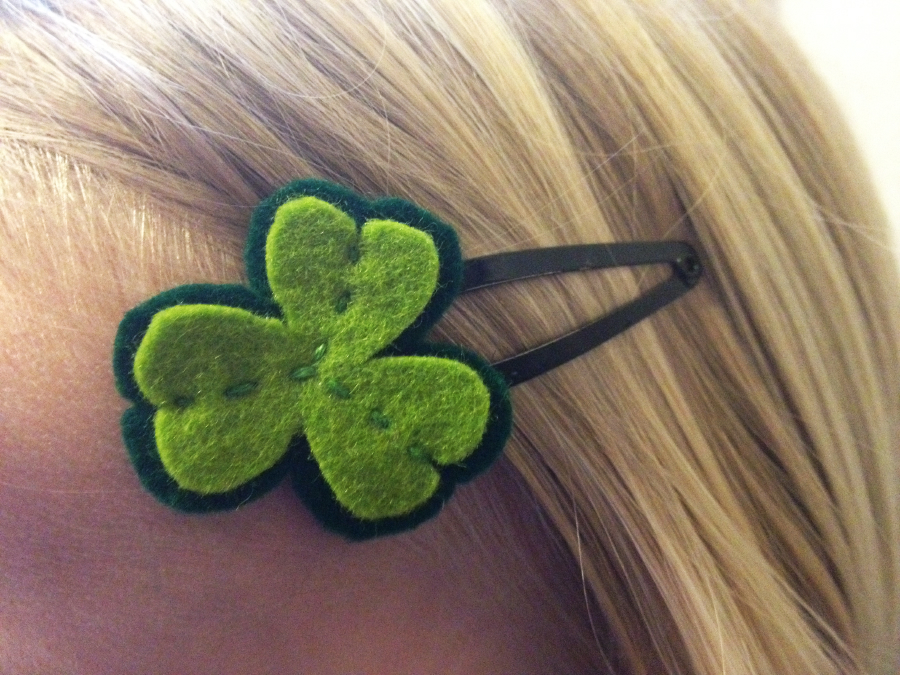
Shamrock Barrettes Post date March 16, 2013 Posted in Crafty Tagged with barrette, embroidery, felt, holiday, St. Patrick's Day, wool Comments 2