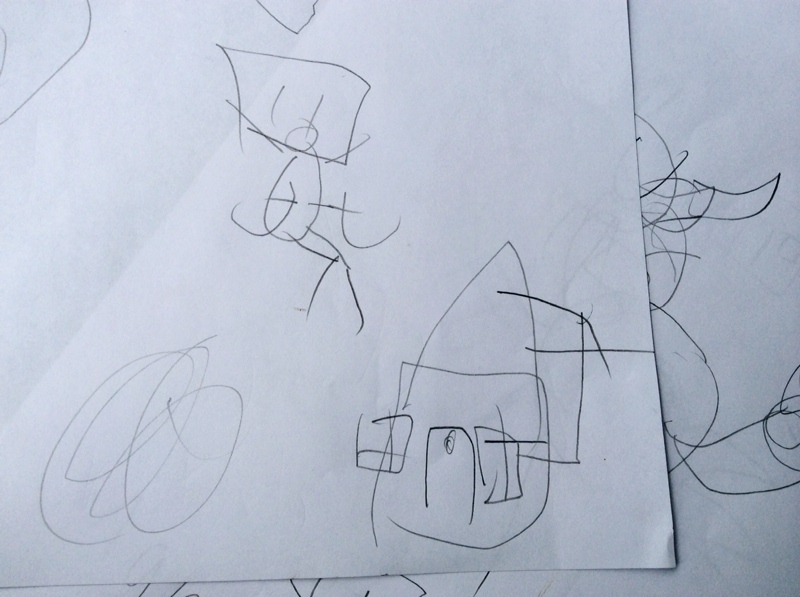
Blind Drawing Post date August 2, 2014 Posted in Art Activities Tagged with drawing, paper, pencils, sensory exploration Comments 1
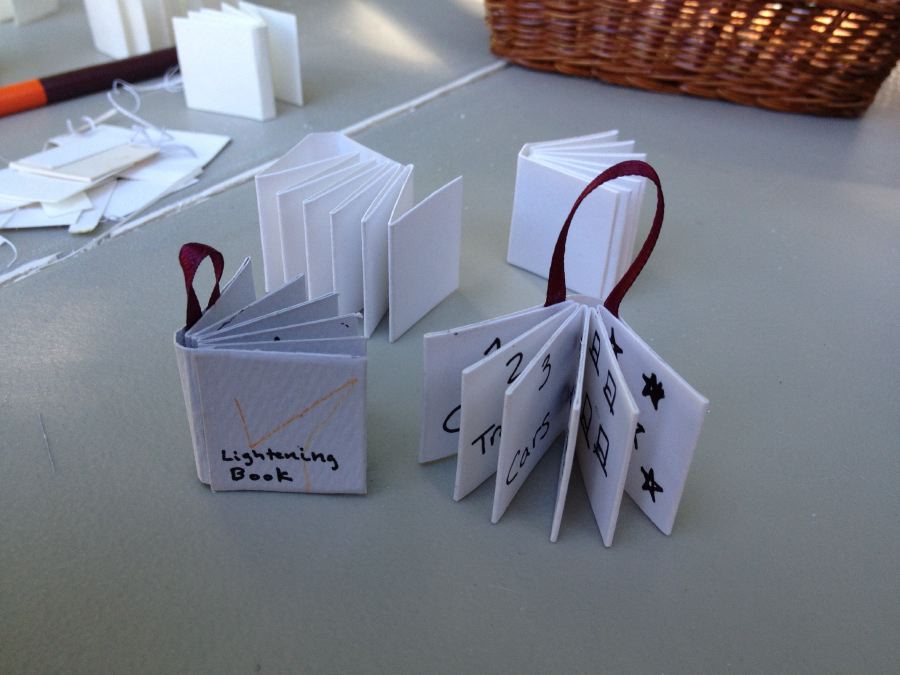
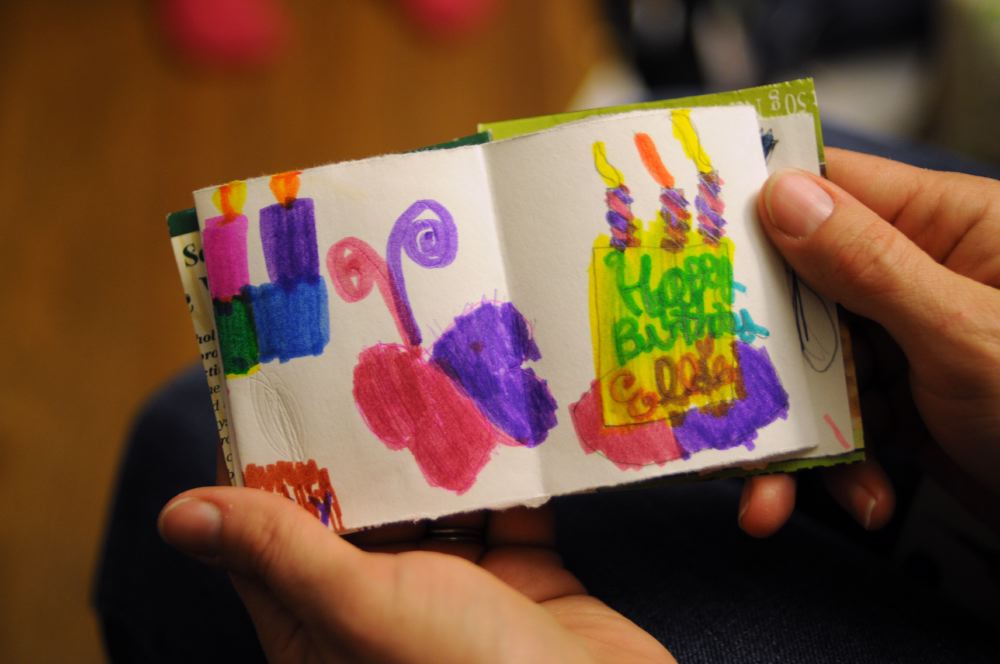
Drawing Tiny Post date September 15, 2013 Posted in Art Activities Tagged with book, paper, pens Comments 0
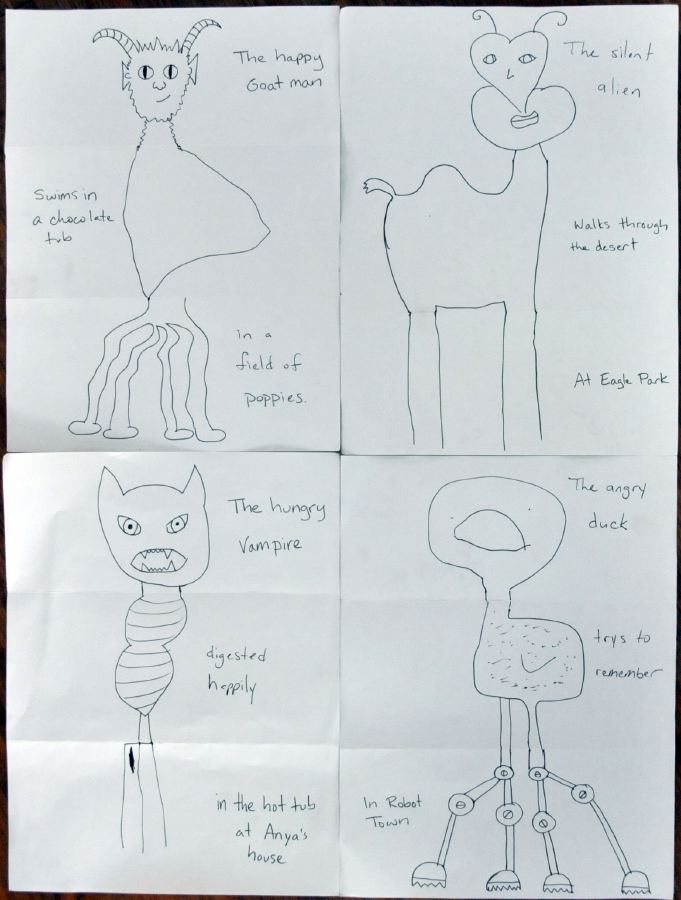
Head, Body, Tail Post date September 8, 2013 Posted in Art Activities Tagged with game, paper, pens Comments 1
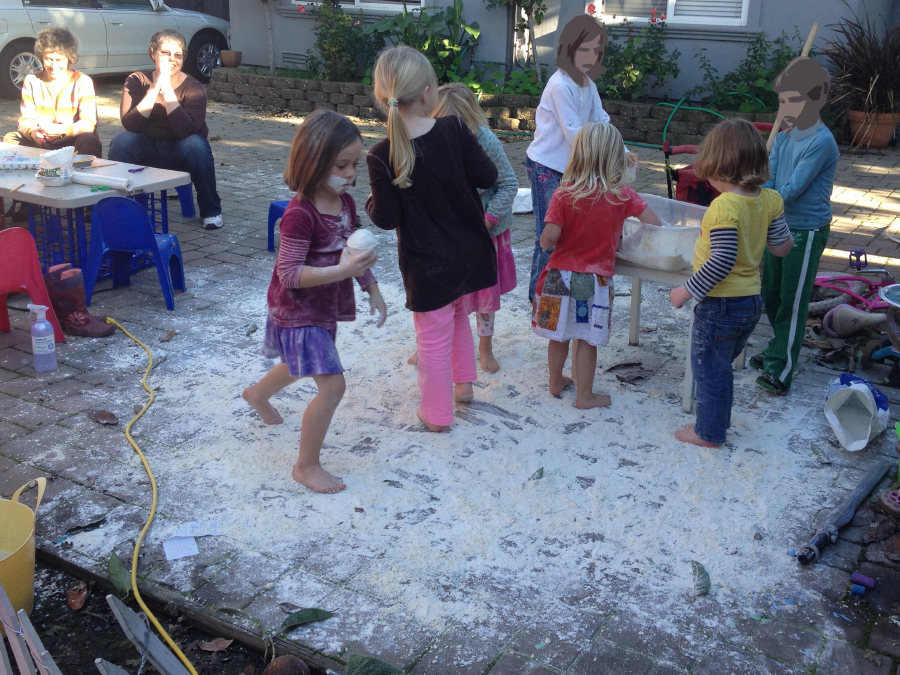
Snow Dough and Watercolor Snowflakes Post date January 4, 2013 Posted in Art Activities Tagged with cutting, messy, paint, paper Comments 0
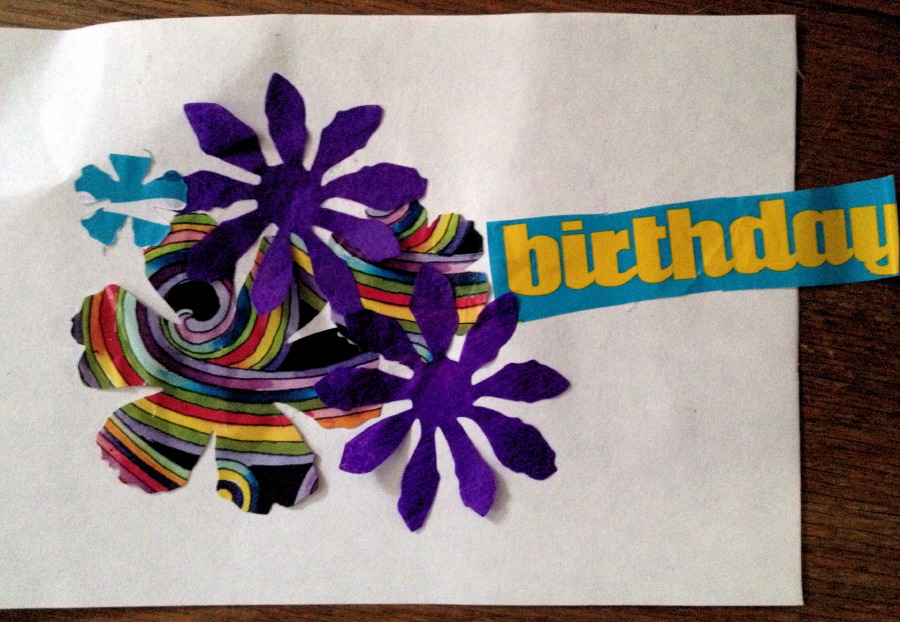
Recycled Wrapping Paper Thank You Cards Post date September 4, 2012 Posted in Art Activities Tagged with collage, glue, paper Comments 2
Accordion Books – Friday Art Group Post date March 16, 2012 Posted in Art Activities Tagged with book, cardboard, paper Comments 2