When it takes years to start a 1hr project Post date August 23, 2022 Posted in Crafty Tagged with clothes, sewing Comments 0
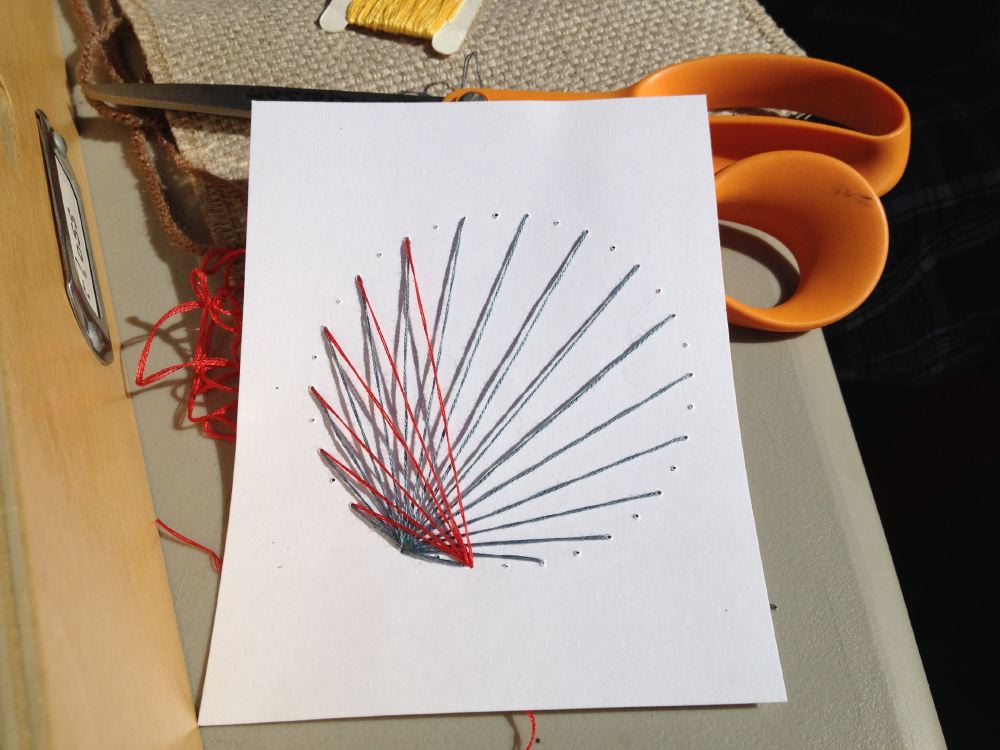
Curve Stitching Post date June 1, 2013 Posted in Art Activities Tagged with math, sewing, string Comments 6
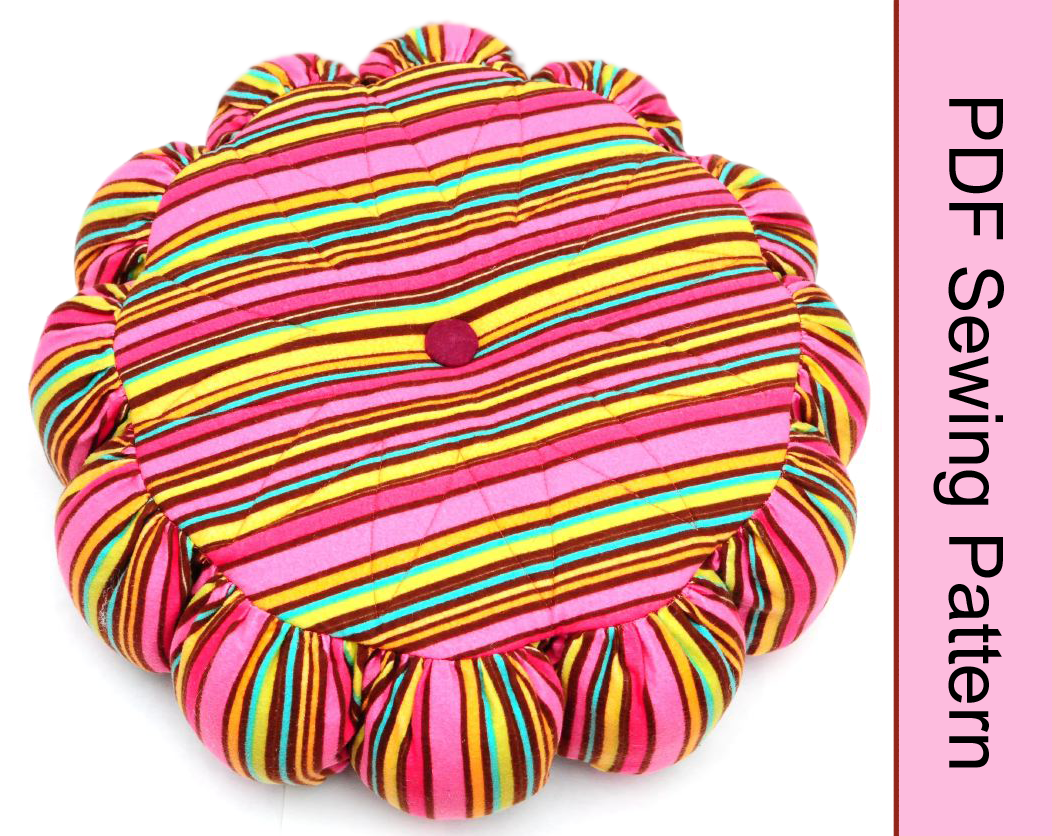
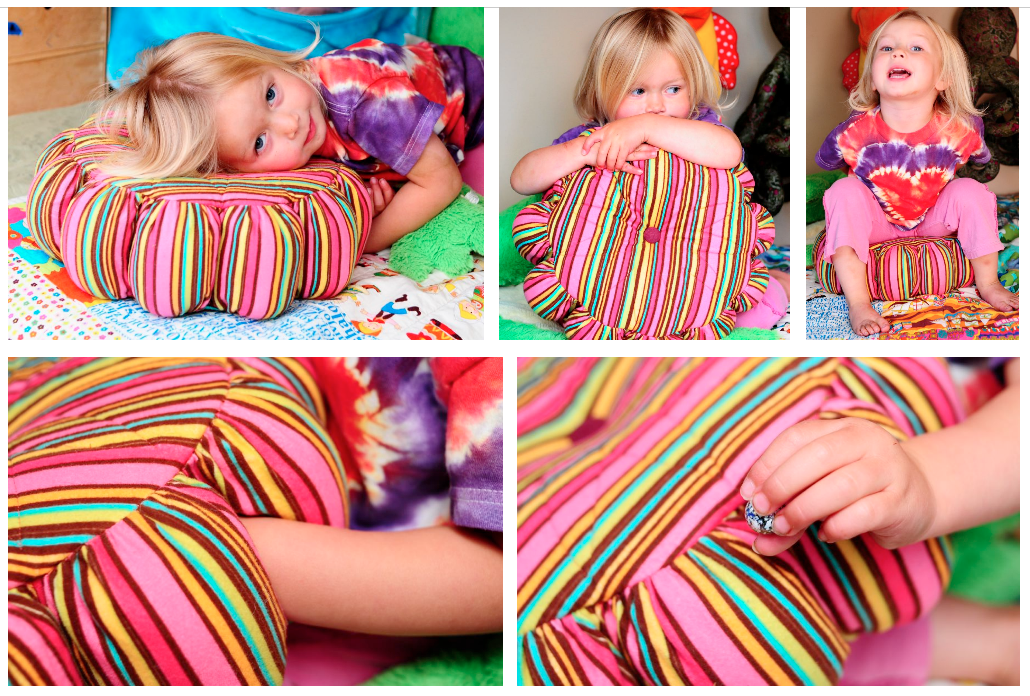
Secret Pockets Pillow Pattern Up! Post date October 6, 2012 Posted in Crafty Tagged with etsy, pattern, pillow, sewing Comments 8
Secret Pockets Pillow Post date June 11, 2012 Posted in Crafty Tagged with One Yard Wonders, sewing Comments 7
The Oc-Toy-Put Revealed Post date May 14, 2012 Posted in Crafty Tagged with doll, monster, One Yard Wonders, plushie, sewing, toy Comments 16
One Yard Wonders Fabric-By-Fabric (Rambling & Giveaway) *CLOSED* Post date December 27, 2011 Posted in Crafty Tagged with fabric, giveaway, sewing Comments 100