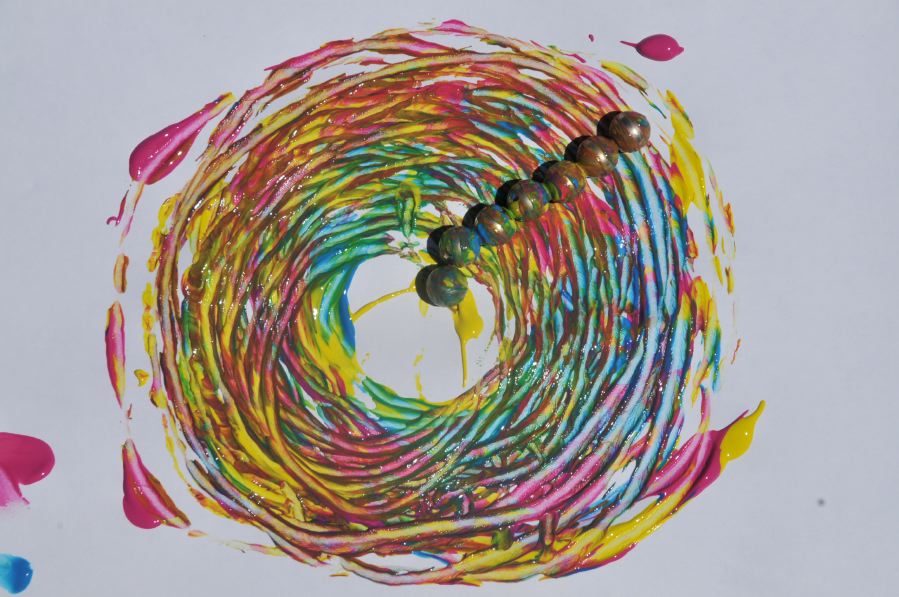
Painting with Magnets Post date August 30, 2013 Posted in Art Activities Tagged with magnets, paint, science Comments 1
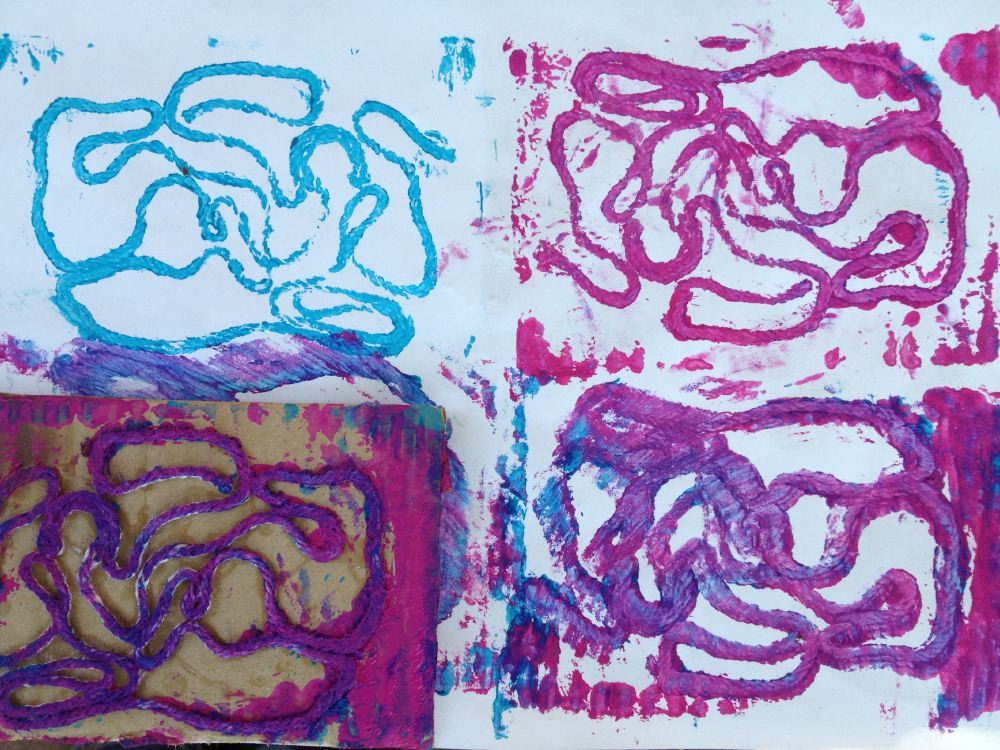
Yarn Stamps Post date August 9, 2013 Posted in Art Activities Tagged with paint, printing, stamps, yarn Comments 2
Blowing Watercolors Post date August 2, 2013 Posted in Art Activities Tagged with blowing, liquid watercolors, paint, straws, water colors Comments 4
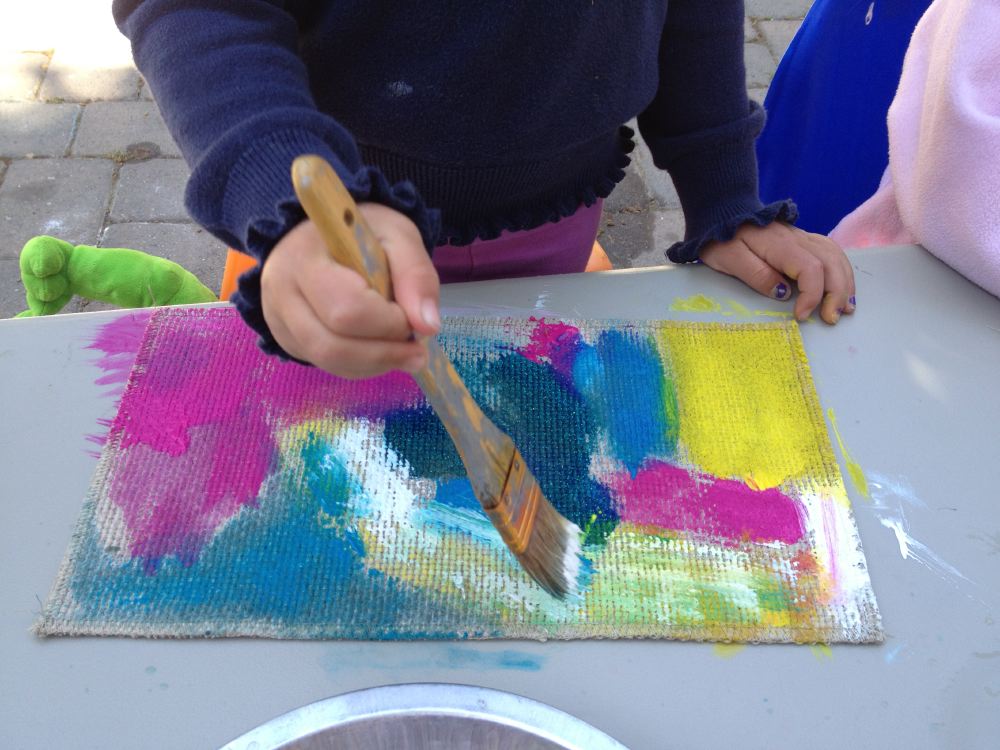
Painting on Linen Post date June 3, 2013 Posted in Art Activities Tagged with fabric, paint, sensory exploration Comments 2
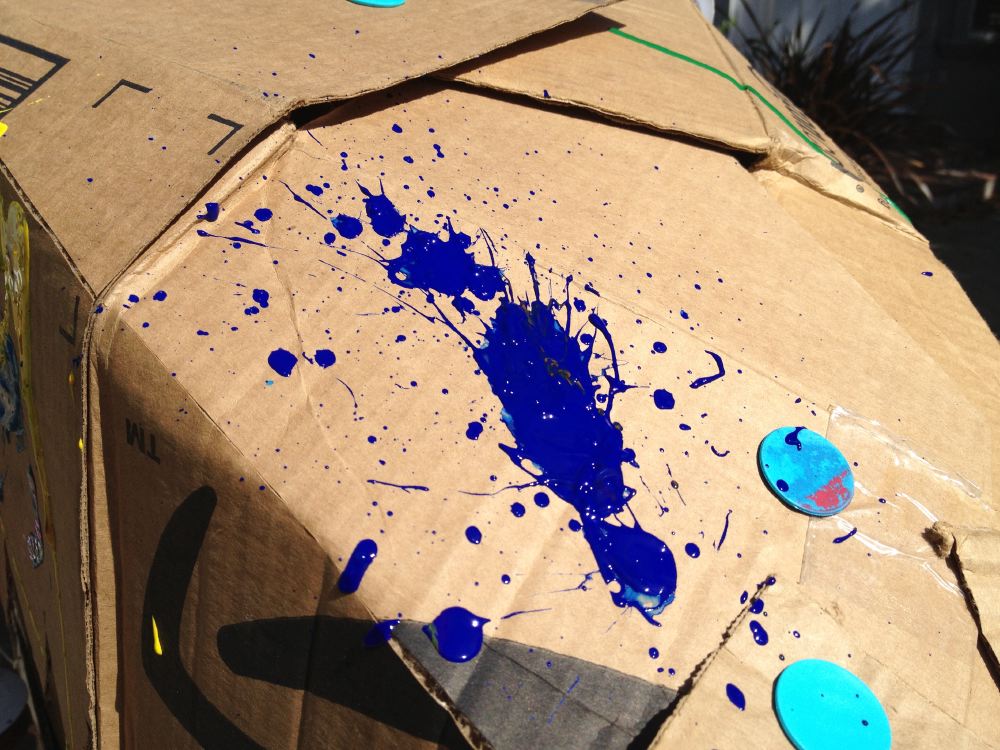
Syringe Painting Post date May 10, 2013 Posted in Art Activities Tagged with cardboard, makedo, paint Comments 2