Terrariums Post date April 28, 2013 Posted in Art Activities Tagged with fairy, glass, plants Comments 4
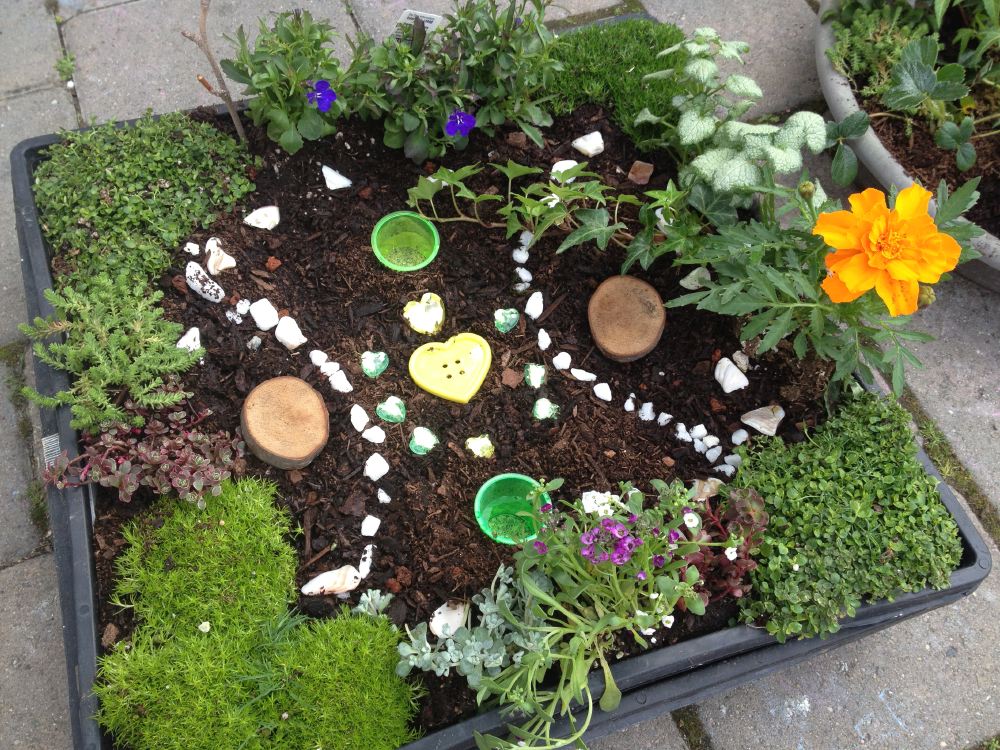
Fairy Gardens Post date March 29, 2013 Posted in Art Activities Tagged with dirt, fairy, plants Comments 9
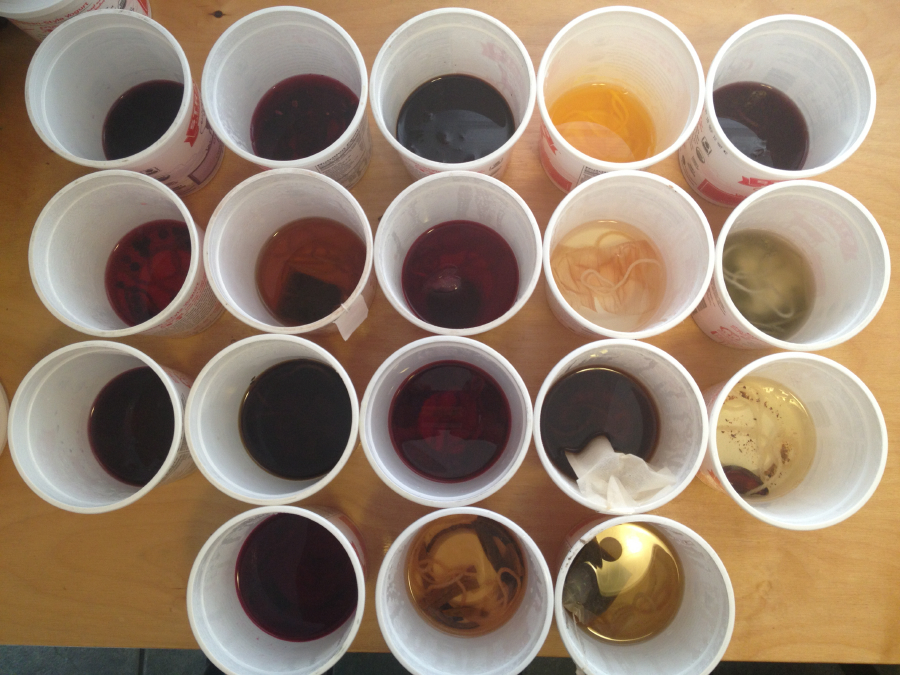
Dye Dye Dye Post date October 16, 2012 Posted in Crafty Tagged with chemistry, dye, experiments, plants Comments 4
Fiber & Dyeing Research Post date March 4, 2012 Posted in Crafty Tagged with dye, fiber, plants Comments 7
Fairy Gardens Post date August 27, 2011 Posted in Art Activities Tagged with dirt, fairy, glue gun, plants, rocks, wood Comments 17