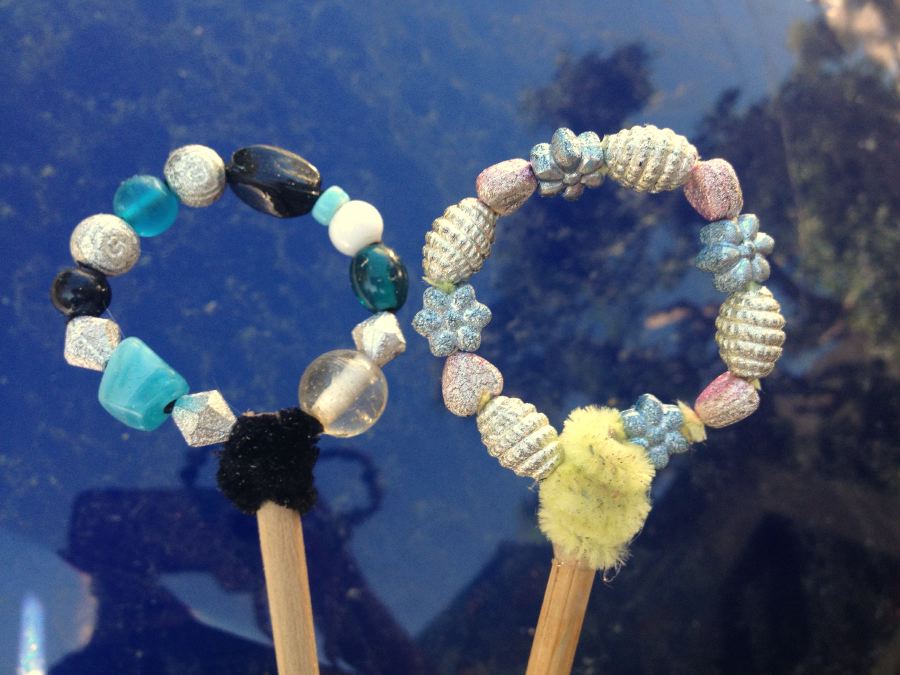
Beaded Bubble Wands Post date August 23, 2013 Posted in Art Activities Tagged with beads, bubbles, pipe cleaners, sticks Comments 0
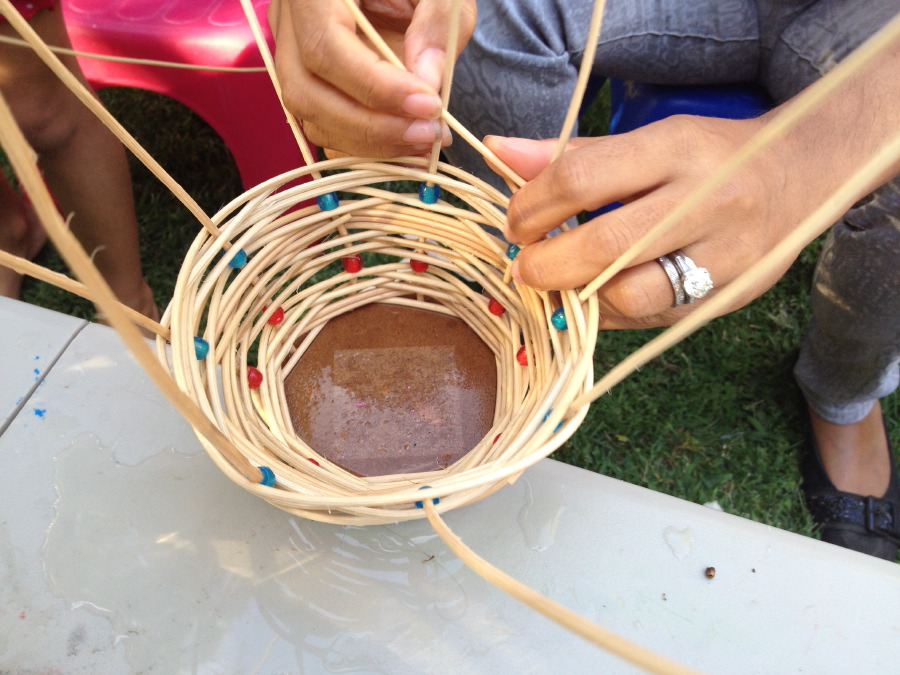
Weaving Baskets – Friday Art Group Post date September 28, 2012 Posted in Art Activities Tagged with basket, beads, weaving Comments 4
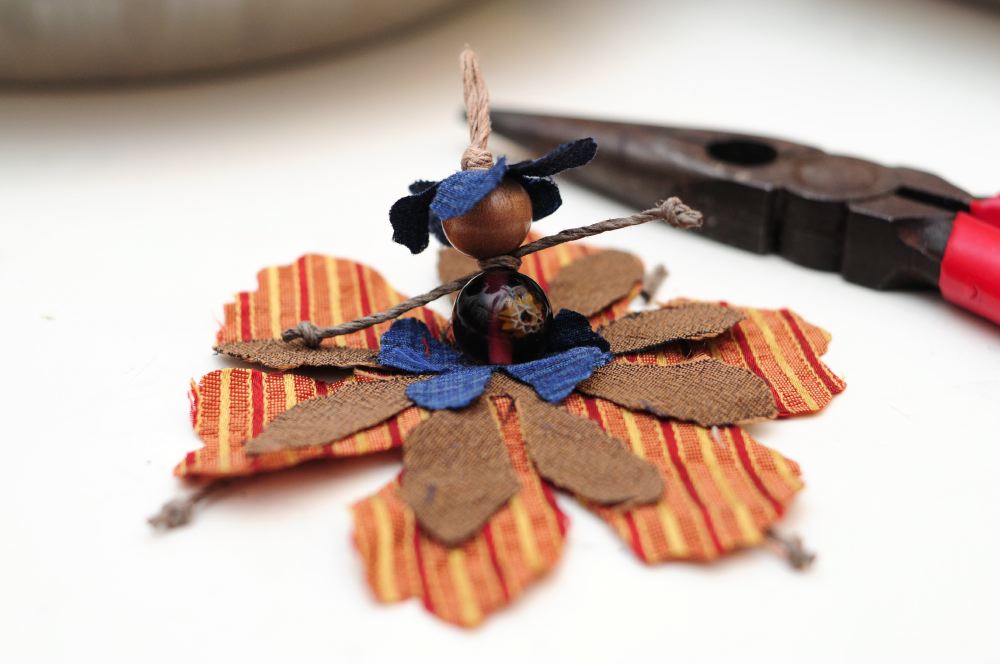
Spring Flower Fairies Tutorial (Friday Art Group) Post date March 24, 2012 Posted in Art Activities, Crafty Tagged with beads, doll, fabric, fairy, flower, holiday, spring, tutorial Comments 3
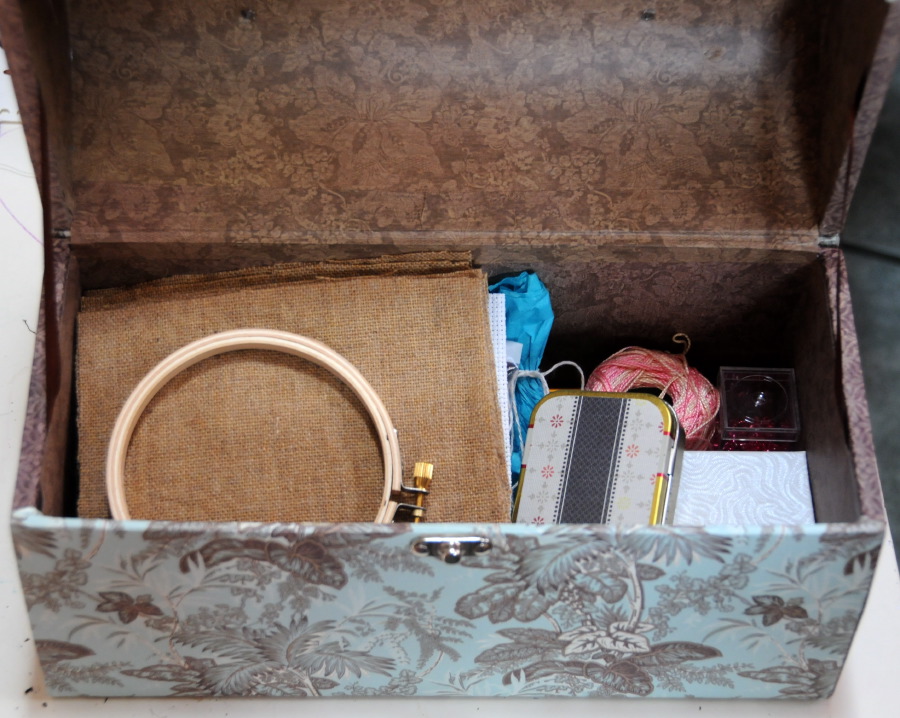
Gift Sewing Kit Post date April 4, 2011 Posted in Crafty Tagged with beads, Crafty, embroidery, fabric, gift, paper, sewing, tutorial Comments 2