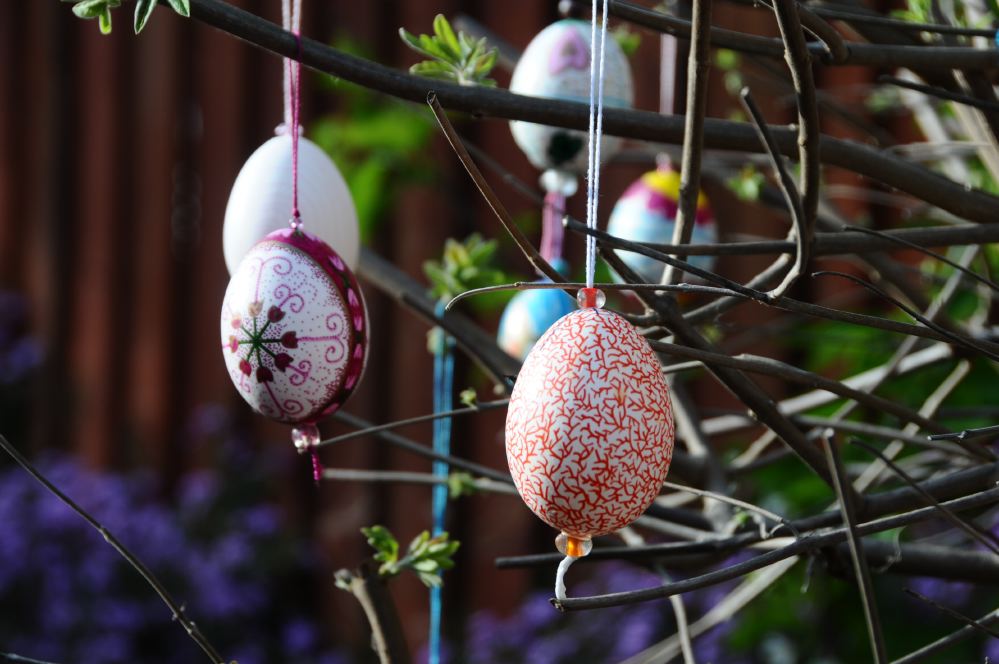
Sharpies and Blown Eggs Post date April 8, 2013 Posted in Art Activities Tagged with Easter, eggs, holiday, marker, ornament Comments 6
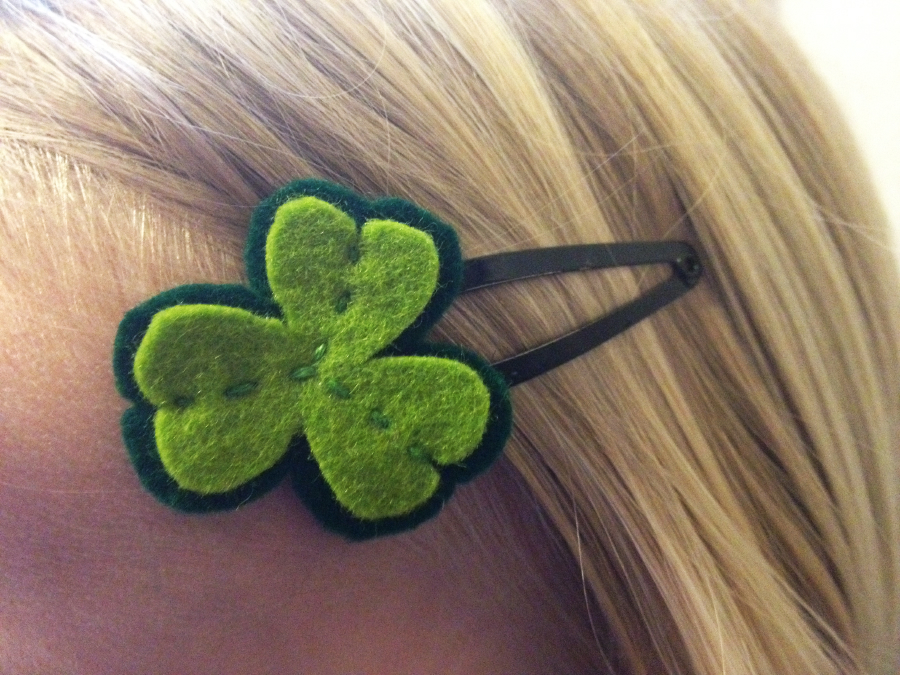
Shamrock Barrettes Post date March 16, 2013 Posted in Crafty Tagged with barrette, embroidery, felt, holiday, St. Patrick's Day, wool Comments 2
Solstice Book Post date December 20, 2012 Posted in Crafty, Life Tagged with book, holiday, solstice Comments 4
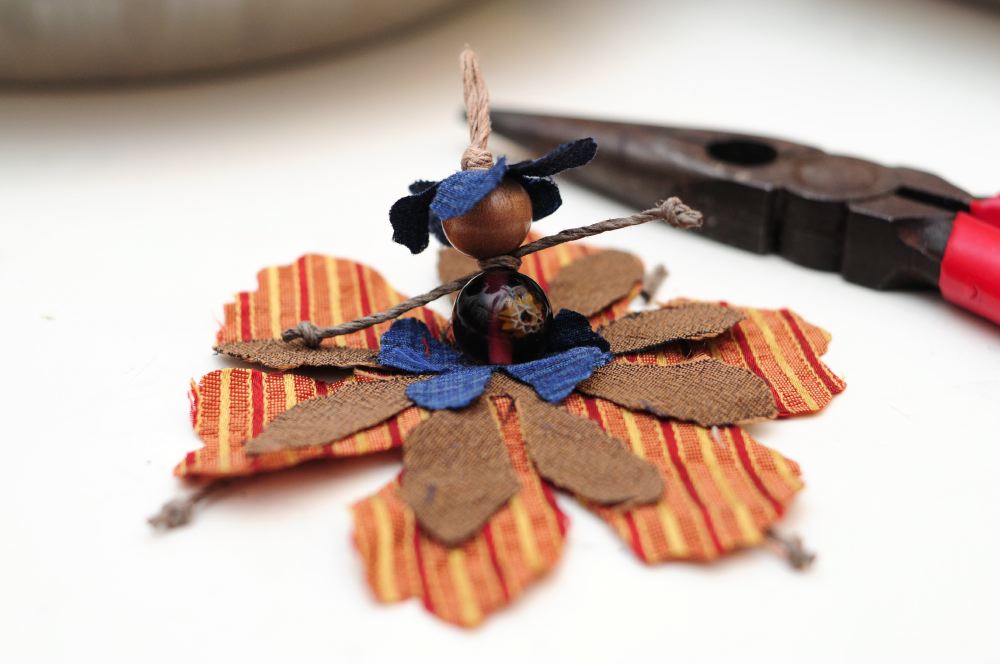
Spring Flower Fairies Tutorial (Friday Art Group) Post date March 24, 2012 Posted in Art Activities, Crafty Tagged with beads, doll, fabric, fairy, flower, holiday, spring, tutorial Comments 3
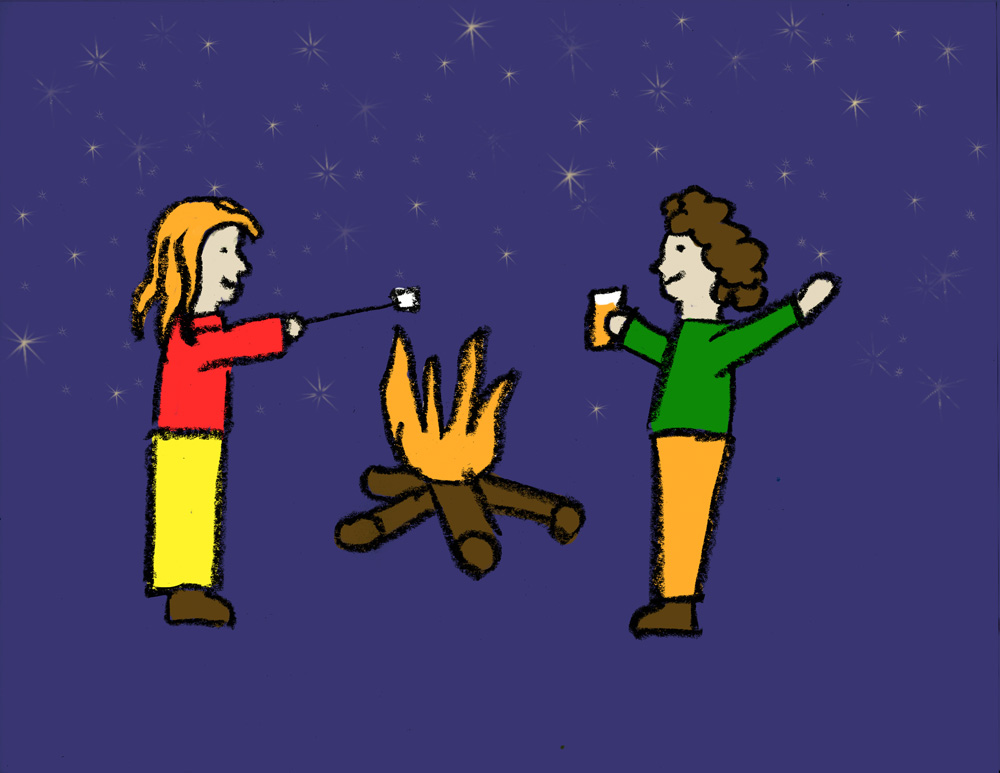
Chalk Candyland Post date June 10, 2011 Posted in Art Activities, Life Tagged with candy, chalk, game, holiday, party Comments 2