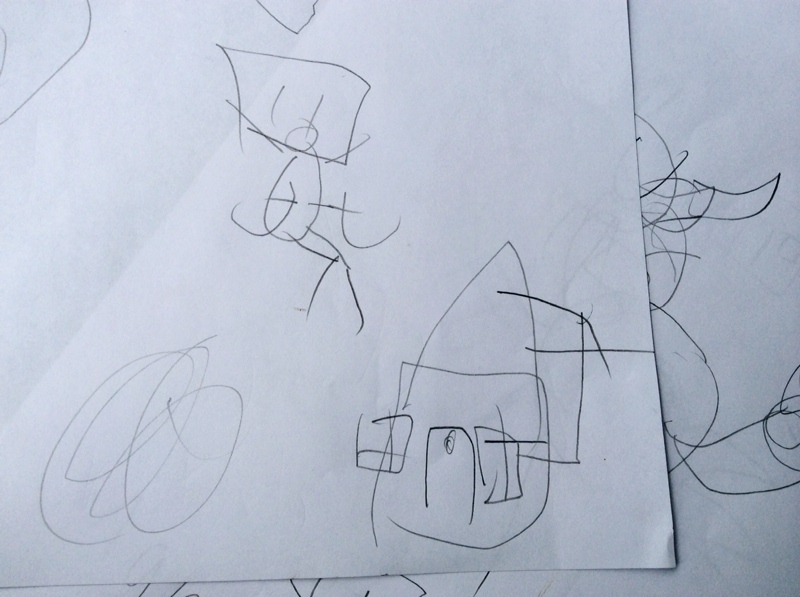
Blind Drawing Post date August 2, 2014 Posted in Art Activities Tagged with drawing, paper, pencils, sensory exploration Comments 1
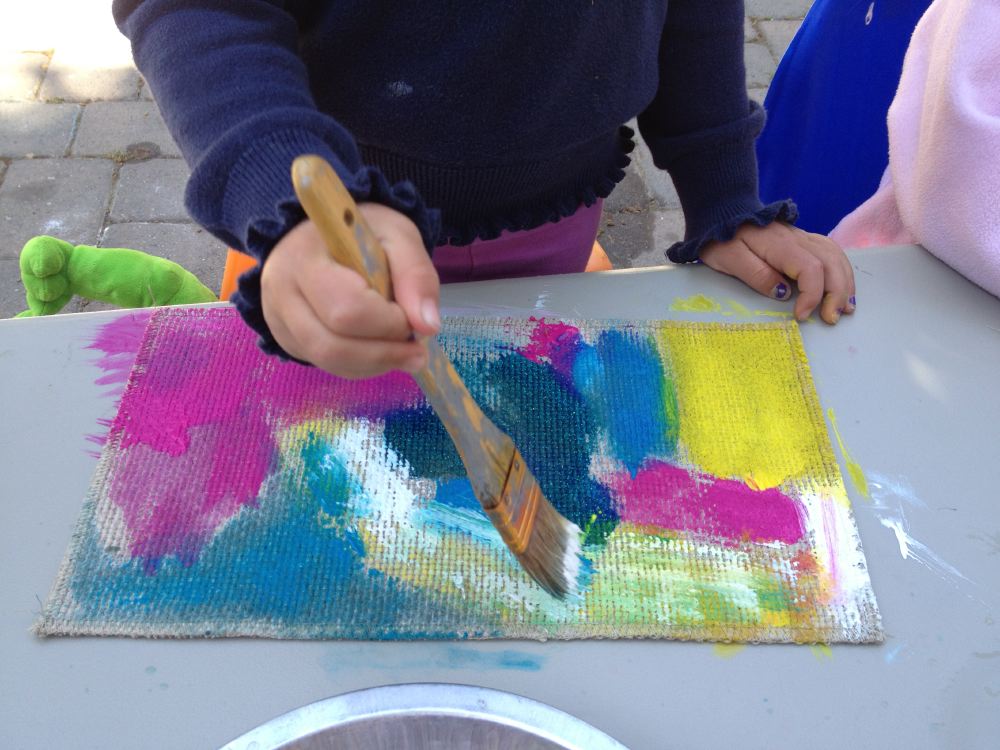
Painting on Linen Post date June 3, 2013 Posted in Art Activities Tagged with fabric, paint, sensory exploration Comments 2
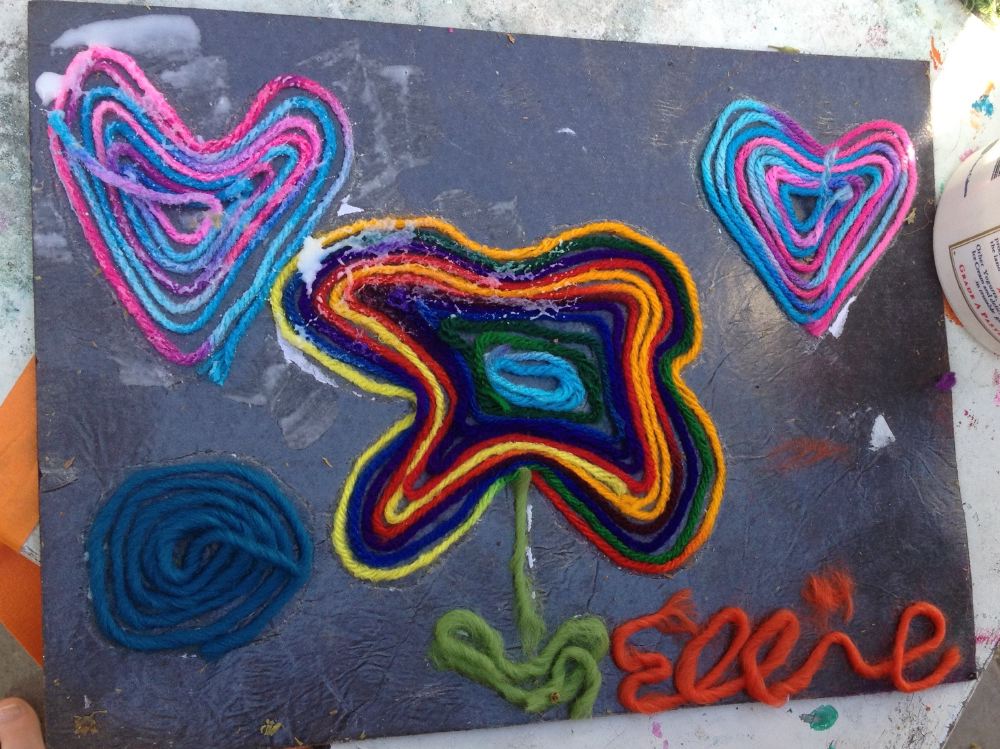
Sticky String Pictures Post date May 24, 2013 Posted in Art Activities Tagged with sensory exploration, string Comments 1
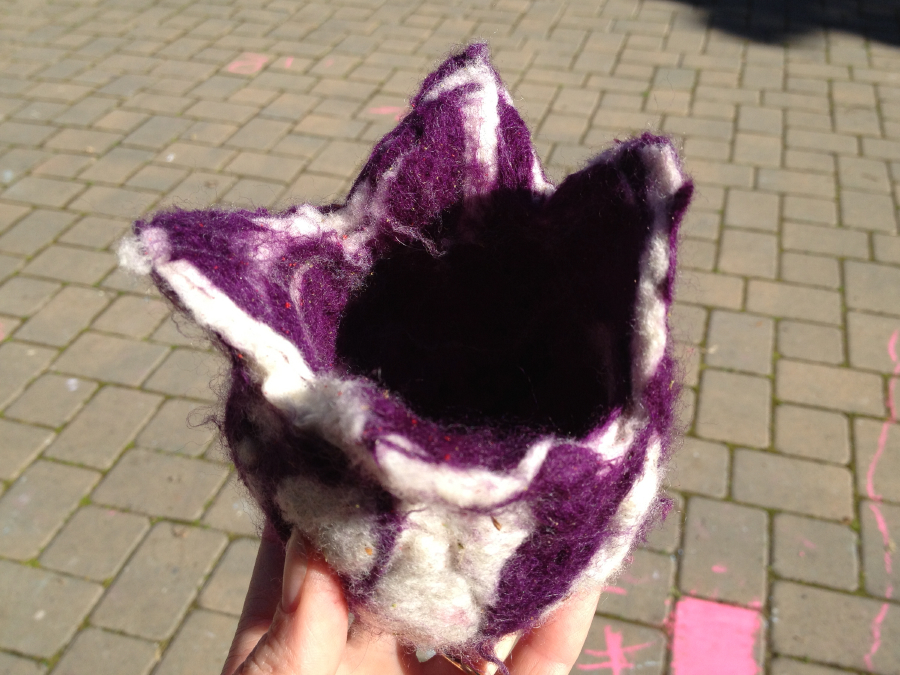
Felt Bowl Project for Kids Post date March 1, 2013 Posted in Art Activities Tagged with big art, felt, large motor, sensory exploration, wet felting Comments 3
Bubble Snakes – Friday Art Group Post date August 24, 2012 Posted in Art Activities Tagged with bubbles, kid fun, sensory exploration Comments 2
Walking the Paint – Friday Art Group Post date July 29, 2012 Posted in Art Activities Tagged with big art, large motor, paint, roll paper, sensory exploration Comments 6