Morning Glory Skirt Post date August 1, 2011 Posted in Crafty Tagged with clothes, Crafty, sewing, skirt Comments 2
Texture Blocks Post date July 25, 2011 Posted in Crafty Tagged with Crafty, leather, sensory exploration, toy, wood Comments 3
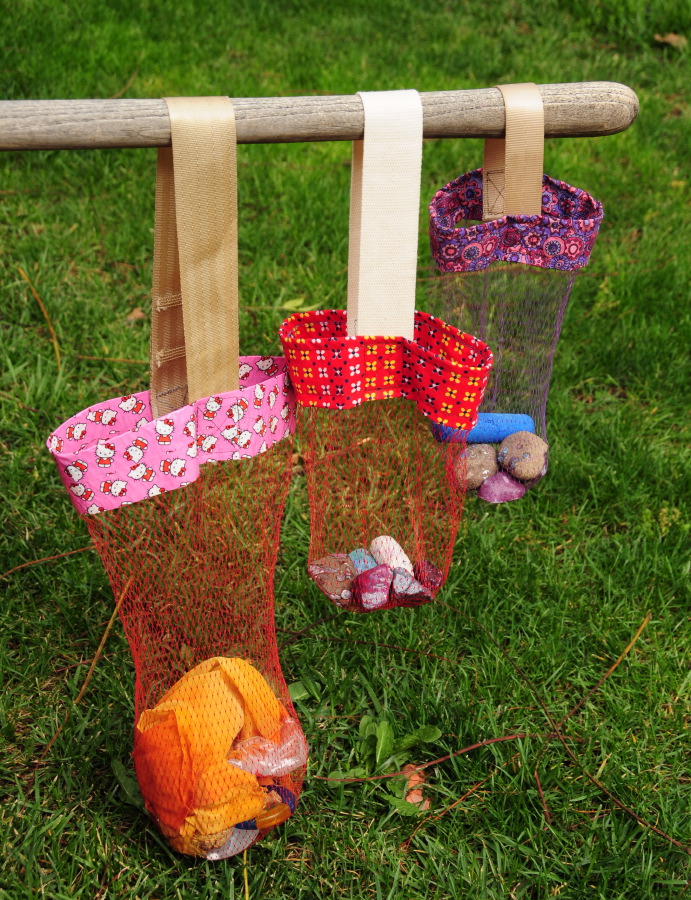
Mesh Collecting Bag Tutorial Post date July 5, 2011 Posted in Crafty Tagged with bag, Crafty, recycled, sewing, toy, tutorial Comments 24
Felted Things Post date June 16, 2011 Posted in Crafty Tagged with Crafty, felt, needle felting, pod, recycling, seed, tree, wet felting, wool Comments 2
Cinderella Sparkle Dress Post date April 11, 2011 Posted in Crafty Tagged with clothes, Crafty, dress, fabric, princess, sewing Comments 5
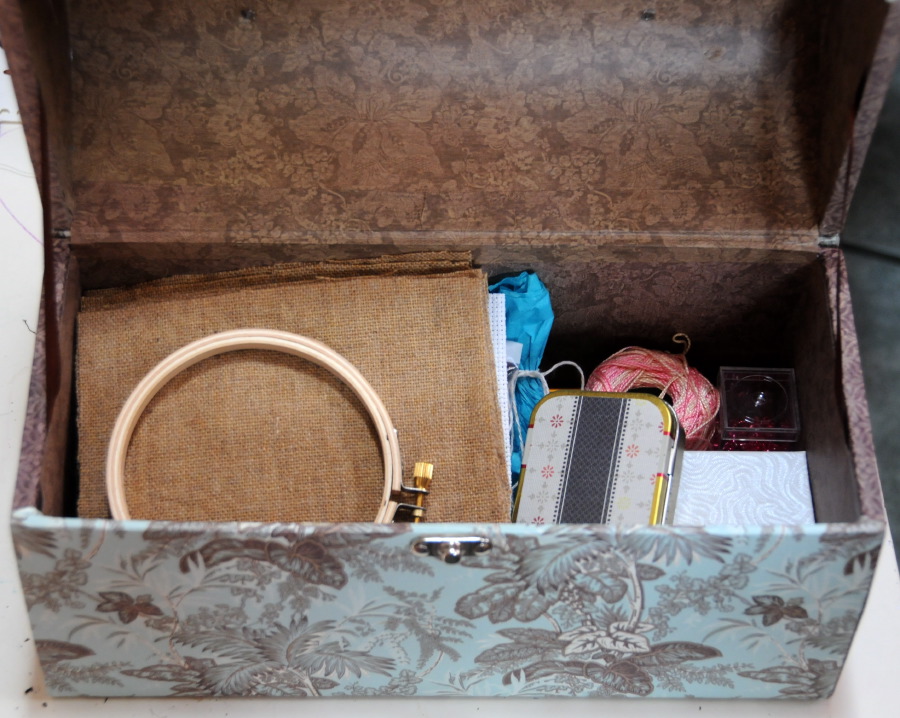
Gift Sewing Kit Post date April 4, 2011 Posted in Crafty Tagged with beads, Crafty, embroidery, fabric, gift, paper, sewing, tutorial Comments 2