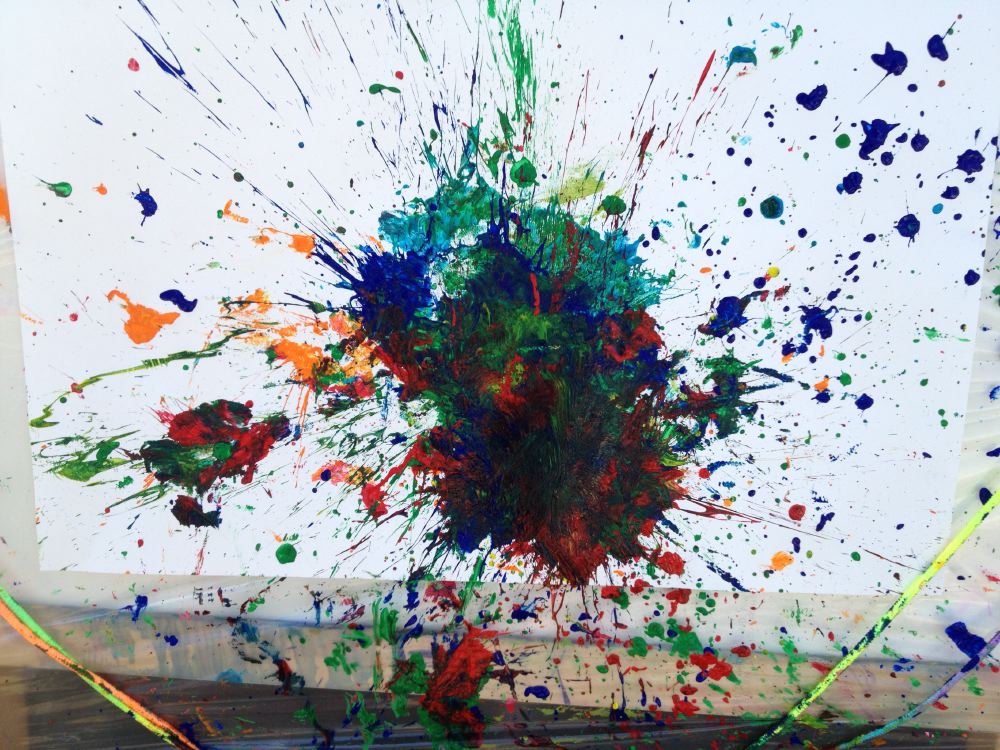
Snap Painting Revisited Post date April 5, 2013 Posted in Art Activities Tagged with paint Comments 5
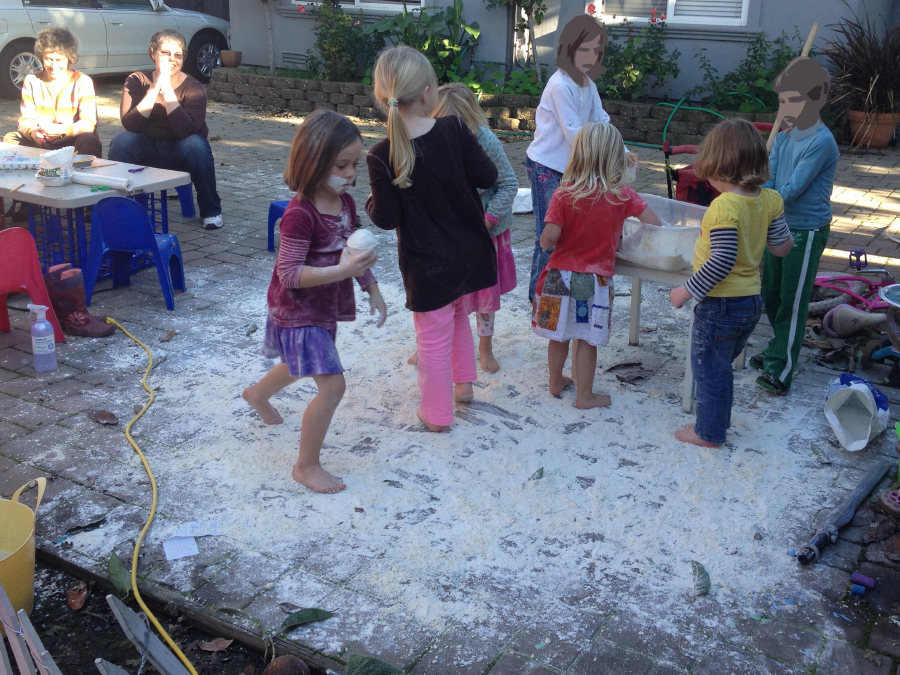
Snow Dough and Watercolor Snowflakes Post date January 4, 2013 Posted in Art Activities Tagged with cutting, messy, paint, paper Comments 0
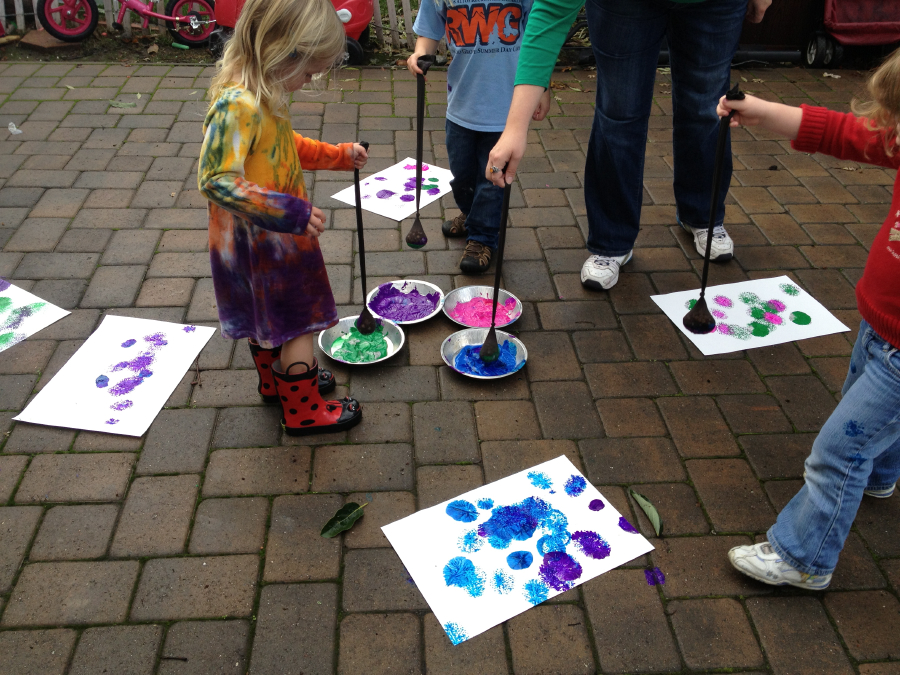
Yo-Yo Painting – Art Playgroup Rebooted Post date December 27, 2012 Posted in Art Activities Tagged with big art, messy, paint Comments 4
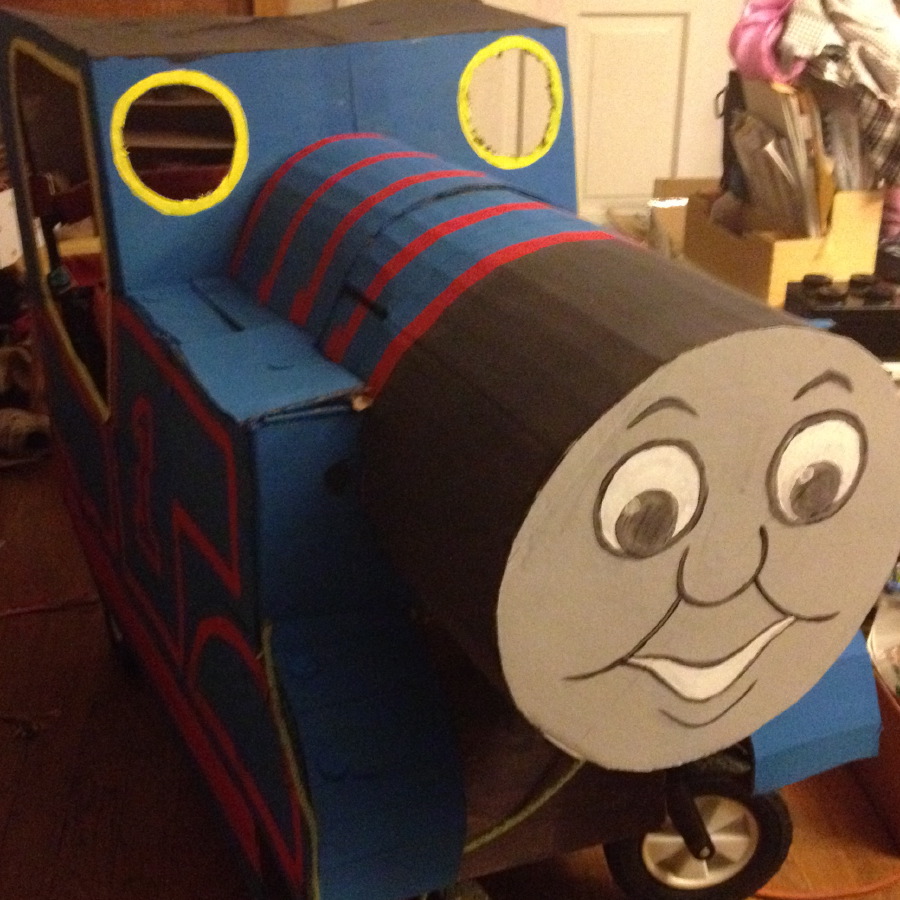
Thomas the Tank Engine Wagon Conversion Post date August 13, 2012 Posted in Crafty Tagged with birthday, cardboard, paint, train Comments 6
Walking the Paint – Friday Art Group Post date July 29, 2012 Posted in Art Activities Tagged with big art, large motor, paint, roll paper, sensory exploration Comments 6