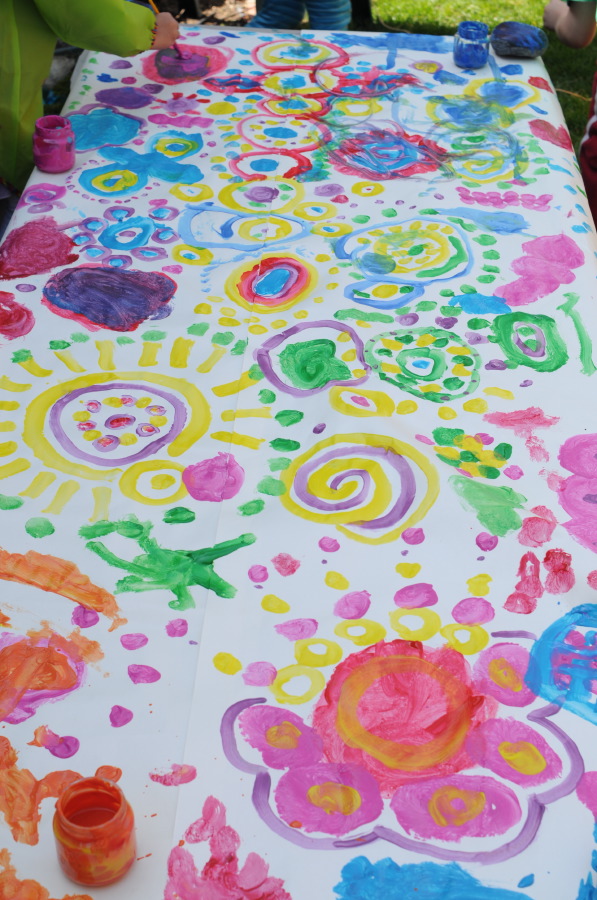
Circle Painting – Friday Art Group Post date July 23, 2012 Posted in Art Activities Tagged with cooperation, paint, roll paper Comments 2
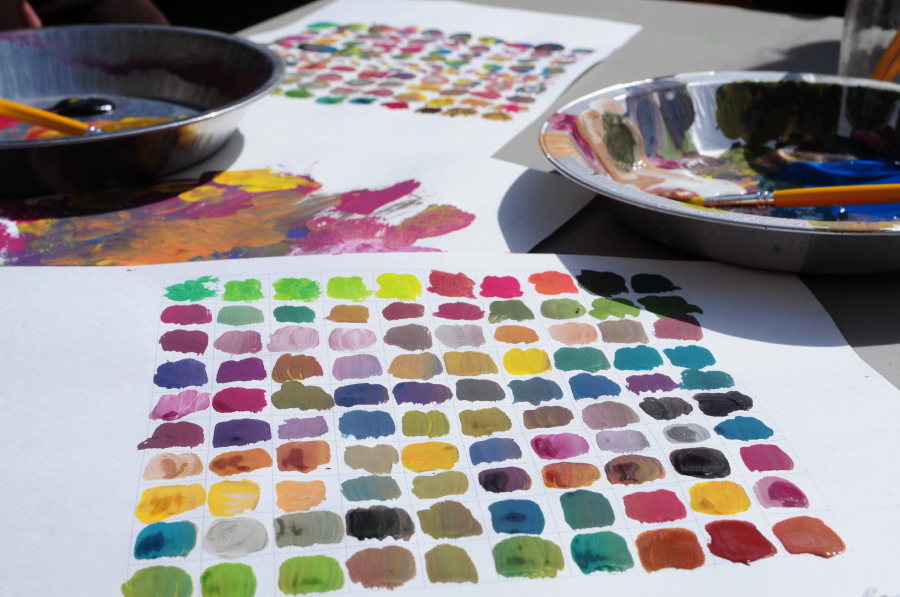
Mixing 100 Colors Post date July 7, 2012 Posted in Art Activities Tagged with color, paint, patience Comments 4
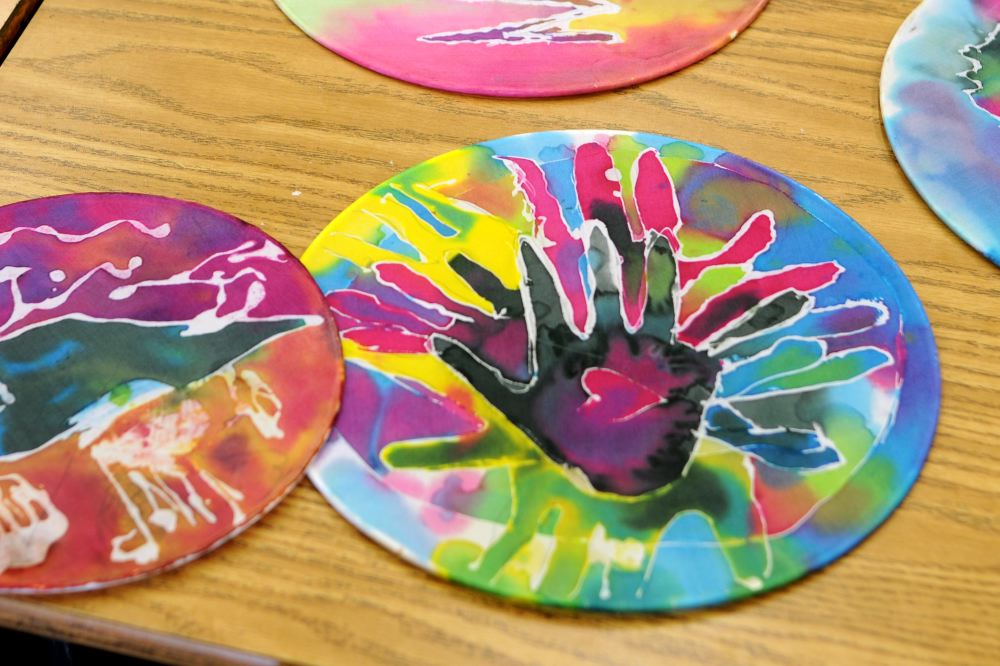
Silk Painting Post date March 19, 2012 Posted in Art Activities Tagged with dye, paint, silk Comments 3
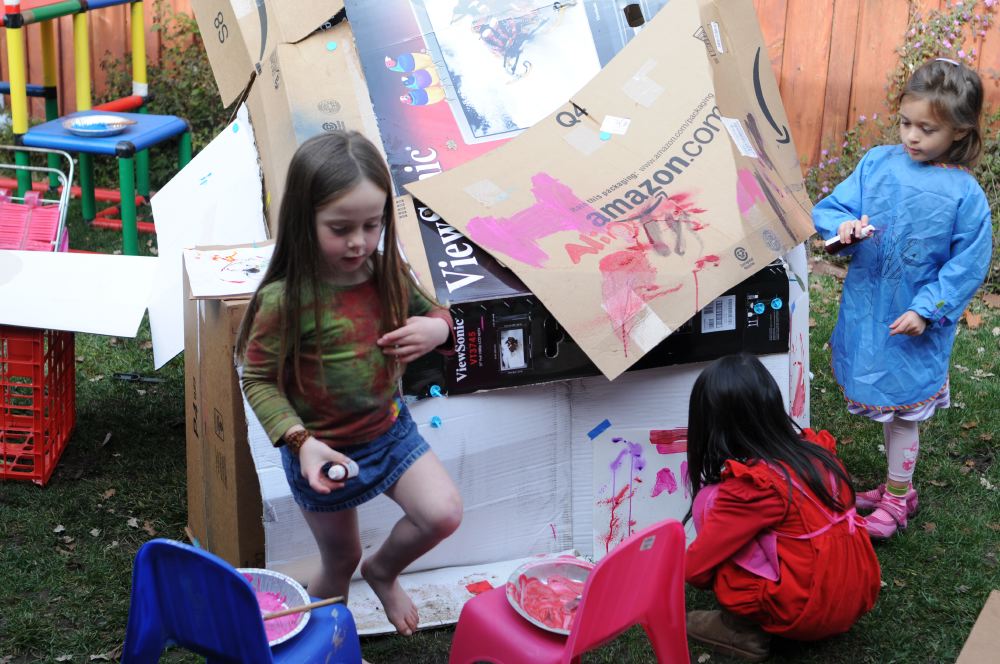
Painting a Cardboard Fortress Post date January 6, 2012 Posted in Art Activities Tagged with cardboard, paint Comments 4
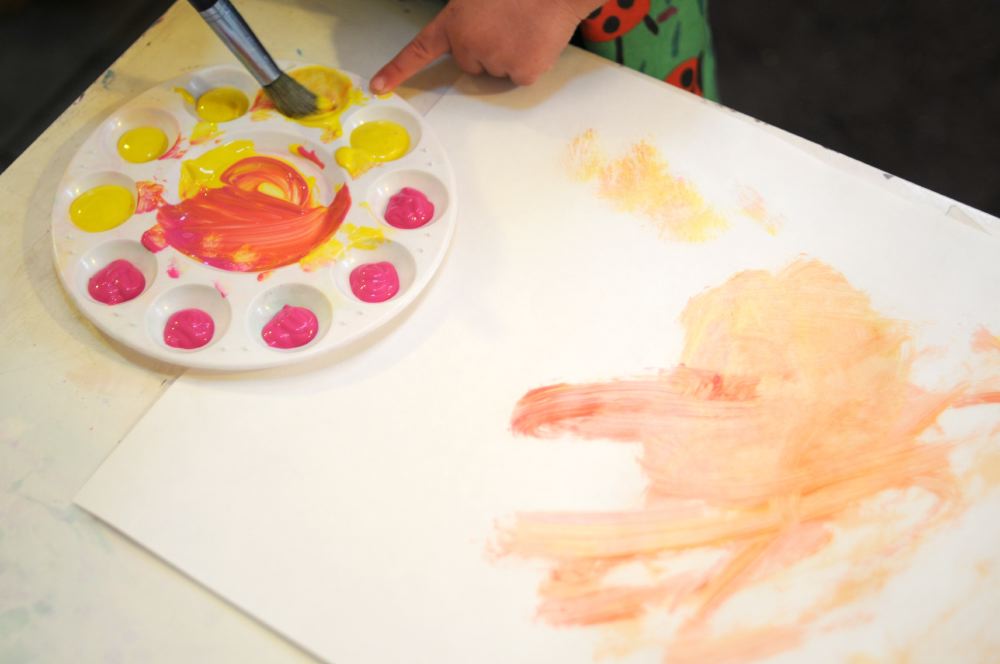
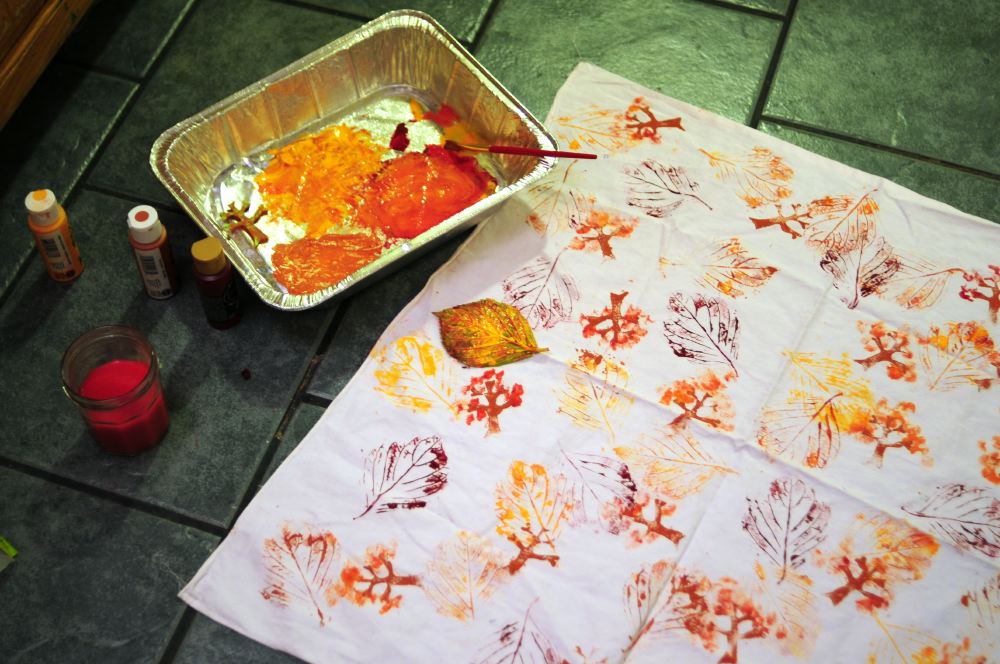
Acrylic Stamping on Fabric Post date December 20, 2011 Posted in Art Activities Tagged with fabric, paint, stamps Comments 2