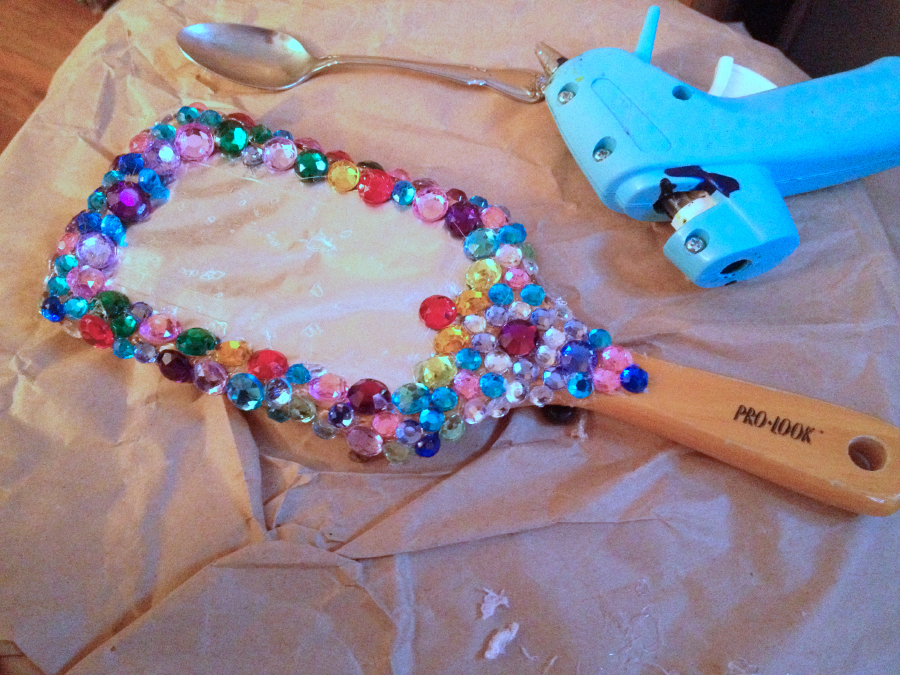
Magic Mirror Post date February 26, 2013 Posted in Art Activities, Crafty Tagged with dress up, jewels, toy, tutorial Comments 1
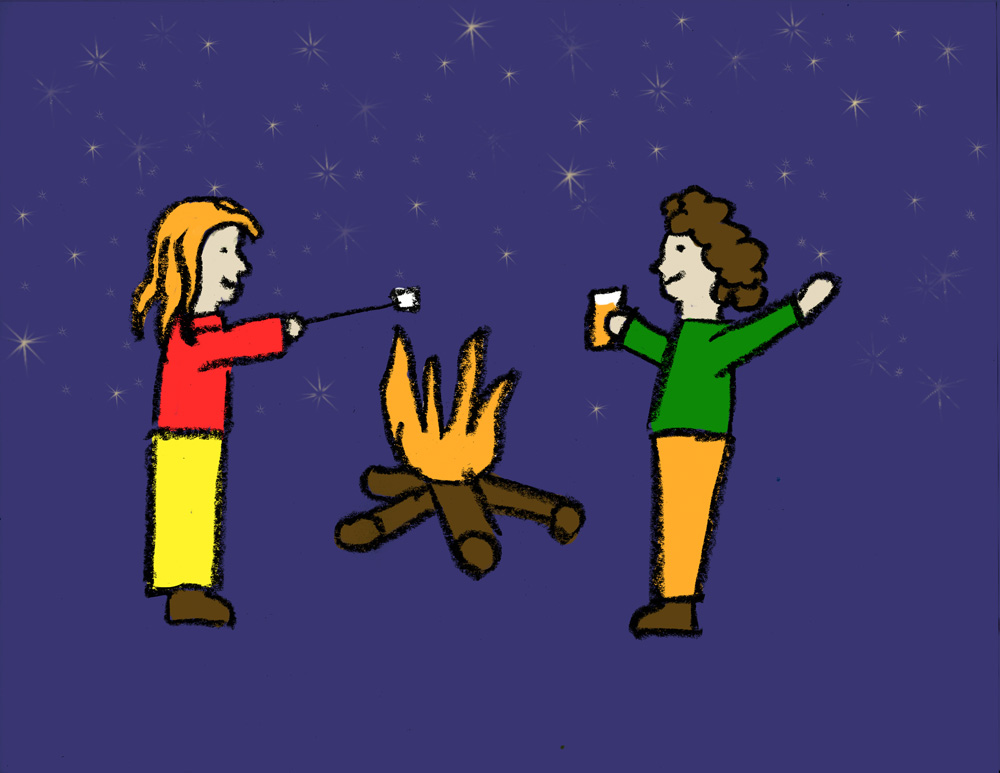
Solstice Book Post date December 20, 2012 Posted in Crafty, Life Tagged with book, holiday, solstice Comments 4
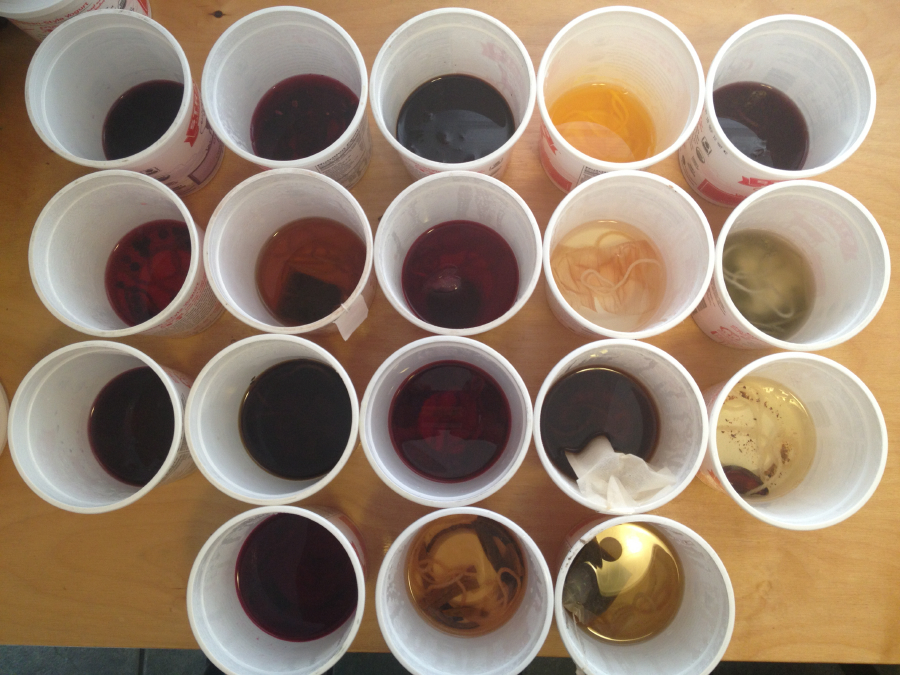
Dye Dye Dye Post date October 16, 2012 Posted in Crafty Tagged with chemistry, dye, experiments, plants Comments 4
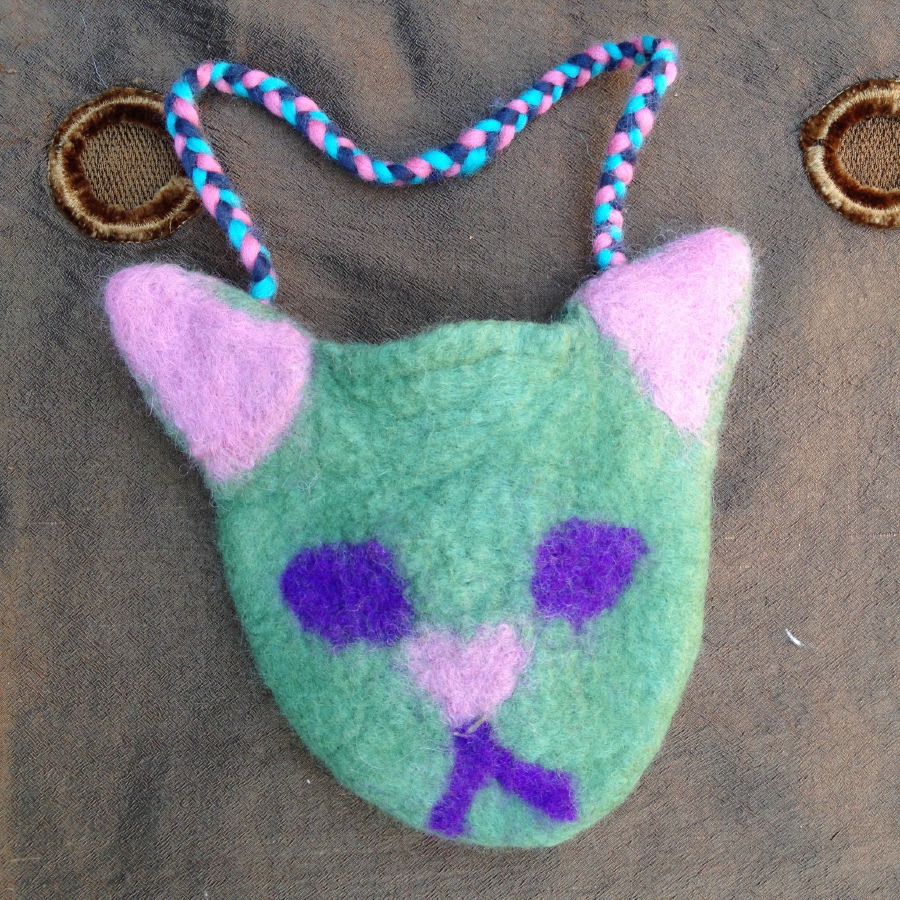
Zombie Cat Purse Post date October 8, 2012 Posted in Crafty Tagged with felt, wet felting, wool Comments 2
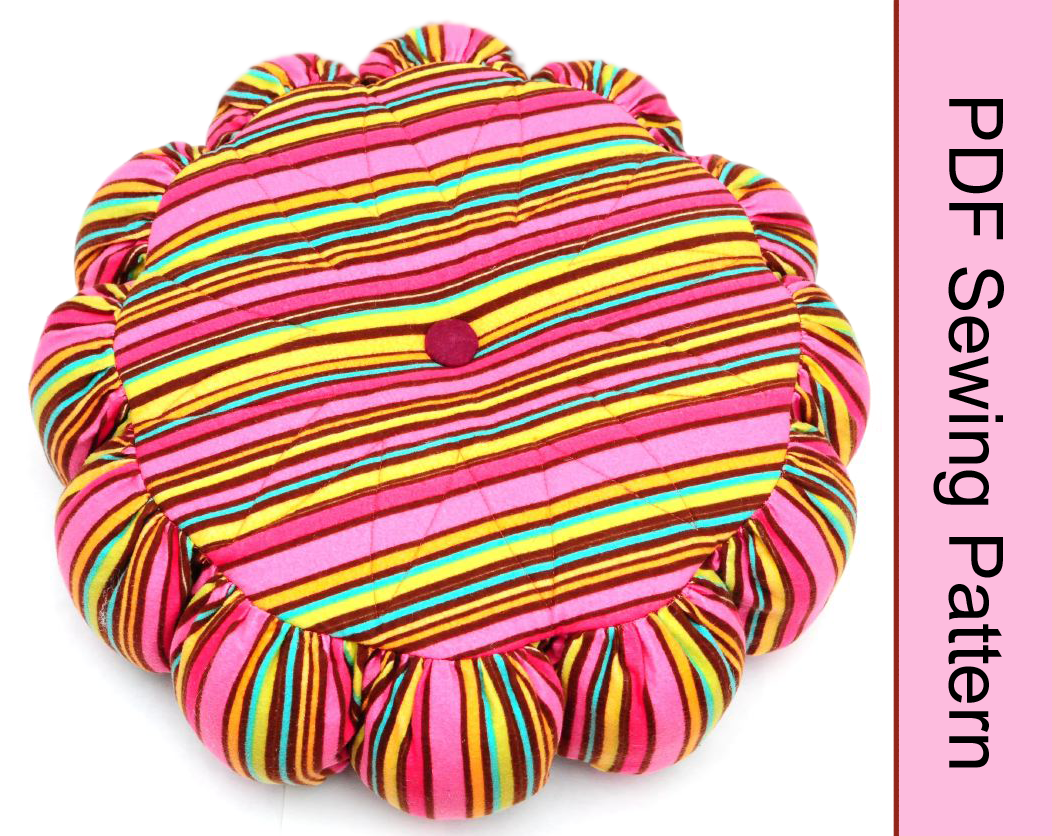
Secret Pockets Pillow Pattern Up! Post date October 6, 2012 Posted in Crafty Tagged with etsy, pattern, pillow, sewing Comments 8