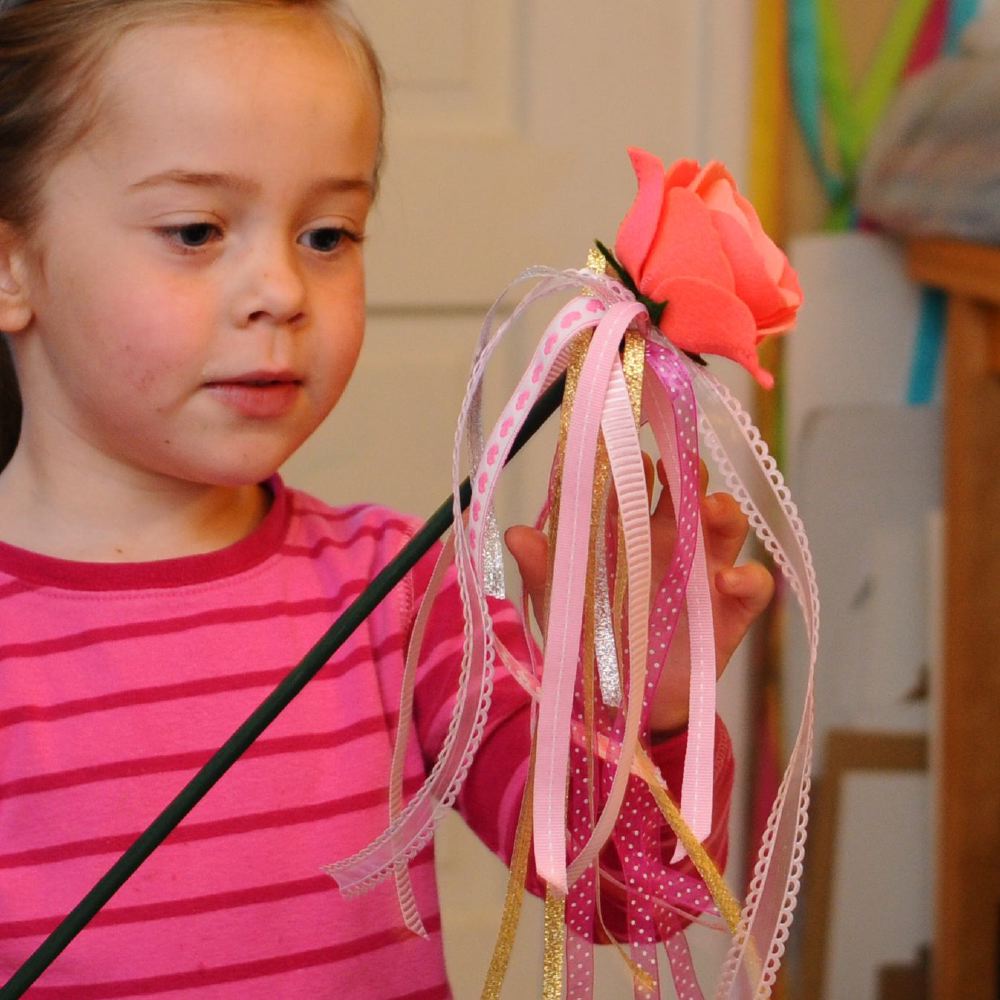
Rose Wand Tutorial Post date January 22, 2012 Posted in Crafty Tagged with felt, flowers, toy, tutorial, wand Comments 5
Felted Things Post date June 16, 2011 Posted in Crafty Tagged with Crafty, felt, needle felting, pod, recycling, seed, tree, wet felting, wool Comments 2
Needle Felting as Applique or A Monster for Abby Post date May 23, 2011 Posted in Crafty Tagged with felt, monster, needle felting, plushie, technique, wool Comments 9
Needlefelted Matryoshka Post date May 16, 2011 Posted in Crafty Tagged with doll, felt, needle felting, toy, wool, zakka Comments 4
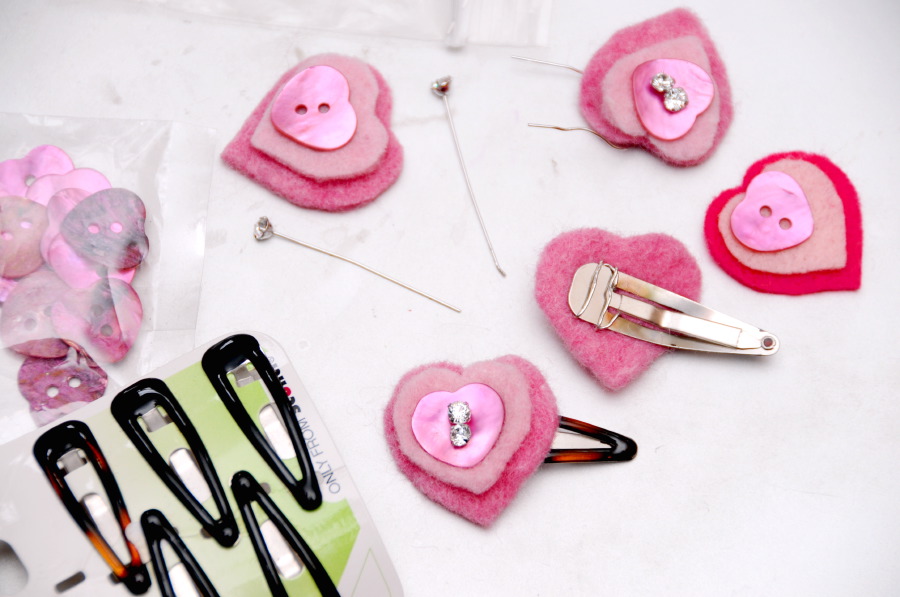
No Sew (No Glue) Heart Barrettes Post date February 23, 2011 Posted in Crafty Tagged with barrette, Crafty, felt, holiday, tutorial Comments 4
Mushroom Barrette Giveaway Post date October 23, 2010 Posted in Crafty Tagged with accessory, barrette, felt Comments 26