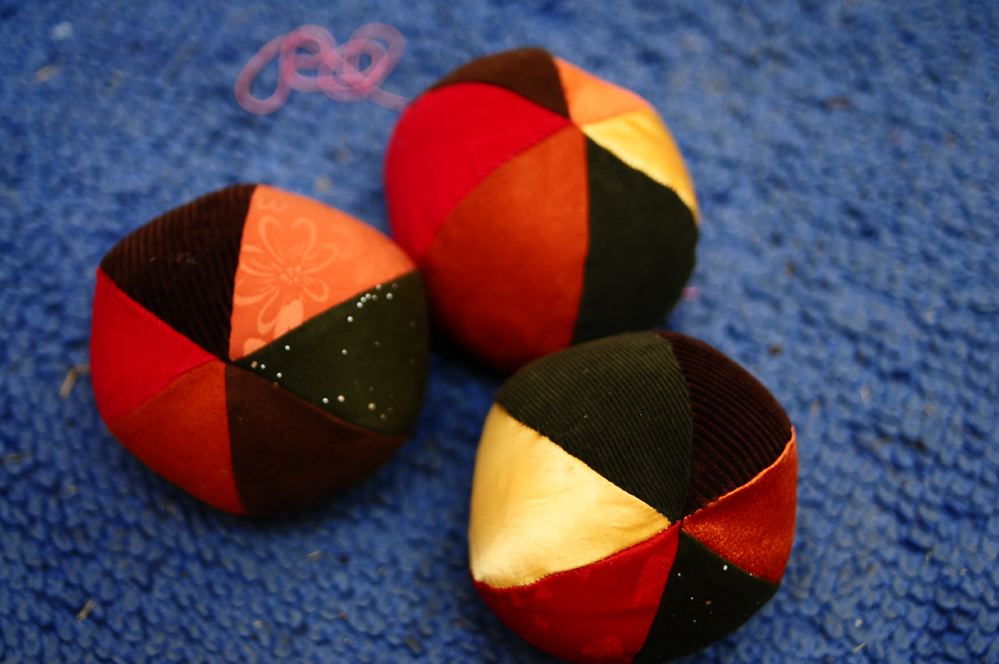
Texture Balls Post date November 11, 2011 Posted in Art Activities, Crafty Tagged with fabric, sensory exploration, sewing, toy Comments 3
Dolling Up Robot Post date September 5, 2011 Posted in Crafty Tagged with clothes, robot, sewing, toy Comments 2
Texture Blocks Post date July 25, 2011 Posted in Crafty Tagged with Crafty, leather, sensory exploration, toy, wood Comments 3
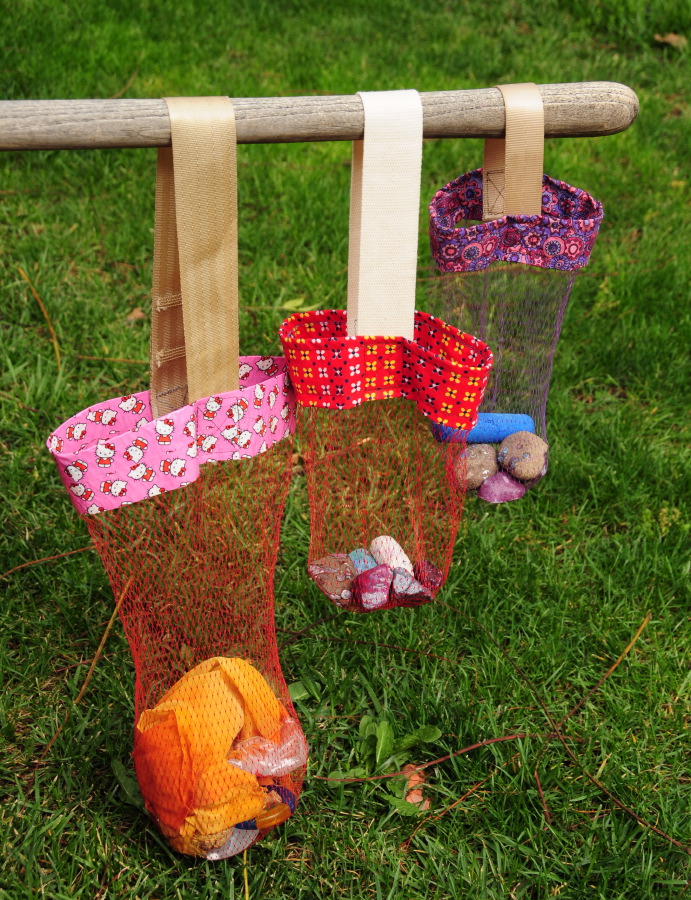
Mesh Collecting Bag Tutorial Post date July 5, 2011 Posted in Crafty Tagged with bag, Crafty, recycled, sewing, toy, tutorial Comments 24