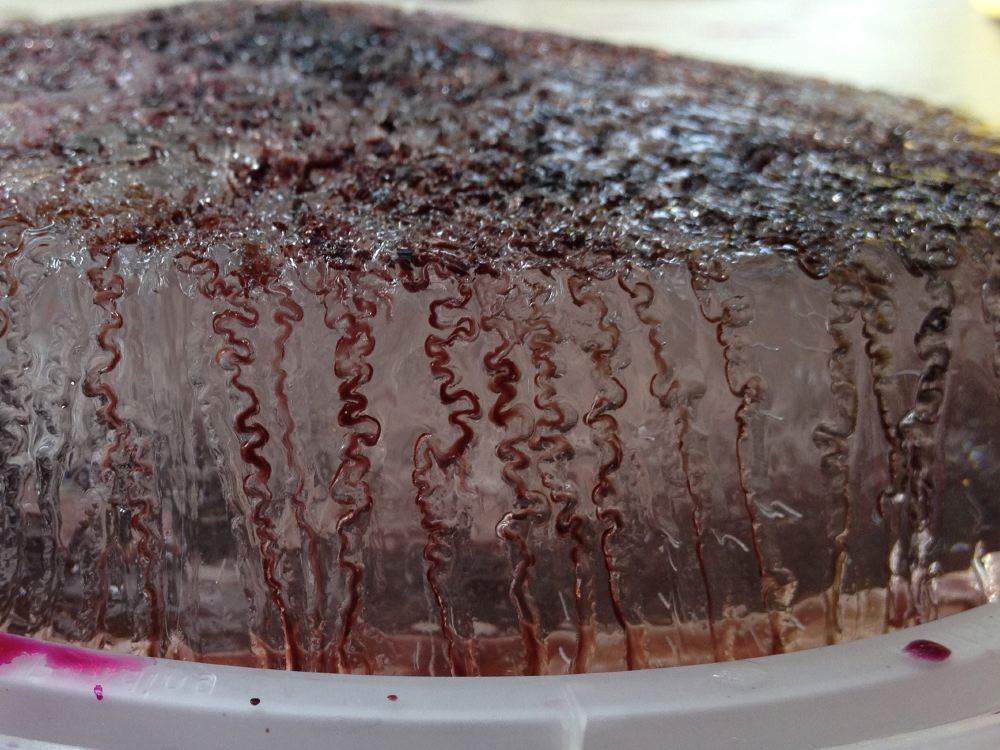
Ice, Salt & Watercolors Post date August 17, 2013 Posted in Art Activities Tagged with ice, liquid watercolors, printing, salt, science Comments 1
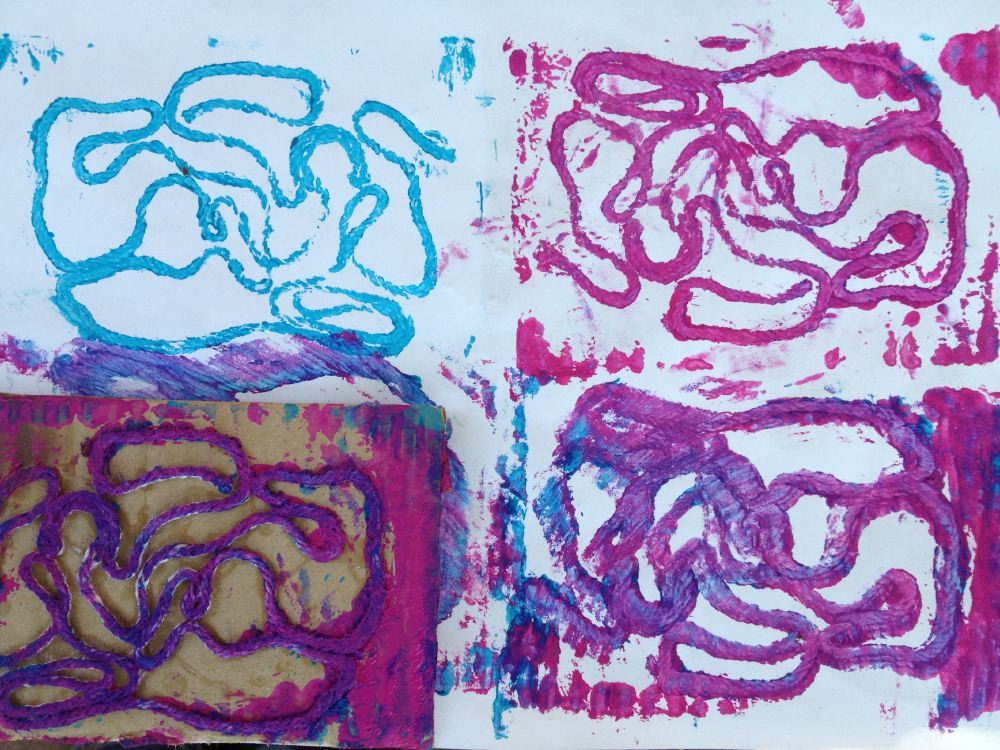
Yarn Stamps Post date August 9, 2013 Posted in Art Activities Tagged with paint, printing, stamps, yarn Comments 2
Blowing Watercolors Post date August 2, 2013 Posted in Art Activities Tagged with blowing, liquid watercolors, paint, straws, water colors Comments 4
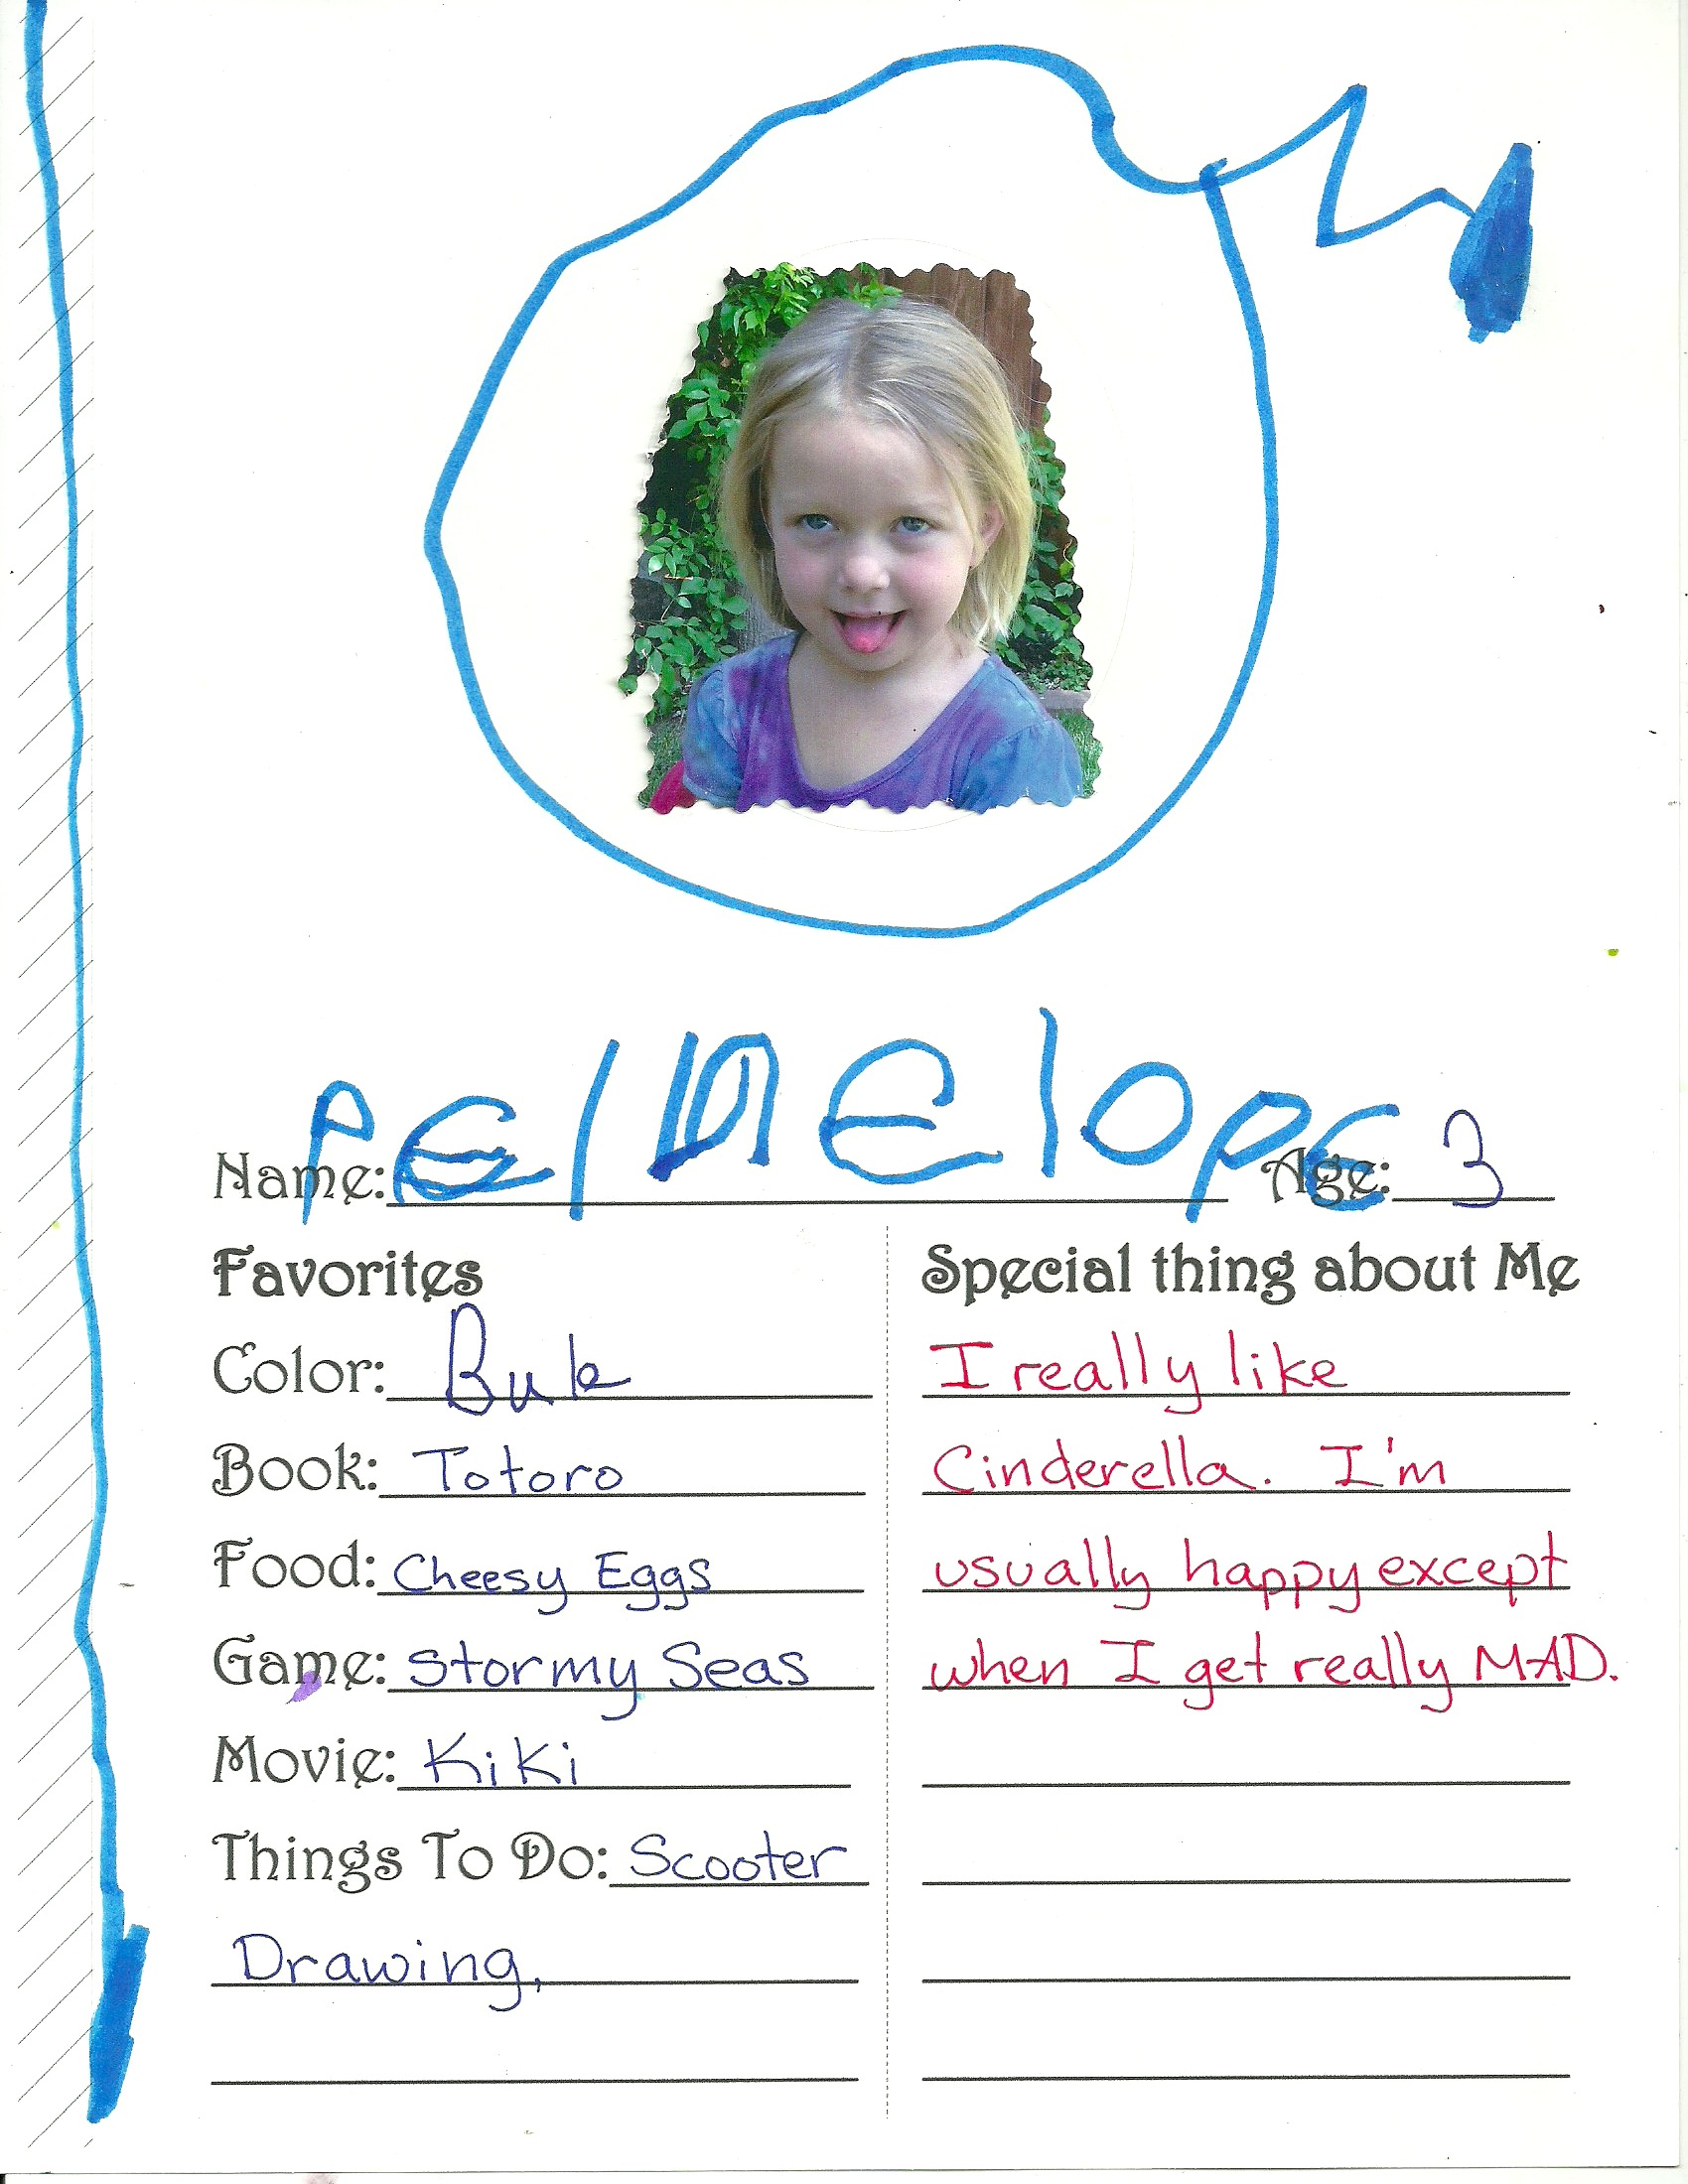
Book of Friends & Post Card Swap Post date July 29, 2013 Posted in Art Activities Tagged with writing Comments 2
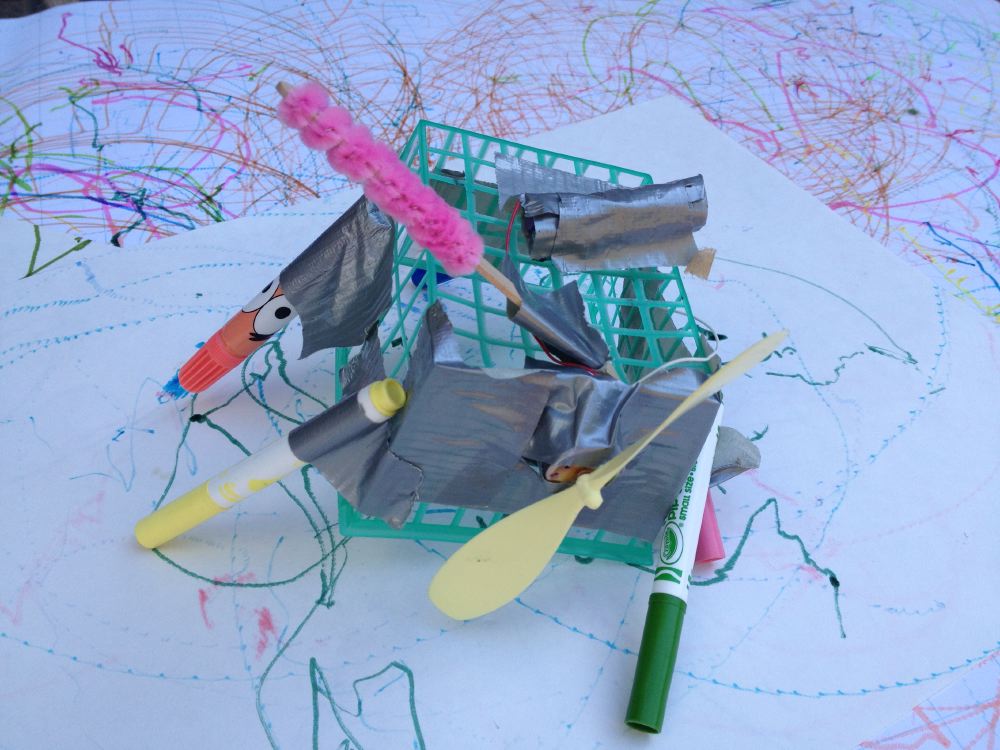
Scribble Bots Post date July 21, 2013 Posted in Art Activities Tagged with electronics, experiments, marker, robot, tinkering Comments 2