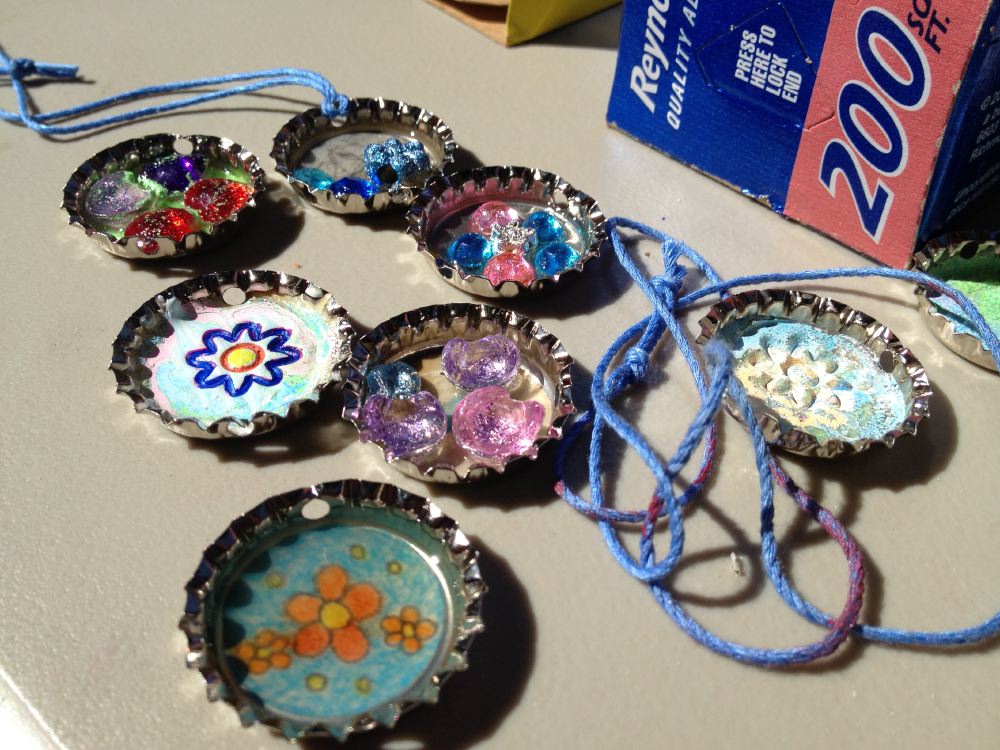
Embossing Enamel Bottle Cap Necklaces Post date July 13, 2013 Posted in Art Activities Tagged with bottle caps, heat, plastic Comments 2
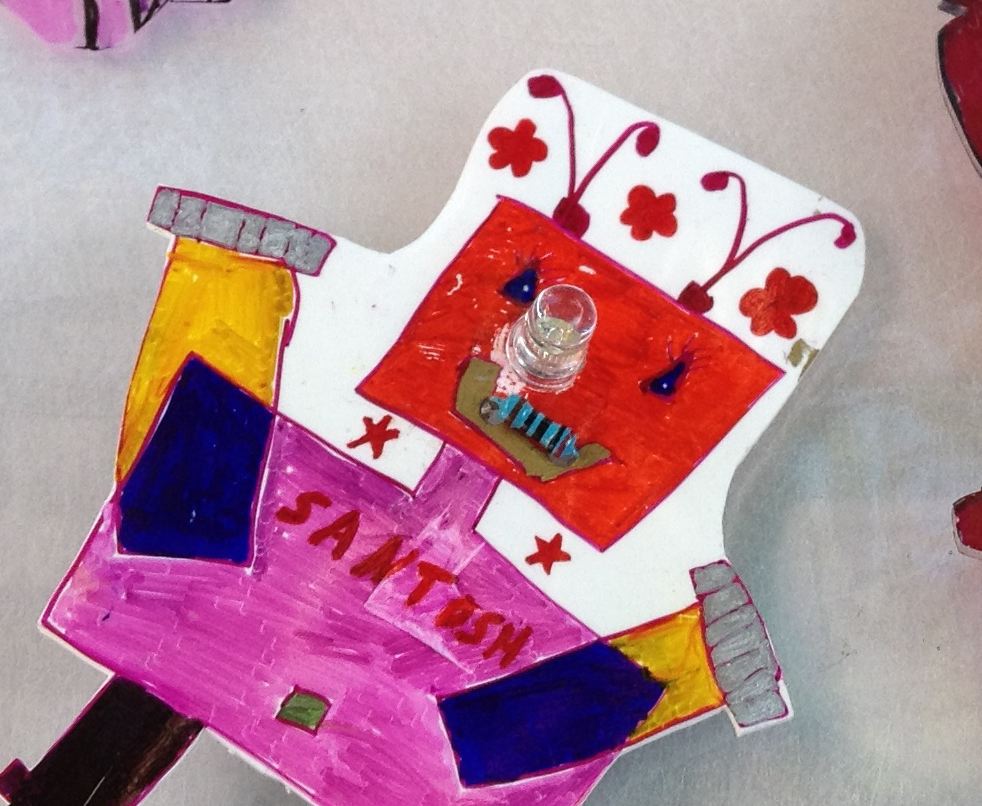
Light Up Shrinky Dink Pins Post date July 4, 2013 Posted in Art Activities Tagged with conductive paint, electronics, LED Comments 3
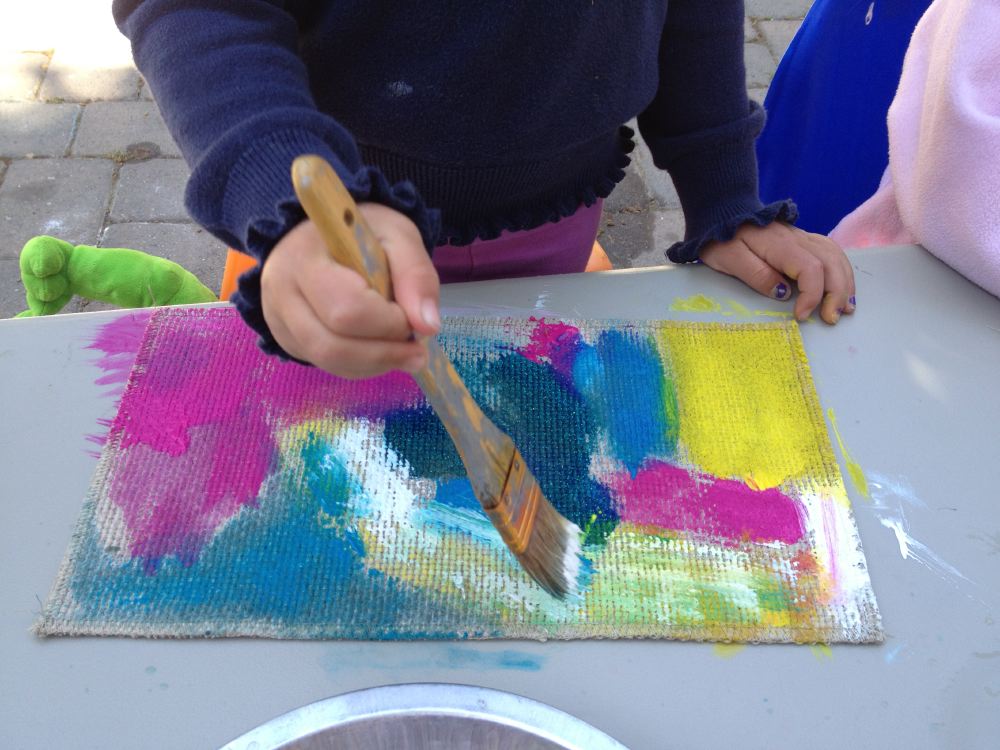
Painting on Linen Post date June 3, 2013 Posted in Art Activities Tagged with fabric, paint, sensory exploration Comments 2
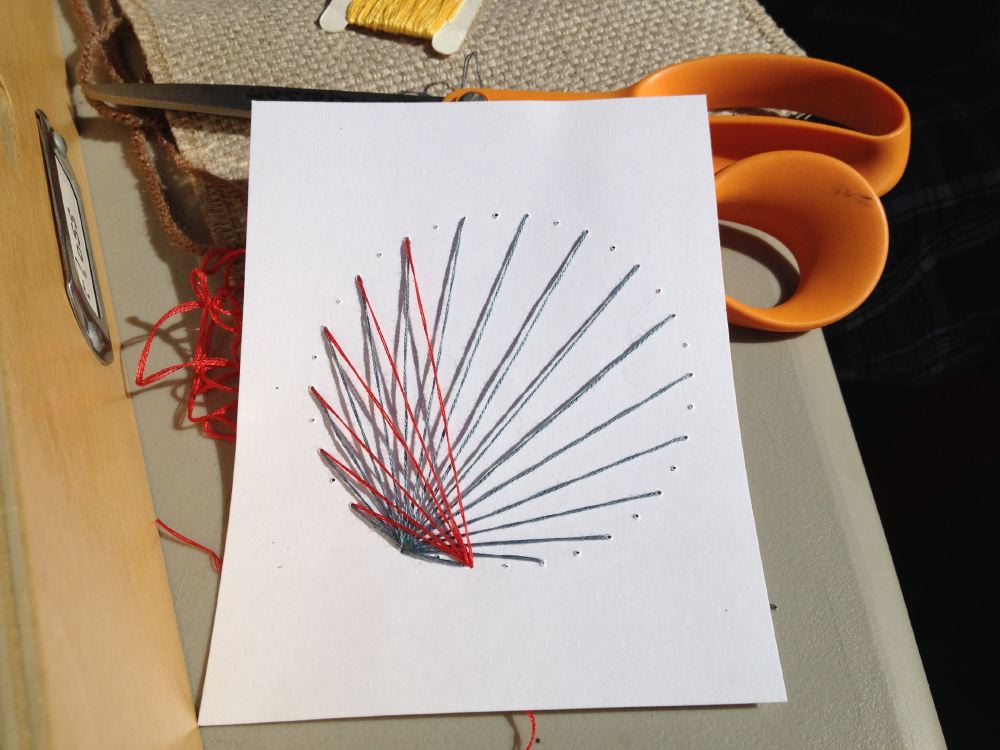
Curve Stitching Post date June 1, 2013 Posted in Art Activities Tagged with math, sewing, string Comments 6
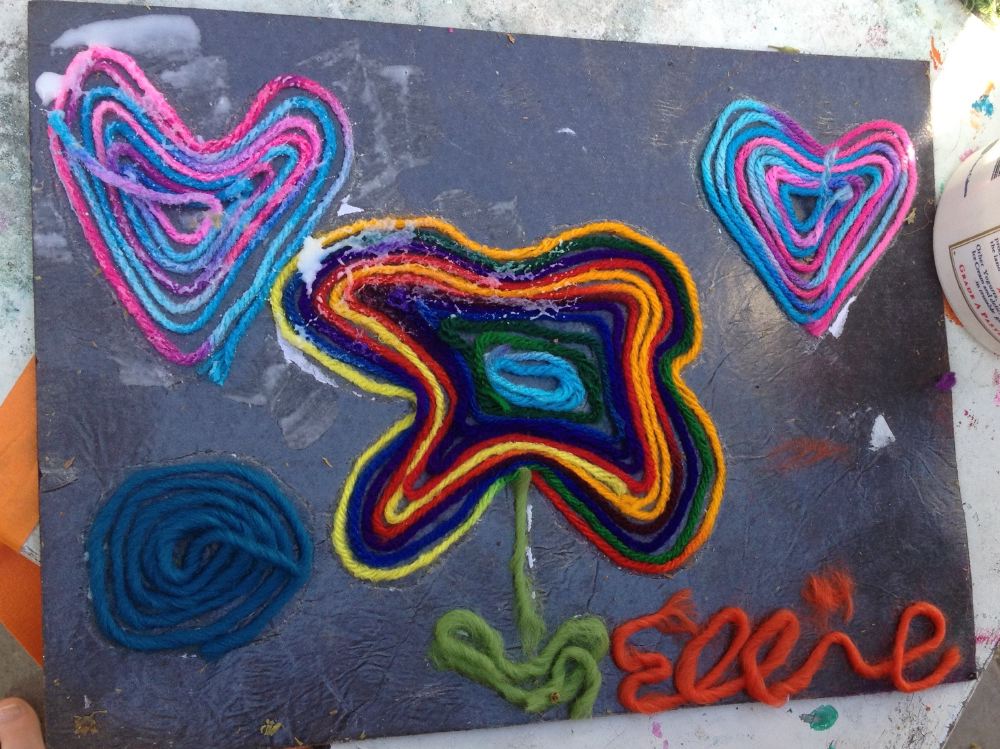
Sticky String Pictures Post date May 24, 2013 Posted in Art Activities Tagged with sensory exploration, string Comments 1