Dancing Snake Cake Post date July 3, 2009 Posted in Crafty Tagged with automata, Crafty, food, monster Comments 3
Phonics Miniatures Swap Post date January 31, 2009 Posted in Crafty Tagged with Crafty, embroidery, felt, food, Homeschool, miniature, swap Comments 5
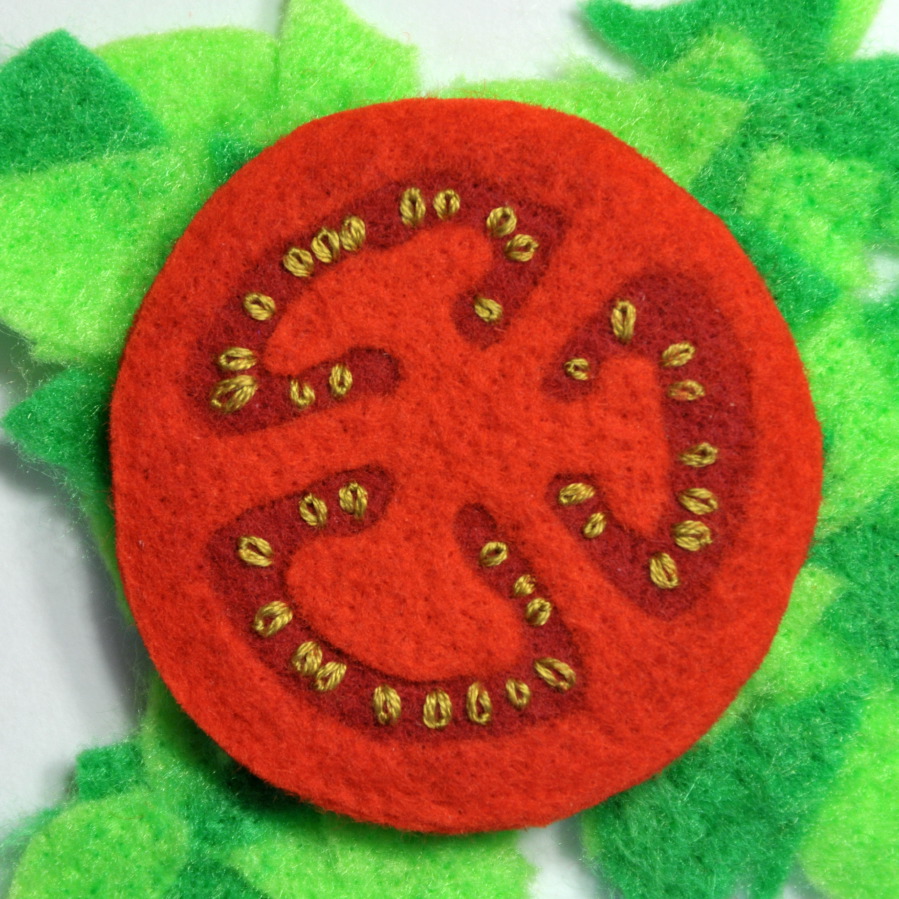
Felt Tomato Slice Tutorial Post date January 1, 2009 Posted in Crafty Tagged with Crafty, embroidery, felt, food, needle felting, tutorial Comments 58
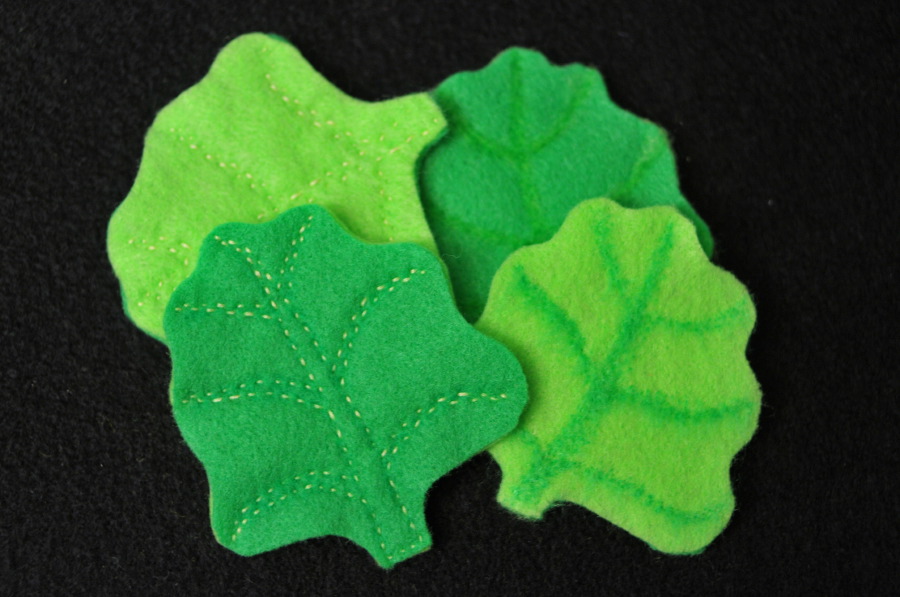
Felt Lettuce Tutorial Post date December 11, 2008 Posted in Crafty Tagged with embroidery, felt, food, needle felting, tutorial Comments 28