Glowing Play Pumpkin Post date October 21, 2010 Posted in Crafty Tagged with Crafty, felt, halloween, holiday, paint Comments 3
Giveaway Closed Post date October 16, 2010 Posted in Life Tagged with accessory, barrette, felt, giveaway, halloween, holiday Comments 0
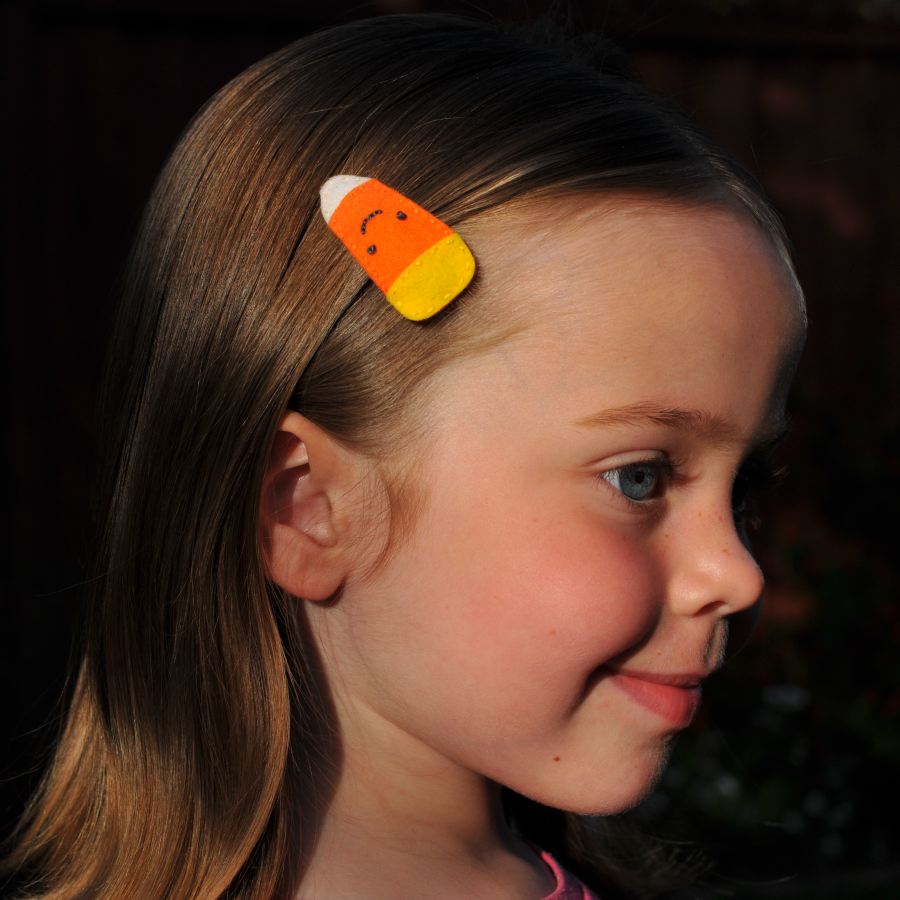
Candy Corn Barrette Tutorial/Giveaway Post date October 7, 2010 Posted in Crafty Tagged with accessory, barrette, felt, halloween, holiday, tutorial, zakka Comments 25
Woo! Finally. Post date October 10, 2009 Posted in Crafty, Life Tagged with etsy, felt, halloween, holiday, monster, pattern, sewing, toy Comments 1