Activity Blanket Post date July 16, 2009 Posted in Crafty Tagged with applique, felt, needle felting, quilt, sewing Comments 1
Hollow Wet Felted Eggs Post date April 10, 2009 Posted in Crafty Tagged with Crafty, felt, holiday, needle felting Comments 2
Felt Grass Rug Post date January 20, 2009 Posted in Crafty Tagged with Crafty, doll house, felt, needle felting Comments 1
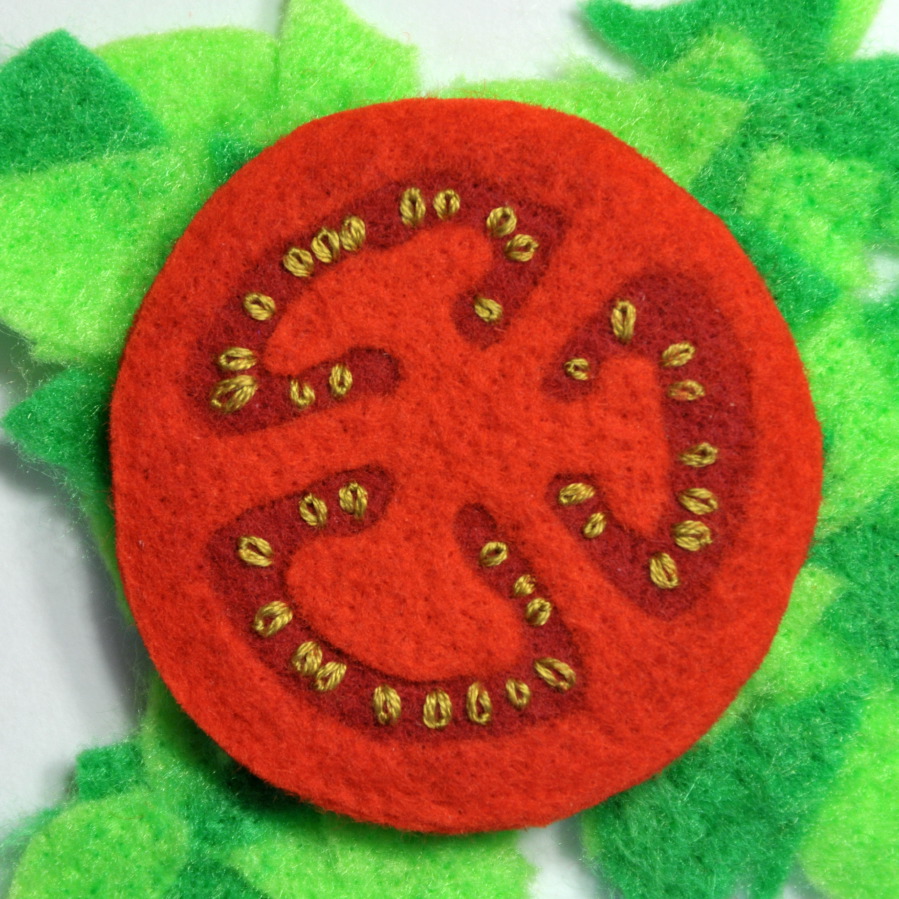
Felt Tomato Slice Tutorial Post date January 1, 2009 Posted in Crafty Tagged with Crafty, embroidery, felt, food, needle felting, tutorial Comments 58
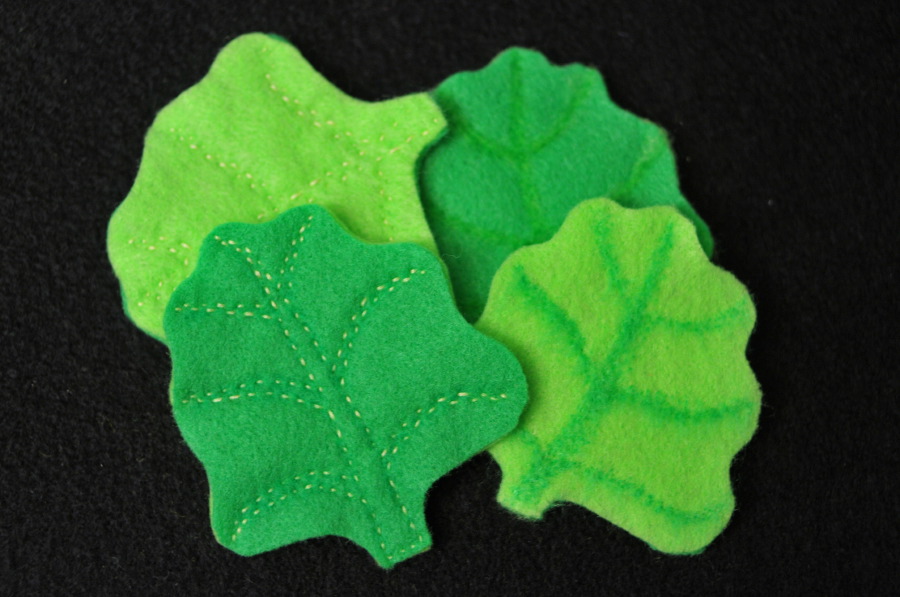
Felt Lettuce Tutorial Post date December 11, 2008 Posted in Crafty Tagged with embroidery, felt, food, needle felting, tutorial Comments 28