Resurrecting Sheep Post date August 3, 2009 Posted in Crafty Tagged with Crafty, recycling, repair, sewing, toy Comments 1
Junk Challenge Post date July 28, 2009 Posted in Crafty, Life Tagged with Crafty, doll house, furniture, paint, recycling, toy Comments 3
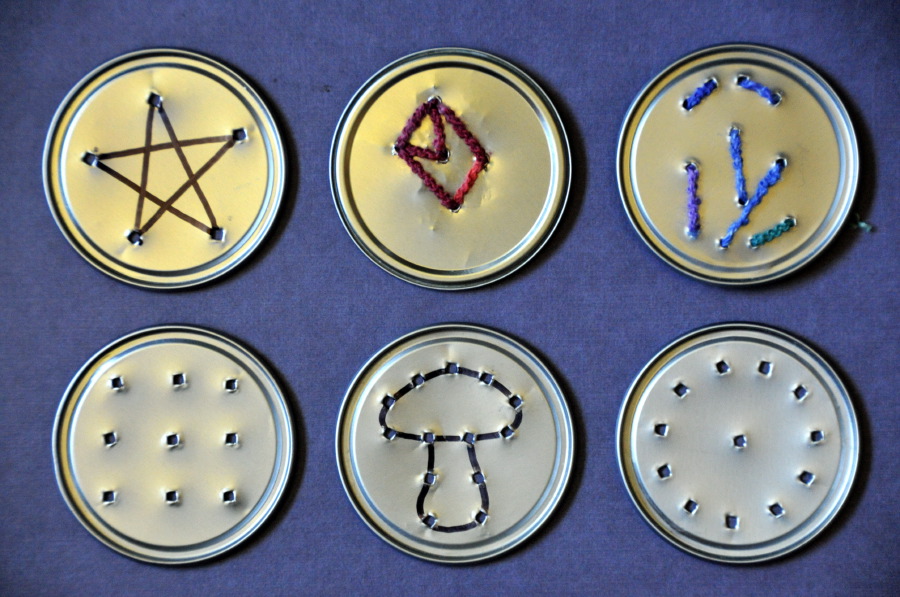
Juice Top Sewing Cards Tutorial Post date July 8, 2009 Posted in Crafty Tagged with Crafty, recycling, sewing, toddler fun, toy, tutorial Comments 9
Shirt to Pants Post date May 2, 2009 Posted in Crafty Tagged with clothes, Crafty, recycling, sewing Comments 1
Making Bed Warmers Out of Recycled Materials Post date November 30, 2008 Posted in Crafty Tagged with recycling, sewing, tutorial Comments 17