Here is another never posted project from 2010, a rose wand, complete with a photo tutorial for the intrepid to follow.
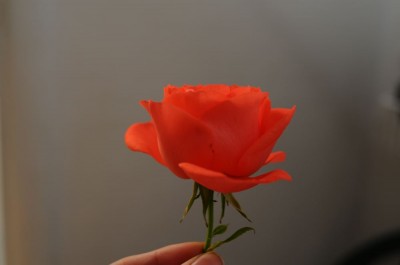
As always, when making something, start by observing the original.
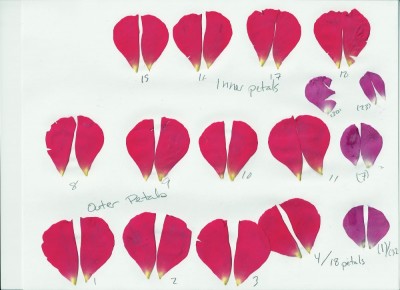
And then dissect it and over analyze it in as OCD a manner as possible. The Magenta petals are all the petals from a single rose, along with their position number with #1 being the most exterior petal, and #18 the innermost. The more purple petals are single petals from other roses annotated with the number of petals that that rose had. I think. It was a year and a half ago. I wanted to collect more samples, but my schedule (required for Halloween of 2010 I think), trumped my OCD desires.
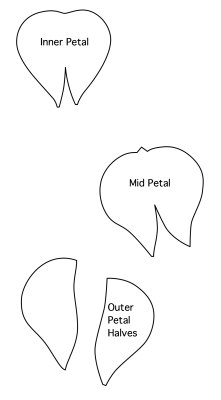
Then summarize your findings.
And here is a PDF for printing:Labeled Petal Shapes Hopefully that comes out at the right scale, the petals should be roughly an inch and a half tall I think.

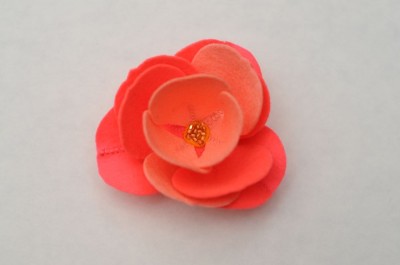
And finally construct a model.
On to the tutorial. Which is really just me looking at my step by step photos from a year and a half ago and guessing what I meant by them. Woo! I feel like such a consummate professional, but I feel like this little flower wand deserves to get out into the world, and this is the only way it is likely to happen!
-
For the wand you will need:
- About a foot of dowel painted green and the means to drill a hole in the end
- A green pipe cleaner
- Some green, yellow and rose colored felts
- Matching rosy floss
- A sprinkle of seed beads
- A profusion of ribbons
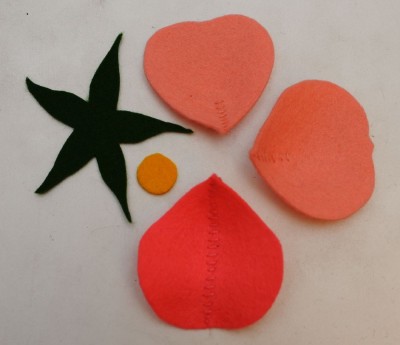
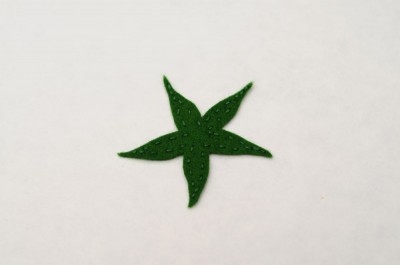
Cut out your bits, one green star shape for the bottom, a yellow circle for the center, whose real purpose is to give you something to sew the petals onto, and some number of petals. For this rose I made three each of the inner, middle and outer petals, in two shades of rose. If I were going to do it again I’d probably use at least 5 for each ring. Or doubled the number of rings. Unfortunately you’re on your own for the exact size/shape of the sepals (the green bit at the base) unless you want to trace this jpg. Wing them and they will come out beautifully! Every flower is different after all.
Where the petals are split at the base (or all along the mid line) whip them together with matching floss and finger press the seam open flat. These are basically darts that give the petal a lovely curve. Duplicating that curve was the main goal of my slicing so many of them open. I’m not sure I quite got it, but then you can’t really perfectly duplicate a rose petals curve with just one dart.
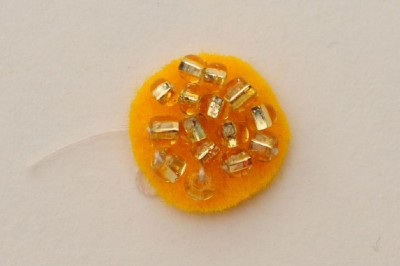
Tart up that little yellow circle with seed beads, so it looks more like the stamen cluster it is meant to be.
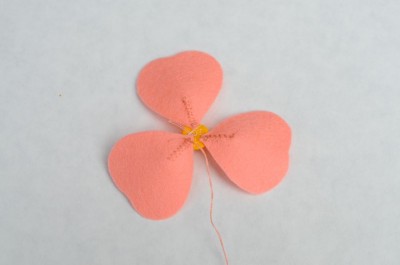
Sew the inner petals too the back of the stamen cluster. Try to make your stitches invisible from the front. And use more petals than I did. (^_^)
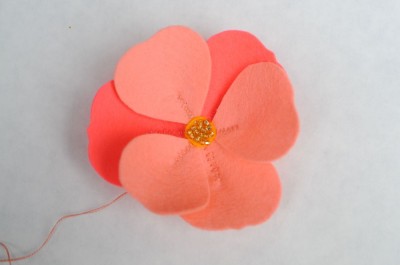
You know what comes next. Sew on the middle petals underneath the inner petals, trying to offset them artistically. Or exactly in-between like an engineer. I’m not admitting anything! I also think a glue gun would be a great alternative here. d(-_^) (Thumbs up if you aren’t used to Asian smileys.)
Then sew on the outer petals. Same deal.
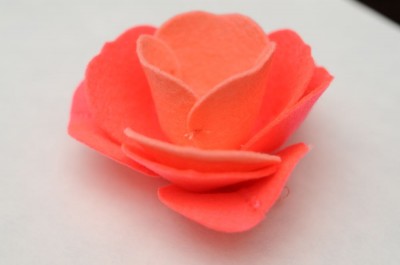
Right about now you may be feeling that your rose looks a bit wilty, all your petals passed out in a little circle, flat on their backs. I know I was. So squint at this picture, or better yet click through to the higher res one. Cheat. Okay, there is no cheating. Get creative, and tack your inner petals together. This will make the inside perk up into a more blown bud type of shape. The exact overlap you use will depend on the number of petals you are trying to fit in. Maybe you want to keep the rings of three petals and just make 6 tiers, whatever, it will be beautiful, because we started with a real rose! I am a true believer. Also, if you go to Google images and look at pictures of roses, there is a mad variety of flower and petal shapes. I, ahem, don’t even know what kind of rose I started with. The neighbors rose. Which I stole. Good thing they like me.
Moving on to those sepals. If you are making a flower wand for the kind of fairy who likes to bash everything in sight with said wand, you will want to reinforce your sepals, or they will get torn off. So I took a running stitch all the way around the edge. Maybe it would have been fine either way, but these sepals (this collective sepals shape, I am running out of good grammar), are going to be the connecting point between the rose and the wand. So reinforce it. Probably a good idea. Or, you know, go with the glue gun plan and don’t worry about a thing! d(^_^)b (I should obviously be in bed.)
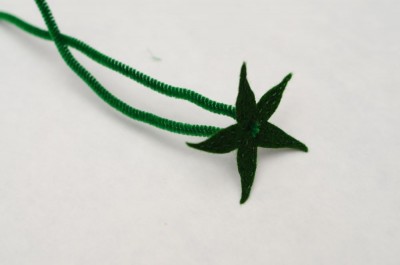
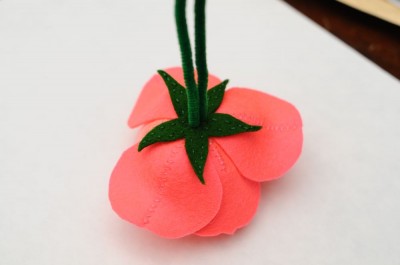
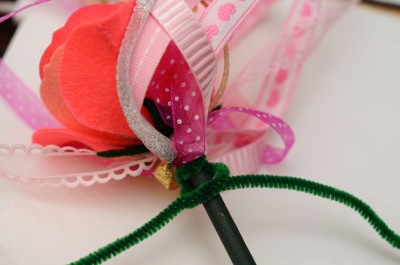
Next up, fold your pipe cleaner in half, and cut two tiny tiny little holes in your sepals, and cram that green pipe cleaner through.
Now sew the sepals onto the base of the rose. I assume I sewed it. Oh yah, looking at the very fullest resolution picture I can see tiny green running stitches going around in a circle around the pipe cleaner. I probably went around a couple times, filling in between the first row of stitches, since it is hard to get your stitches very close together in thick close quarters like that. Or, uh, that glue gun. Do they sell glitter glue sticks yet? This would totally be an application for glittery glue sticks. I’ve seen glow in the dark glue sticks, if they don’t have glitter ones yet Martha should get on that.
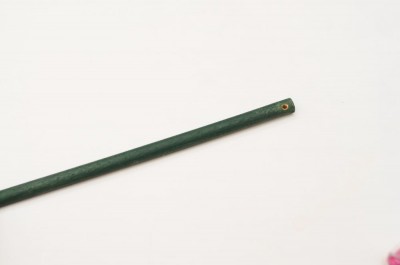
This unnecessary picture shows the hole in the end of your painted green dowel. I think it is a 1/4″ dowel. But you might want to go beefier depending on the age of your recipient, ours broke several times before I pointed out, after re-glueing it repeatedly, that fairies did not actually BASH things with their wands. Deaf ears.
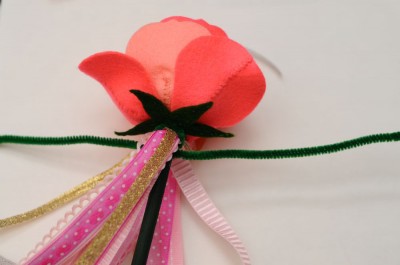
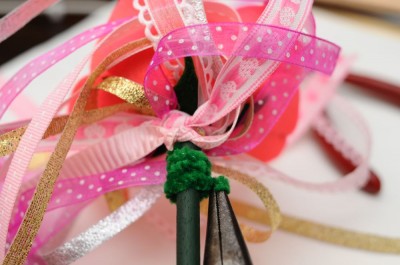
What this picture is, sadly, NOT showing you, is: stick both ends of the pipe cleaner through the hole at the end of the dowel in opposite directions, and pull it until there is a small open loop of pipe cleaner left, through which you can stick the profusion of ribbons. Since our wands don’t actually emit fairy dust we make due with shimmying ribbons. Then pull the pipe cleaner ends until everything is tight.
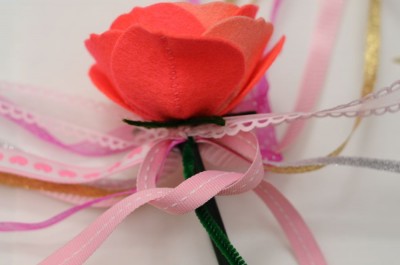
Now at this point if you pulled on the ribbons they would slip out. So lets fix that. Tie each of the ribbons in a knot, some on one side of the dowel, and some on the other, balancing things out.
Finally lets take care of that pipe cleaner. Knot and twist it around the stem, under the ribbons.
Pinch the ends double so they don’t poke anyone and/or tuck them away.
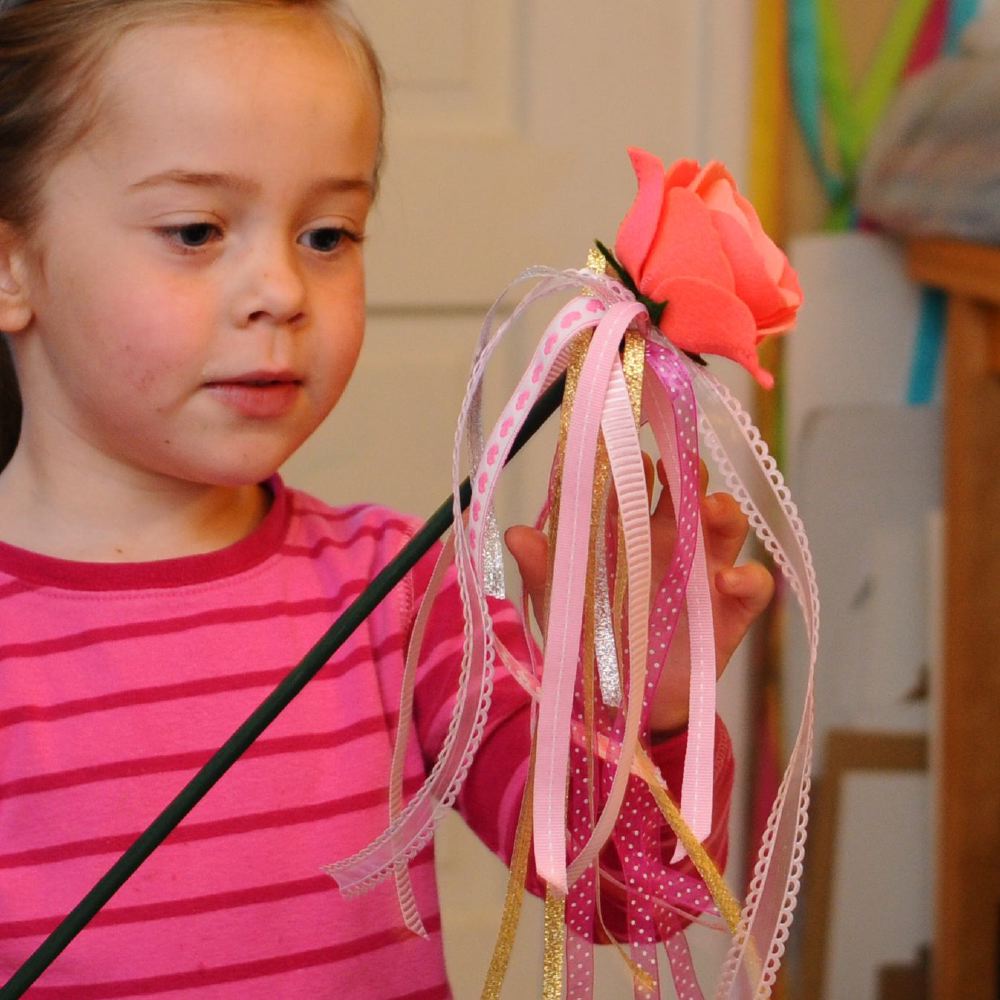
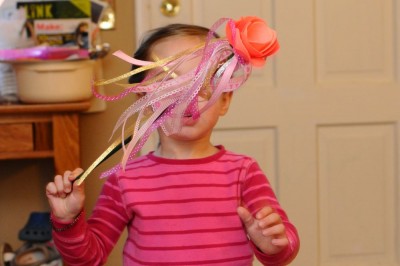
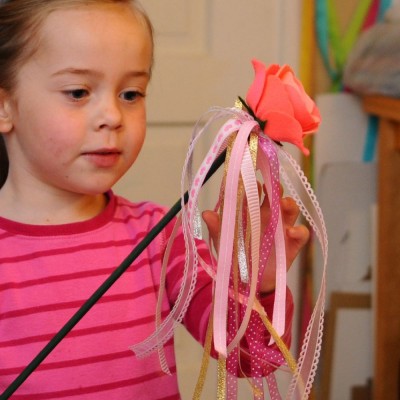
Frolic!!!
She hardly looks like she’s about to start bashing her sister over the head with that thing, does she? With the best of intentions of course…
I’m going to bed, let me know if I messed anything up too badly.
And let me know while you’re at it, do you like to dissect things to figure out how they are put together? Ever cut anything really cool up?

5 Comments
Add Yours →i want one desperately!
Seriously Nenny? Or did you mean the little girls? I will put it on your imaginary present list.
Hello how you doing I’m so very sorry I just recently got this message and I would like to inform you that the book is amazing and very creative and I’m so glad that you had the time to leave me a message so with that being said what is it that I can do for you how can I help
So beautiful!! I would like to invite you to share at our Sharing Saturday link party tomorrow at http://craftymomsshare.blogspot.com. Thank you!!
Thanks, sorry I’ve been so busy teaching recently! Your party is fun.