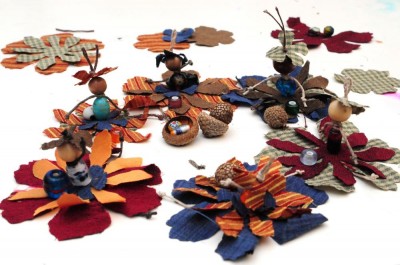
It was just the Spring Equinox! So we made fairies. We always make flower fairies, or something for them, like houses. This year we shared it with our art group. The moms had a great time making these flower fairies. The kids (5-6yrs) unfortunately just wanted to pick out the bits and have their moms put them together. Maybe I could have staged things better, I’m sure we will try again next spring, and I will try to lay things out so that the method is easier for little fingers.
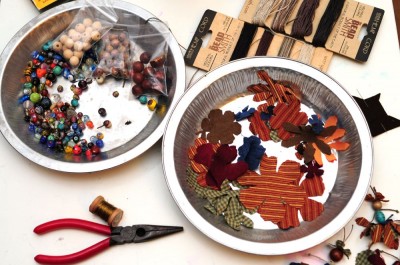
What you need:
- Silk scraps cut into flower shapes
- Glass and/or wooden beads for bodies and heads.
- Hemp beading coord
- Fine gauge wire for homemade beading needle, or other needle
- Pliers
You especially need the pliers if your doubled over cord is a tight fit for the glass beads. This is project is better for small hands if you use plastic pony beads, but I don’t like to buy plastic.
The flower cut outs were made by my new sizzix die-cutter-thingy. I used Tim Holtz’s Tattered Florals die. You can cut perfectly beautiful flowers by hand, but not enough for 9 kids and 5 moms without going crazy. So I finally broke down and got a die cutter, I have been wanting one for forever. Actually, I was NOT buying one yet again, and my husband took the computer and bought it for me. Awesome. Now I just have to figure out where to put it!
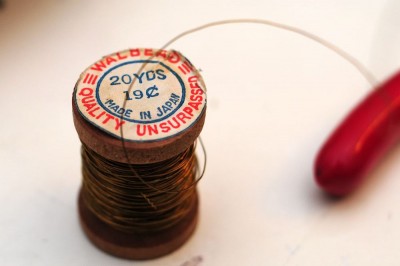
I am going to start out by sharing how to make your own beading needles for super cheap. Never be without the pesky useful things again! That is, as long as you have a spool of fine gauge wire. This is something higher than 30, I tried to measure it with our wire strippers, but that is as high as they go. Not much higher than 30, but a bit. 32-34 possibly. I don’t even know if you can buy wire like this anymore, I’m pretty sure it is older than I am and belonged to my grandmother. It’s been kicking around with my beading supplies for, probably about 25 years now, and has finally found its calling. Isn’t that a beautiful label though? I’m guessing it’s from post WWII Japan, 50’s or 60’s, and probably full of lead, but I’ll just keep it out of everyone’s mouth and pretend I didn’t think about that! Back on topic.
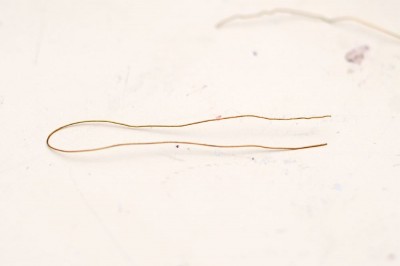
So, cut some fine gage wire twice the length you want your needle. Not plastic coated, not 49 strand super beading wire, just plain old bare drawn wire. Soft, not springy.
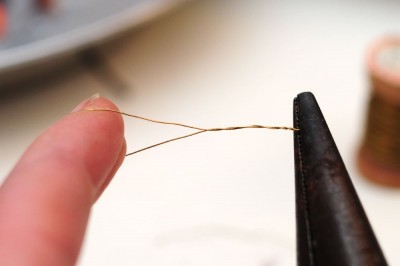
Grab the two ends together in the pliers, stick your finger through the loop and start twiddling your finger around like you’re absentmindedly twisting up your hair into dreads and driving your mother batty.
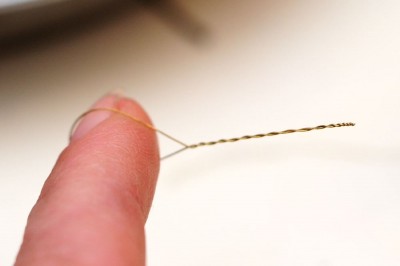
As it gets twisted up it should break right off. If it gets too tight before it breaks, try putting a pencil in (don’t garrote your finger!), or bending it back and forth without twisting. You want it to work harden and break off right where the pliers are holding it.
These are super useful (although softer than real beading needles which have been spring tempered), and what is semi critical for this project, expendable!
On to the fairies, nothing deep and mysterious here, I’m sure you can figure it out yourself, but here’s how we did it!
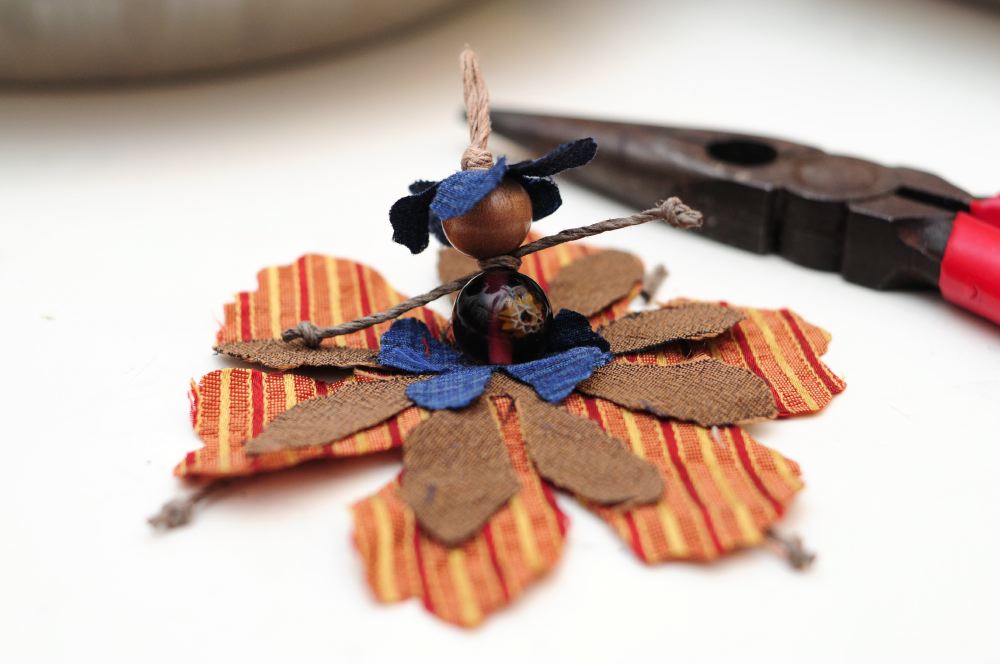
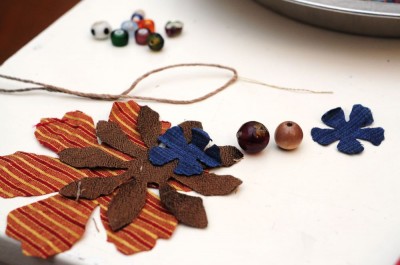
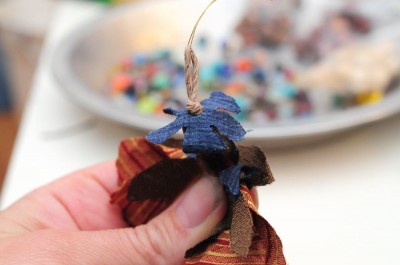
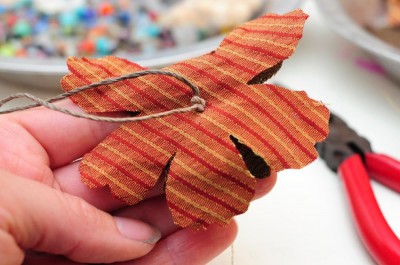
Start by laying out your bits. Flower cut outs for the skirt, a bead for the body, a bead for the head, and a small flower for the hat.
Cut a doubled layer of hemp cord and thread it onto your needle.
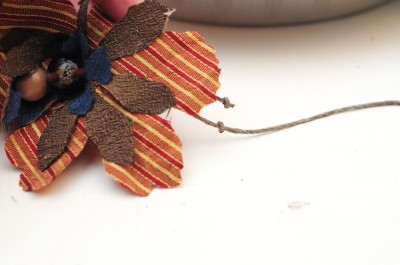
String up everything you laid out from bottom to top, without pushing it right off the end of your cord. If your fabric is too tightly woven for your homemade needle you may have to snip a tiny hole in the center. I found if I just carefully poked a couple times I could generally make it through. When everything is strung, tie a knot into the loop at the top. At this point you have two choices, you can cut the loop into antennas, freeing your needle, or you can untwist or cut your expendable needle. You may be able to twist it back up into another needle, but its life is certainly limited.
Push all the fairy bits up against the knot at the top, and tie a square knot under the bottom flower skirt to make hips and hold the whole thing together.
Tie overhand knots for feet, leaving enough string so the legs are just longer than the longest skirt. Cut the cord off below the feet.
Take a short length of cord and tie an overhand knot in-between the head bead and body bead. Then tie two more overhand knots for the hands and trim off the extra cord.
Then it is tea party time!


3 Comments
Add Yours →I love these! They look so “natural”, too 🙂
If you need wire strippers, you can choose best one at https://besttoolexpert.com/wire-strippers-buyers-guide-and-review/
I love your Spring Flower Fairies Tutorial. Very inspiring. If you need glue for craft, you can choose the best one at Best Craft Glue .
Thank you