Back to School Necklace Post date October 18, 2010 Posted in Crafty Tagged with accessory, beads, Crafty, glass, jewelry Comments 6
Haunted Princess Castle Post date October 3, 2010 Posted in Crafty Tagged with cardboard, Crafty, doll house, holiday, toy Comments 4
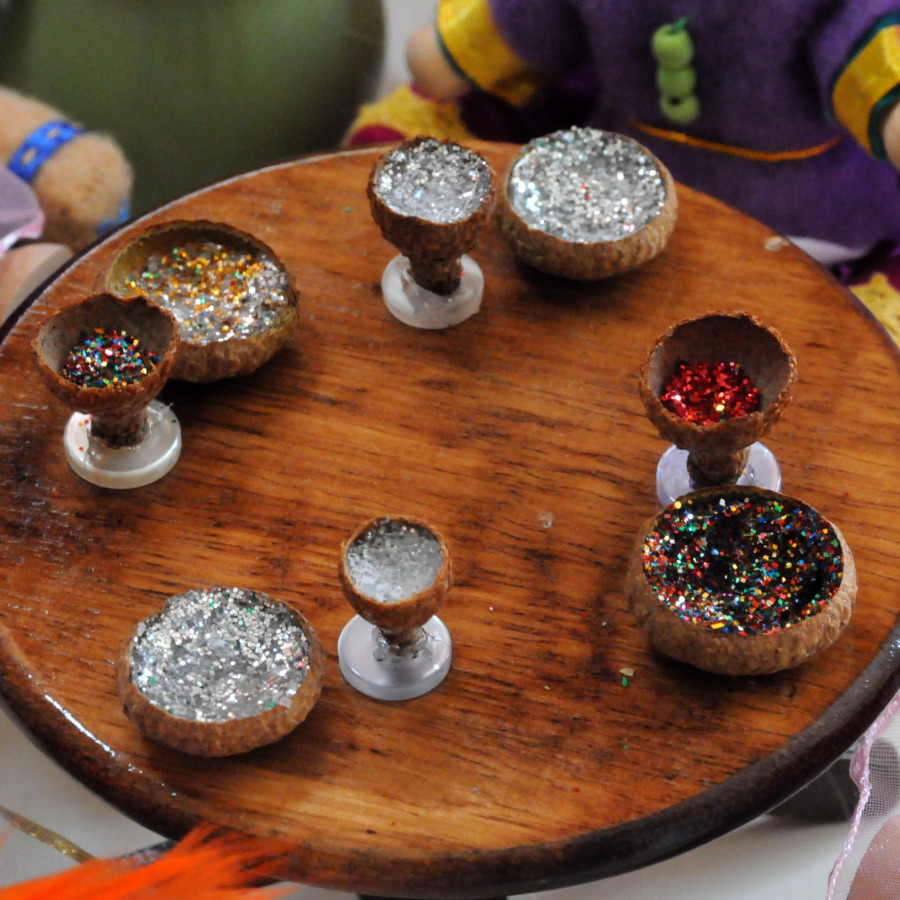
Acorn Tea Set Post date September 29, 2010 Posted in Crafty Tagged with Crafty, doll house, fairy, toy, tutorial Comments 10
Birthday Crown Post date September 26, 2010 Posted in Crafty Tagged with Crafty, drawing, felt Comments 4
Monogram Barrette Post date August 30, 2010 Posted in Crafty Tagged with Crafty, embroidery, felt, sewing Comments 6