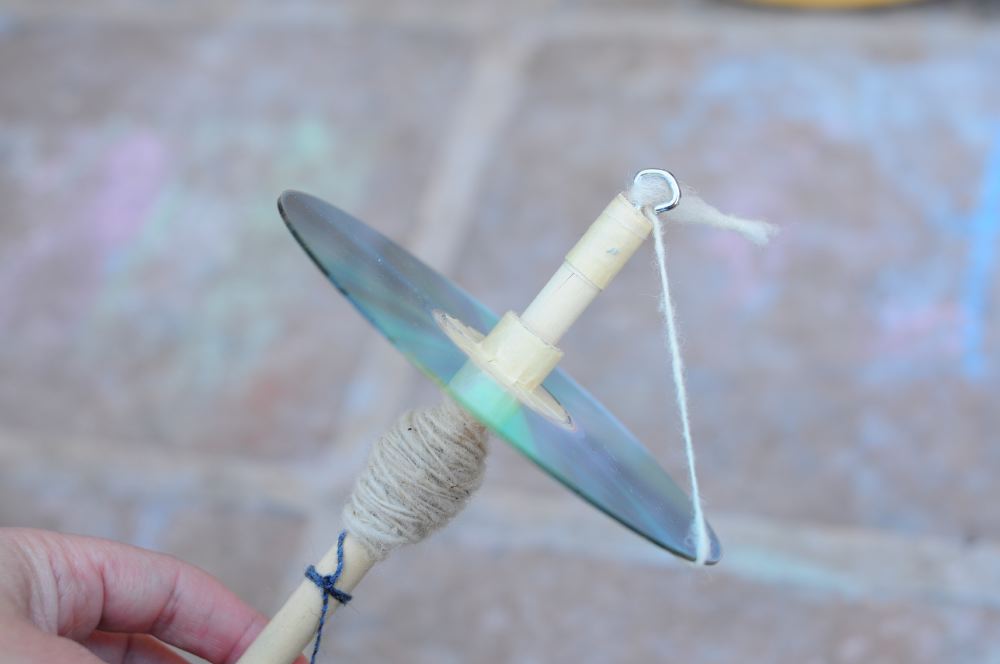
How to Make a Drop Spindle Post date December 13, 2011 Posted in Crafty Tagged with spinning, tutorial, yarn Comments 1
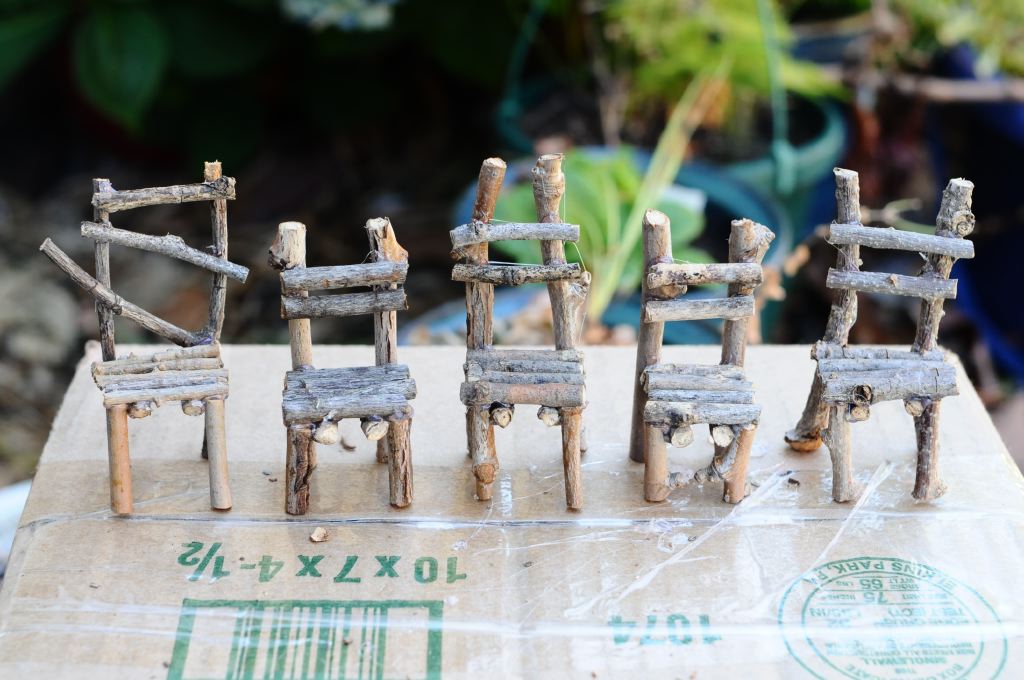
Twig Chair Tutorial Post date August 22, 2011 Posted in Crafty Tagged with glue, tutorial, wood Comments 65
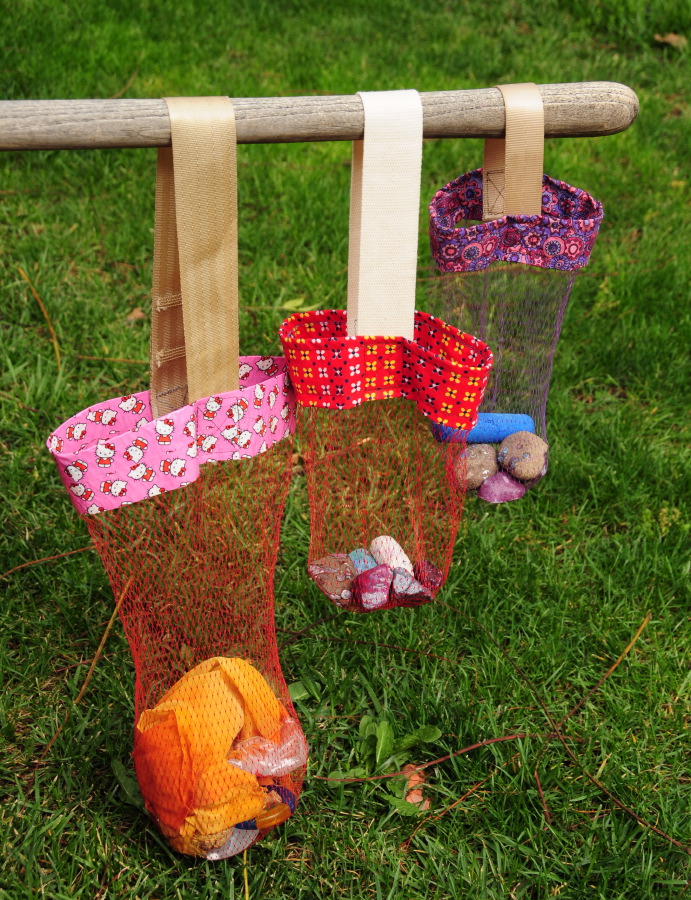
Mesh Collecting Bag Tutorial Post date July 5, 2011 Posted in Crafty Tagged with bag, Crafty, recycled, sewing, toy, tutorial Comments 24
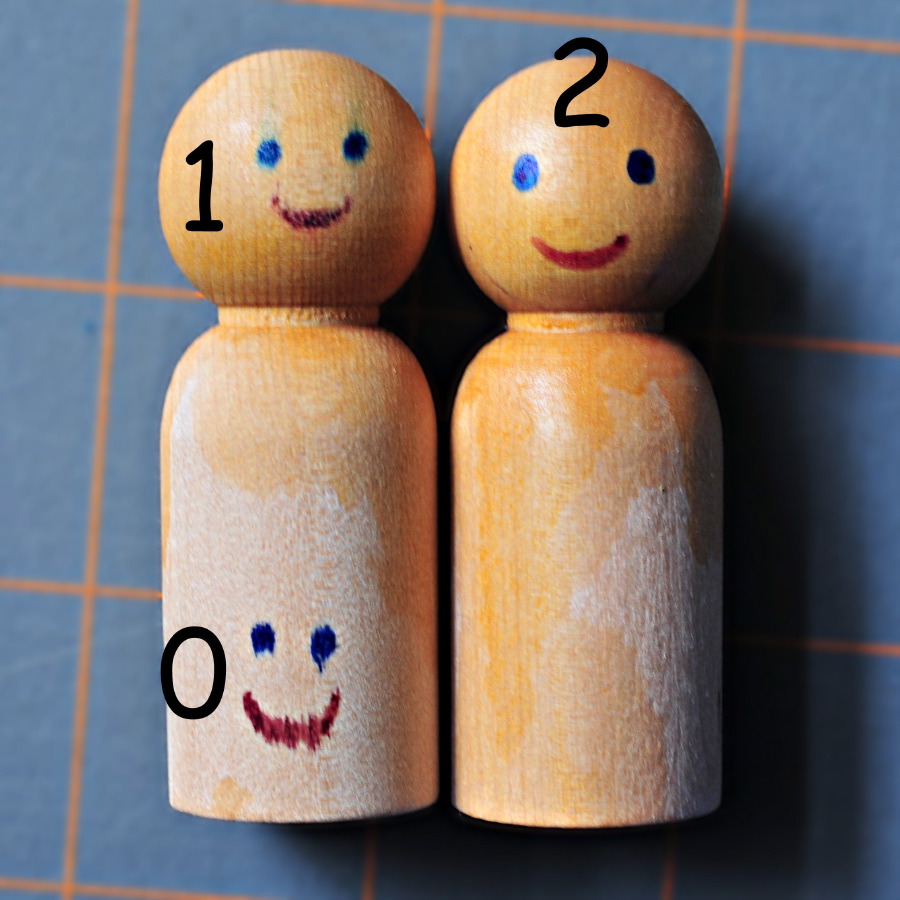
How to Keep Markers From Bleeding on Wood Post date May 20, 2011 Posted in Crafty Tagged with doll, marker, technique, tutorial, wood Comments 10
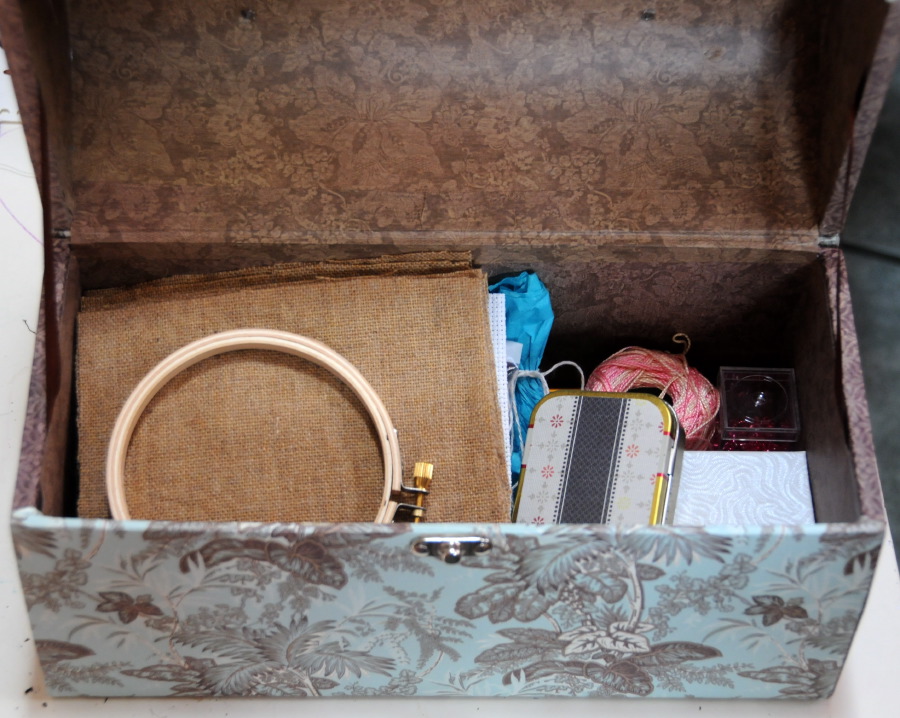
Gift Sewing Kit Post date April 4, 2011 Posted in Crafty Tagged with beads, Crafty, embroidery, fabric, gift, paper, sewing, tutorial Comments 2
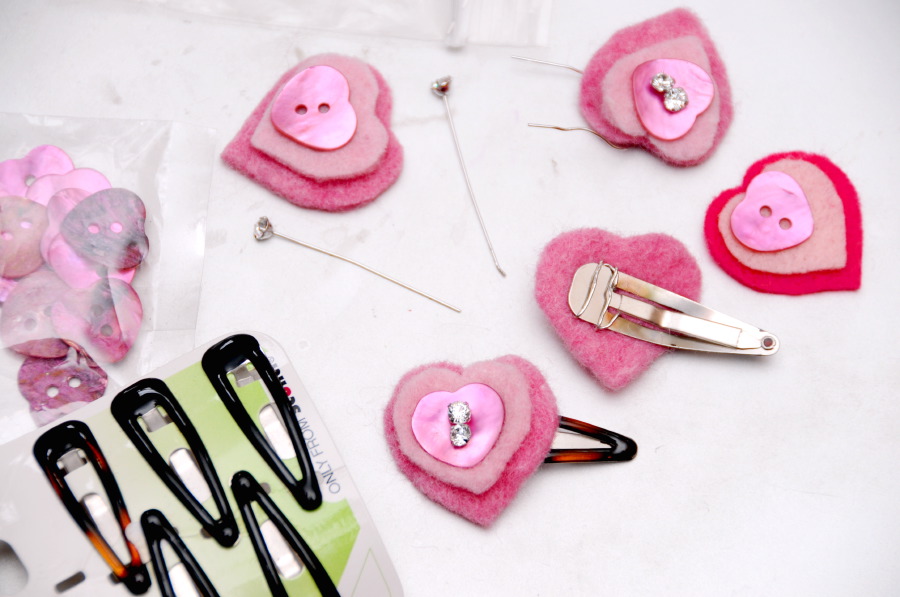
No Sew (No Glue) Heart Barrettes Post date February 23, 2011 Posted in Crafty Tagged with barrette, Crafty, felt, holiday, tutorial Comments 4